Categories
Photos of Canada Photos of Quebec

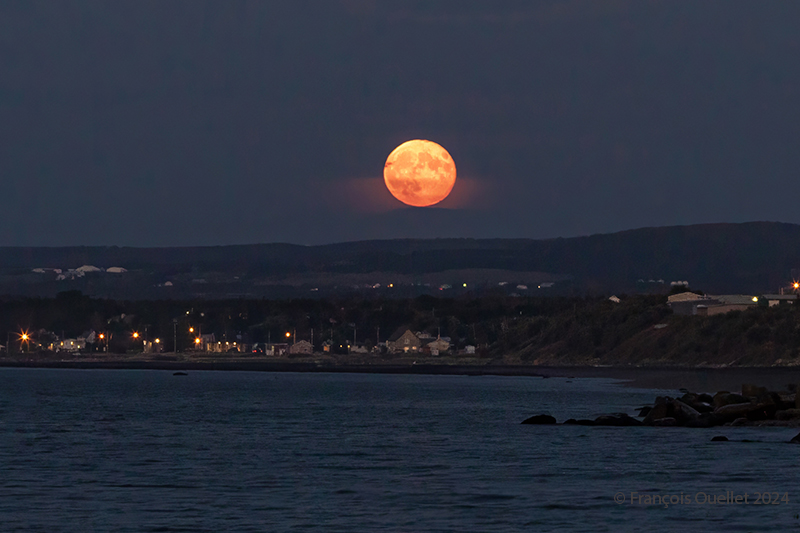
The full harvest moon of September 2024.

The full harvest moon rises in the Matane sky in September 2024.

The photo above was taken in Matane, Quebec, in September 2024. It’s more a matter of chance than planning. I was on the beach photographing the sunset, and when the sky got too dark, I turned around to see if there was anything interesting left to capture. And I came across this full harvest moon rising in the firmament.

Photographing a full moon is a good challenge. We often capture only an almost white, very bright disk, losing the nuances of colour and the details of the lunar geography.

The advice available on the Internet on how to successfully shoot a full moon with a normal camera goes in all directions. But one thing’s for sure: to improve your chances of success, it’s best not to wait until nightfall, because then the very high luminosity of the star becomes impossible to attenuate while still retaining a view of the planetary topography.

Most of the time, the choice is between an excellent photo of a full moon, but a very dark surrounding earth relief where nothing is discernible, or a visible earth relief of acceptable quality, but a moon that represents nothing more than a large, white circle of light.

The method that works for the photo above is as follows: you have to be on the spot at the right time, i.e., during the blue hour and not the whole night. So, in my case, I was lucky because it wasn’t planned.

You need a tripod and an extension cable. There are two reasons to avoid long exposures: firstly, the moon is a moving object. The longer the exposure, the more the disk moves. You end up with an oval rather than a round moon. A long exposure also picks up more light, and the moon’s disk turns completely white.
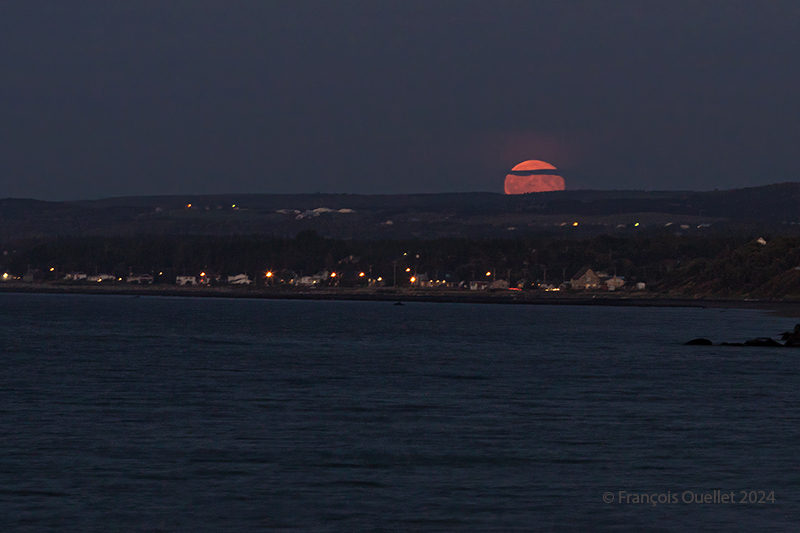
Full harvest moon rising in Matane, Québec 2024

Compromises become necessary. Trying to get a perfect moon and foreground at exactly the right brightness is quite a challenge. By the time every attempt has been made to achieve a flawless result, the moon is already too high in the sky. We have to act quickly.

We’re advised to lower the ISO to 200, but if I do that, I’m increasing the exposure time and introducing too much light into the camera. Instead, I use a higher ISO to reduce exposure, and use all the camera functions likely to reduce the amount of light entering the camera: higher shutter speed, if necessary, strong negative exposure compensation, and so on.

By not overdoing the settings and using RAW files, there’s still enough flexibility to bring out the foreground, in this case the houses lining Matane’s beaches and the surrounding lights.

In short, shoot during the blue hour, act quickly, accept compromises, limit exposure time in every way possible and use RAW files to facilitate post-production work.

Click on the link for more photos from the province of Quebec on my blog.
Categories
Photos of Canada Photos of Quebec

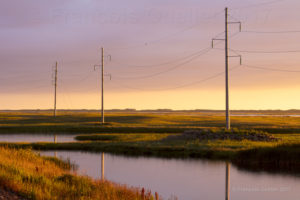
Sunset on the Magdalen Islands

Sunset on the Magdalen Islands in 2017

The Magdalen Islands, in the Province of Quebec, are recognized for the magnificent sunsets. The picture above was taken while I was coming back from Havre Aubert with my family during summer 2017. The ponds are located between Havre Aubert and Cap-aux-Meules, immediately alongside the main road.

The day had been cloudy and there was no indication that the evening would offer a possibility to get an interesting picture. But around 8 PM, while the sun was still relatively high above the horizon, a few sunrays were able to pierce through the cloud deck. The stratocumulus being well defined, it became obvious that when the sun would be close enough to the horizon, it would light the cloud deck from below as well as light up the ponds. It was important to act rapidly in order to capture the beautiful atmosphere.

When the winds are calm and you must stand still close to ponds in order to do photographic adjustments, one must accept to lose some blood to swarming moskitos. That night, I must have lost a pint of blood!

The absence of wind allowed for a good reflection of the electric poles in the foreground.

The picture was taken with a Canon 5DSR full frame camera equipped with a Canon 70-200 f2.8L IS II USM telephoto lens and a graduated filter used to avoid the underexposure that would be caused by the highlights in the horizon. I used aperture priority and set it at F18 to get a proper depth of field. The ISO was set at 200 and the focal length at 135 mm.

For other photos on the province of Quebec and also Quebec City, click on the following links from my blog:

Province of Quebec Photos
Quebec City and Île d’Orléans in Autumn
Quebec City and Île d’Orléans in Winter
Quebec City and Île d’Orléans in Spring
Quebec City and Île d’Orléans in Summer
Categories
Photography

HDR Photography

HDR (High Dynamic Range) Photography

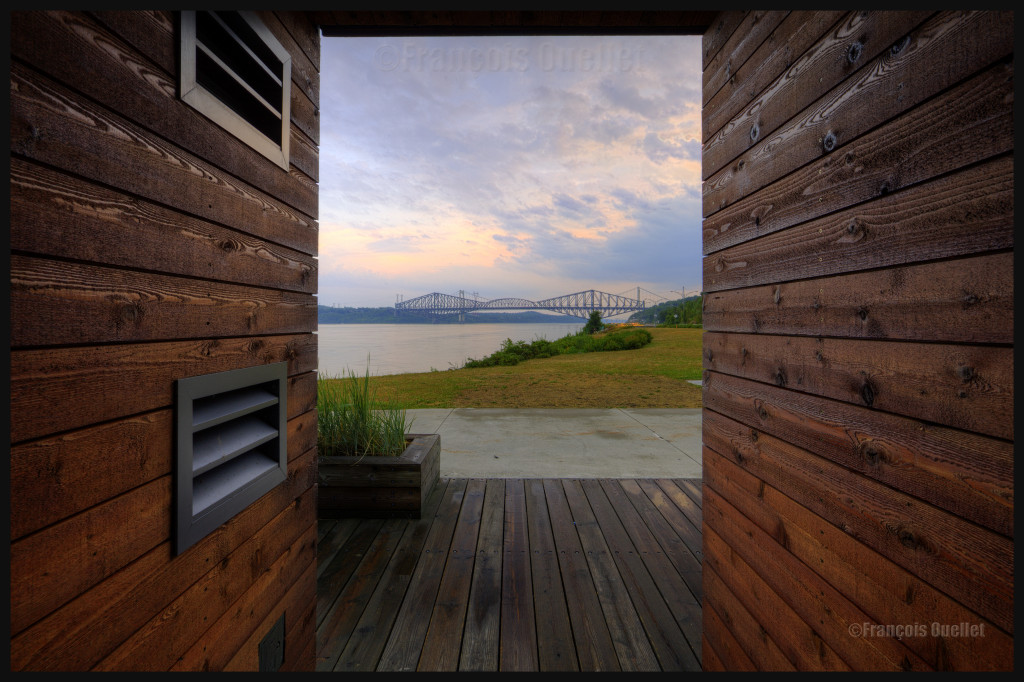
Quebec Bridge, 2012.

1. A picture you would never have thought possible, because of extreme contrasts between brightness and darkness, is now accessible to you through HDR.

2. For a good HDR picture, you need at least 1) an interesting subject 2) an appropriate setting or background 3) the appropriate light and 4) a wide range in contrasts. That seems basic, but HDR will not save a picture that was not thought through.

3. You need a software like Photomatix, to transform several pictures taken at different exposures into one HDR picture. But this is only the first step. You will also need another editing software to improve the general result after Photomatix has been used.

4. A tripod is required to help Photomatix align the pictures and create the HDR effect.

5. As with your normal pictures, it is always better to try to use the lowest ISO as possible.

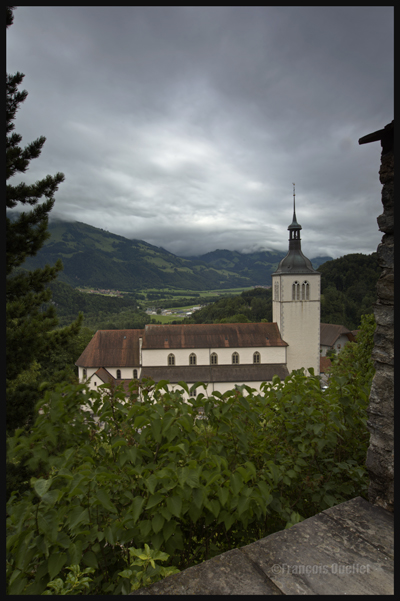
Gruyères, Switzerland, 2013.

6. It is safer to work with manual focus. This way, none of your shots will have been influenced by external objects without you noticing. It will always be the exact same focus throughout the HDR photo session. With automatic focus, you generally notice your blurred pictures when you’re back home and then it is too late (it will often happen under low light conditions).

7. The greater the contrast, the more exposures you need to take (up to nine) in order to match the dynamic range of your eyes.

8. The idea is to take each exposure at a different exposure setting. If you need seven exposures, an example of settings would be: -1, -2/3, -1/3, 0, +1/3, +2/3, +1. You might decide that three exposures only are necessary and go for -2, 0, +2 or -1, 0, +1. The choice is yours but you must take only the required number of exposures to avoid including too much noise in your shots.

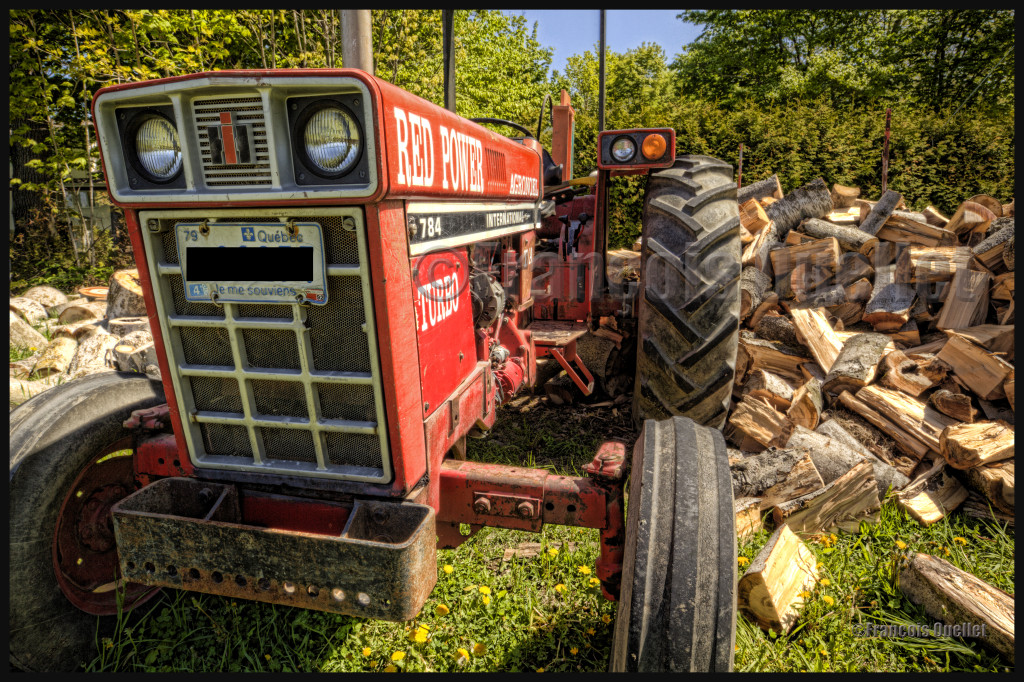
Canon, 16-35mm, HDR format.

9. Throughout your HDR exposures of a specific scene, always keep the same aperture.

10. A scene is rarely perfectly balanced with light and shadows. If there are many shadow areas in the photo you want to take, then take more exposures over the recommended settings to ensure that you caught the whole dynamic range of the scene.

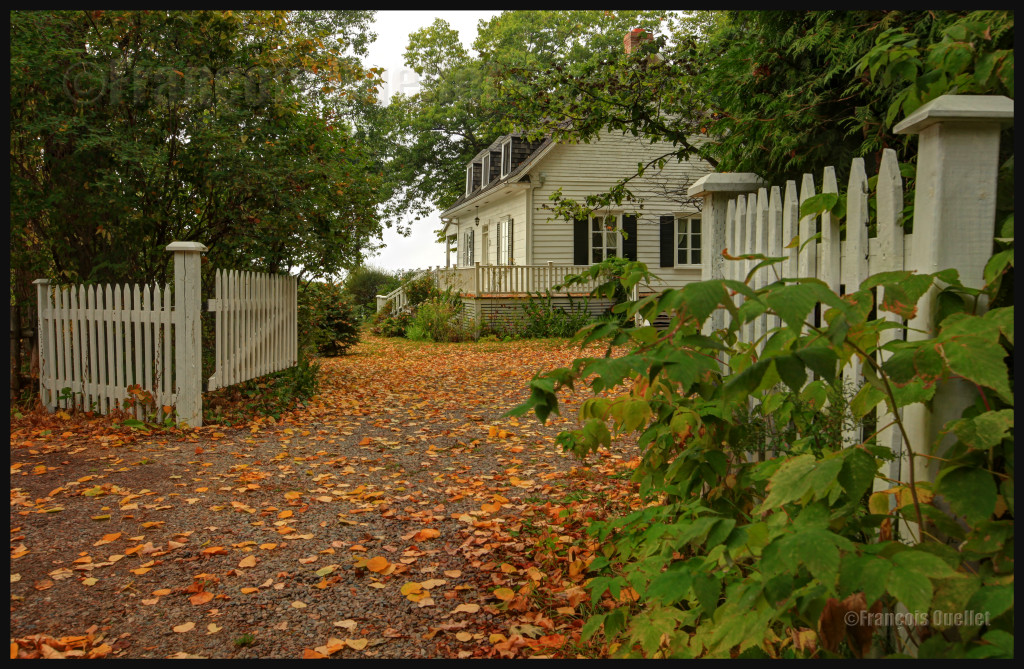
A house in Sainte-Pétronille, on Île d'Orléans, autumn 2012. HDR picture.
A house in Sainte-Pétronille, on Île d’Orléans, autumn 2012. HDR picture.

11. Inversely, if your scene has lots of highlight areas, take more exposures under the recommended settings.

12. Setting your camera to “automatic bracketing” is preferable because all the pictures are taken quickly thus avoiding to show any blurred picture in the final HDR picture. But if you want to show the movement of water in a creek, you don’t need bracketing: just take few shots with different time of exposure (in number of seconds). Just don’t overdo it otherwise it will give place to an uninteresting undefined white surface.

13. Check your LCD monitor so that none of the highlights are blown out. There would be a loss of details. For the same reason, you must avoid to block the shadows.

14. Always work with RAW files, it gives you better results. The RAW file already provides you with more f/stops then the JPEG file, and this before the transformation in HDR has even started).

15. Of all the lenses I’m using, the wide angle lens is my preferred one with it comes to HDR photography.

Spring light in the lower town of Quebec City

16. To improve the composition or enhance the general impact, crop the picture.

17. Not all pictures are appropriate for HDR transformation. If you want a dramatic silhouette as the final result, for example, HDR will not be appropriate. It will reveal too many details in the shadows and you will lose the high contrast effect that you were looking for. With practice, you will recognize where HDR is the most effective.

18. Whether you want a realistic picture or not, you can obtain surprising results with the combined effects of softwares like Photomatix, Topaz, Photoshop, Nik Software, Lightroom, Lucis Pro and so on. It’s only a matter of taking your time to experiment.

19. If you have only one picture on hand, like a shot you took years ago, and you would like to give it an HDR effect, you can use a software likeTopaz Adjust. There is an HDR effect section in that software that allows you to get a wide range of effects. But this is not going to be nearly as good as the real HDR resulting out of many pictures. The final editing step is, most of the time, done using Photoshop.

20. An unpretentious book about HDR is “Rick Sammon’s HDR Photography Secrets for Digital Photographers”. It is simple, colorful, well written and loaded with practical informations.

Eiffel Tower at night with HDR effect

Note: All the photos were taken with a Canon 5D MKII