Categories
Photography Books

Photography Books: The New Street Photographer’s Manifesto

Livre de photographie: "The new street photographer's manifesto" par Tanya Nagar
Livre de photographie: “The new street photographer’s manifesto” par Tanya Nagar

Tanya Nagar is an award-winning photographer from London. Her book, “The new street photographer’s manifesto” is perfect for those who aim to improve their street photography techniques. The present article is not a comprehensive critic of her book but an overview of what a reader will find. I also highlighted some tips in photography that will help to improve the street photographer’s performance.

Tanya’s manifesto not only contains technical advices helping a photographer to improve his shots but also some tips to avoid common mistakes. Subjects include: timing, composition, shooting portraits, framing and juxtaposition, perspective and angles, the choice between landscape and portrait, depth of field, shutter speed, exposure, night photography, rule of thirds, etc.

The book’s content is divided in six categories: 1. Street Photography 2. Where & What to Shoot 3. Seize the Moment 4. Equipment 5. Digital Processing 6. Showcase.

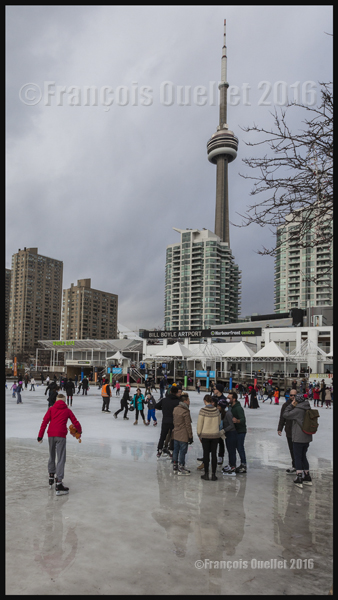
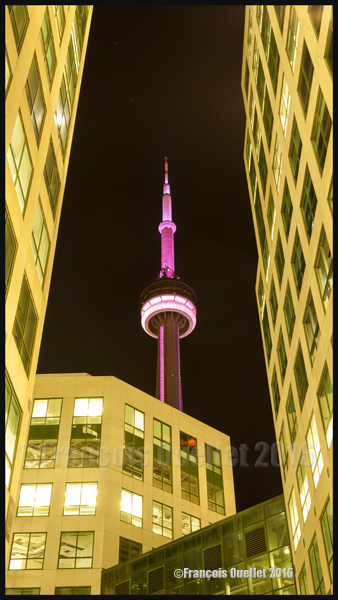
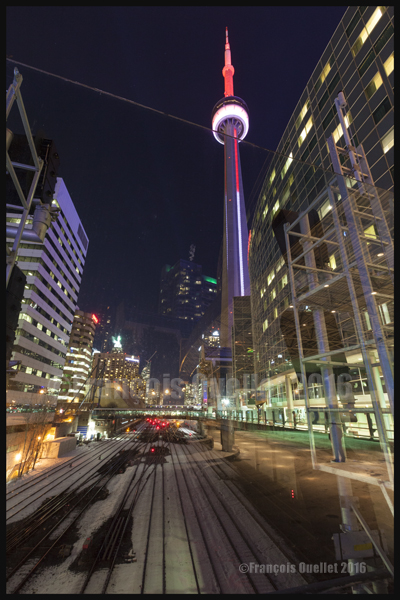
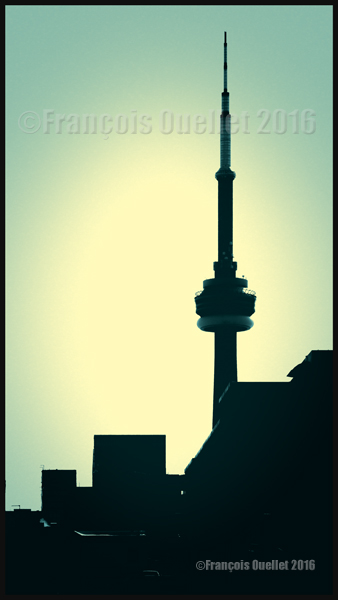
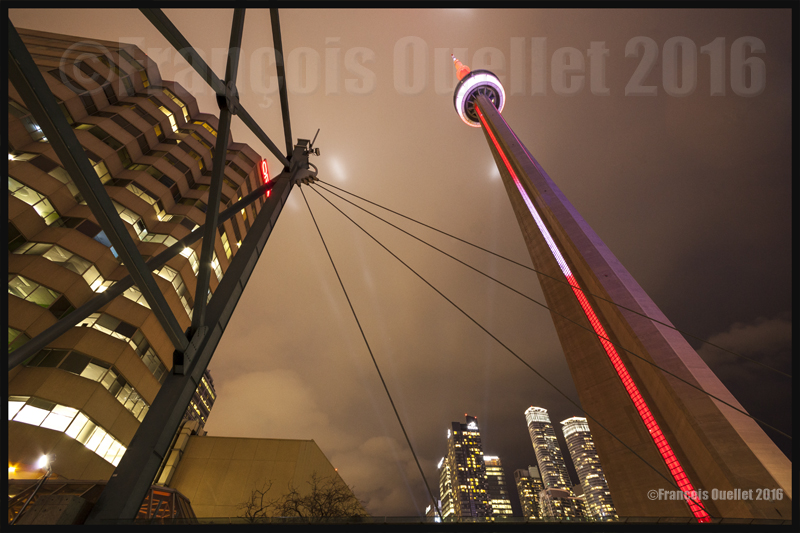
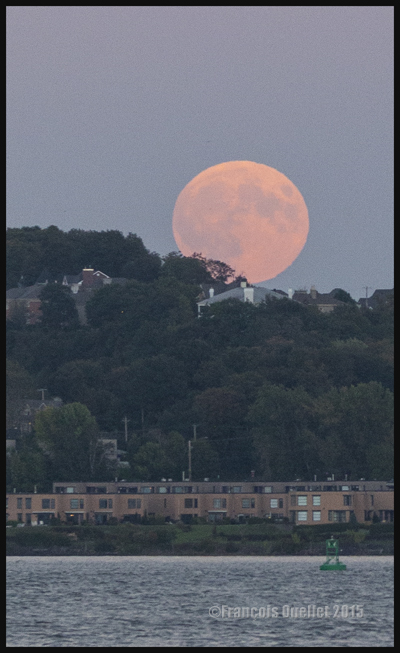
1. Street photography requires the ability to seize a life moment with precision and timing. It is about candid shots and does not have to include humans, as long as it fixes a moment in life. It certainly can include animals (in fact, animals are a very popular subject).

2. It is best if you use a light, discrete camera (even an I-Phone). Walking with a huge camera with big lenses makes you look like a professional photographer and people will see you coming. The trick is to avoid drawing attention. Coughing while clicking drowns out the sound of the camera. You might also think of “shooting from the hip” or “shooting blind”. Those techniques are explained in the book and can be mastered with a bit of practice.

3. It takes a bit of courage to photograph situations that include people since you never know what to expect when you raise your camera. Respect the different cultures and personal space and don’t be afraid to smile and explain what you are doing. If somebody refuses to be photographed, move on, don’t dwell on the situation.

4. In order to gain experience and a feeling of security at taking pictures of people on the street, start with protests or parades.

5. It is a good thing to know the laws pertaining to photography of the country you are visiting. Police officers in some countries might be tempted to order you to delete a shot while they actually don’t have the right to. Often, a misunderstanding by police or security guards of anti-terrorism legislation leads to different interpretations and subsequently to abuse towards a photographer. Just make sure you stay up to date with the country’s regulations.

6. You might think of shooting from within your vehicle to obtain interesting results (while respecting the country’s laws).

7. Use graffitis, signs, graphical billboards, text and advertising logos.

8. Use contrasts like big versus small, light versus dark, rich versus poor, etc.

9. Bear attention to details and look for second degree interpretation of a situation.

10. Look for amusing, funny and unusual captures.

11. Make sure you master your camera in order to be quick when the perfect opportunity comes. Set most of the parameters of the camera before actually arriving on a scene (you already have an idea of the light intensity in the area and the ISO setting that will be required to obtain the speed you desire).

12. Be cautious when it comes to taking pictures of children. Societies change and authorization from the child’s parents is required almost every time.

13. “The only way to avoid missing a moment is by carrying your camera at all times”. Therefore, get something small and light.

Endos du livre de photographie "The new street photographer's manifesto"
Endos du livre de photographie “The new street photographer’s manifesto”

The book holds a section dedicated to multiple types of cameras: rangefinders, SLR and DSLR, four thirds and micro four thirds, medium format, point-and-shoot compact cameras, camera phones, toy and pinhole cameras. Their advantages and disadvantages are clearly explained.

The reader will also find some information about lenses (the best for street photography and what to avoid) and the effects obtained through the use of different type of films (colored, black and white, expired).

The fifth section of the book relates to digital processing and the basic image editing techniques like cropping, rotating, the use of the “Curves” command, as well as dodging and burning.

The final section, “Showcase”, presents many well-known street photographers from around the world, including few photos taken by each of them to allow the reader to have an overview of each photographer’s personal style and creativity. Presented in order are: Antonio Navarro Wijkmark, Brian Quentin Webb, Charlotte Gonzalez, Claire Atkinson, Danny Santos II, Felix Lupa, Ferhat Çelik, Mustafa Abdulaziz, Ronya Galka, Seamus Travers and Severin Koller.

This is certainly a very interesting and practical photography book that will help you avoid costly mistakes (missed photo opportunities or buying the wrong photography equipment) while helping you to improve your knowledge on street photography as much as the quality of your shots.

Here is a link towards Tanya Nagar’s website: Tanya Nagar

For other photography book reviews, click on the following link: Other photography books

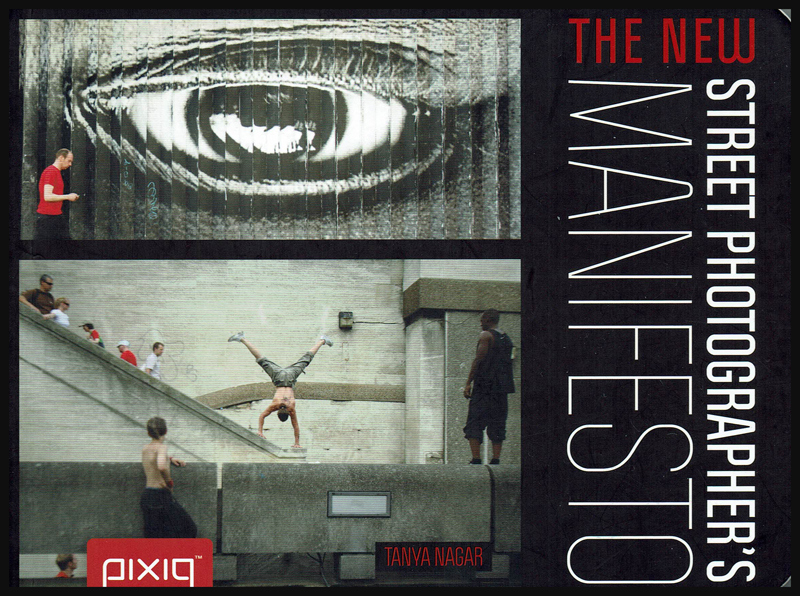
Title: The new street photographer’s manifesto.
Author: Tanya Nagar
©The Ilex Press Limited 2012
ISBN: 978-1-4547-0417-1

Categories
Photos of Canada

Photography in Ontario : the Toronto CN Tower

It is always difficult to find new ways of taking pictures of such a popular touristic attraction as the CN Tower in Toronto, Ontario. This tower, with its 553,33 meters in height, is one of the most elevated free standing structure in the world.

Here are six photos that present the CN tower under a different perspective. It was necessary to take those pictures at different times of the day (including dusk and night) in order to obtain more diversified and original pictures.  I used a Canon 5D MKII camera for all the photos. I hope you like the shots!

Skating near the CN Tower inToronto, Ontario (2016)
CN Tower during nightime in Toronto, Ontario (2016)
Toronto's nature and the CN Tower (2016)
Toronto’s nature and the CN Tower (2016)
CN Tower and railway at night. Toronto, Ontario (2016)
The CN Tower in Toronto, Ontario in 2016
The CN Tower at dusk in Toronto, Ontario (2016)

For more articles in the category « Photos of Canada », click on the following link : Photos of Canada

Categories
Aviation photography

Aviation photography: plane spotting at the Toronto Lester B. Pearson international airport (CYYZ)

Air Canada Airbus A330-343 C-GHLM in Toronto 2016

Here is some information aimed at helping tourists visiting Toronto, who like photography and aviation, and would think of booking one day during their visit to head to the Toronto Lester B. Pearson international airport (CYYZ) for a plane spotting photo session.

Initial planning

If you can, get a scanner or download an app on your cell phone to get real time information on air traffic around the airport: you will then know in advance the type and nationality of inbound or departing aircrafts.

Search for websites giving you access to Toronto airport VHF frequencies and program your scanner if you decided to get one.

Have a look at different plane spotting websites for the Toronto airport: there are many precious advices from experienced plane spotters that will prove useful in heading to the best spots and avoiding common mistakes.

Print two or three maps of secondary routes around the airport so that you can orient yourself when there is a change in runway use due to different winds or if you use a taxi ride to move around the airport: the driver will always ask you details on how to get there since those secondary routes are not a common destination for him (and chances are that he will not know where to go if you ask him to head to threshold of runway 05. Basically, he needs road names, not runway numbers).

Cessna 560XL S5-BAV Toronto 2016
British Airways Boeing 777-236 G-ZZZA in Toronto 2016

Before leaving your Toronto hotel

Before you leave the hotel, look at the Toronto weather forecast, among them the TAF, to know the wind pattern for the day. The Nav Canada site has everything you need to know and there is a possibility to choose between coded or plain aviation language.

The Environment Canada site is also very useful.

Don’t forget to bring many snacks as well as a bottle of water since you will possibly be at a good distance from a restaurant for many hours, depending on which runway is in use. The same goes for additional batteries and memory cards for the camera.

Don’t forget the scanner, the cell phone (to call a taxi driver or get access to the arrivals and departures information) and all the photo equipment needed, as well as an abnormally high number of clothing layers necessary in case of winter photography: eight hours almost immobile outside in February calls for an appropriate preparation if you want to appreciate your experience. If you economize on clothing, it is certain that you will have to shorten your photography session.

I chose February for its very interesting light and not for its temperature! Most of the shots in this article were taken in only one day at the Toronto airport, between 10h30am and 18h30.

American Airlines MD-82 N482AA final 05 Toronto 2016

From the hotel to the airport

If you chose to stay at a downtown hotel in Toronto, the best way to get to the Toronto international airport is to use the UP Express train, from the Union Station on Front Street. Its use is very simple and departures are made every fifteen minutes. In February 2016, the cost was CDN $44.00 for a return trip to the airport, while a taxi ride cost $130.00.

UP Express Toronto 2016

The UP Express ride only takes 25 minutes and the train stops at Terminal 1.

It is preferable to avoid using your car around the Toronto international airport since some secondary roads are private and no stopping is allowed. You will take more time to look for police than to enjoy your plane spotting photography session.

Once you are at Terminal 1

Once you exit the UP Express at Terminal 1, get your scanner and monitor the ATIS frequency (120.825) to get the latest information on the runways in use for take offs and landings. For my photo session, the ATIS announced that runway 05 and 06L were in use, both for arrivals and departures. I took a taxi, showed the map with secondary roads to the driver and within few minutes I was where I needed to be and started the photo session.

Air Transat Airbus A-330 C-GTSN Toronto 2016

A preliminary internet search allowed to discover that heavies mostly arrive from Europe during the afternoon et that runway 05/23 is favored for Emirates Airline Airbus A-380 arrival. I thus decided to position myself near runway 05 instead of 06L.

There are two or three quite isolated spots around the airport that provide interesting point of views for aircraft photos but that can present security problems for a photographer working alone with expensive equipment. Experienced plane spotters suggest that you should be accompanied by friends if you decide to opt for those spots (see the “plane spotting” internet sites suggested at the beginning of this article).

Emirates A-380 final for Toronto (CYYZ)
Emirates A-380 on final for Toronto (CYYZ) 2016
Emirates A-380 on final 05 for Toronto (CYYZ) 2016

Technical advices

For precise photos of aircrafts in movement, I use the following parameters with my Canon 5D MKII camera:

1. Only the central AF Point of the auto focus system is selected and not the surrounding ones in order to avoid that the camera sets the focus on other objects than what I desire (trees, ILS structure, buildings).

2. The AI Servo setting is more efficient than the AI Focus or One Shot. The aircraft will be followed precisely.

3. If I want to include surrounding objects in the photo, I adjust the aperture to 7.1 or 8, instead of 11 or 13. I thus avoid increasing the ISO too much, which would affect the picture’s quality if it has to be enlarged with Photoshop.

Westjet Boeing 737-8CT C-GWSV Disneyland Livery in Toronto 2016

4. To take pictures of an approaching propeller powered aircraft, a speed adjusted to 1/125 is generally adequate. You must pivot according to the aircraft movement so that it looks like it is immobile in your viewfinder. The picture is easier to take when the aircraft is farther away but becomes more of a challenge when it gets closer and flies by you since you must constantly change your pivoting speed.

Porter Q-400 C-GLQD on final for Toronto Billy Bishop airport (CYTZ) 2016
Air Canada DHC-8-102 C-FGQK Toronto 2016

5. A shutter speed that is too high will immobilize the propeller of an aircraft and make it look like the engine is not working, which will take away realism.

6. Throughout the day, position yourself so as to have the sun behind you (if there is any sun!), unless you are looking for special effects.

Global 5000 GL5T C-GJET in Toronto 2016

7. A very high quality lens, like the Canon 50mm 1.4, allows for beautiful pictures during the evening since there is no compromise on ISO, as the lens does not need much light. The grain size stays relatively small.

Air Canada Boeing 777 final 05 Toronto 2016

8. I use a very low ISO if the photo includes an interesting but far away aircraft, in order to be able to crop the picture with Photoshop. Since I cannot compromise on the speed to avoid a blurred picture, it becomes obvious that it is the aperture that pays the price.

Air Canada Airbus A-330 final 06L Toronto 2016

9. If the situation allows it, add visual references other than clouds to get a bit more variety in your aircraft photo collection.

Air Canada Boeing 777 final runway 05 Toronto 2016

10. Try a black and white photo if the cloud formation is particularly interesting.

C-GQBG CL-415 and cirrus clouds on a black and white picture

11. RAW+JPEG files allow for important adjustments when necessary. A JPEG only photo gives you little leeway when you want to correct mistakes or during problematic lighting conditions.

12. Variable sky conditions and constant direction winds are preferable for your photo session since the runway in use will not be changed in the afternoon and your pictures will benefit from different light intensity and cloud formations.

13. If you want to take the aircraft in relation to the ILS poles and you are looking for a symmetrical photo, just move few inches to the right or left while the aircraft is approaching or going away from you. You will also want to avoid that the horizontal poles of the ILS cut the plane and make it difficult to see.

Westjet Boeing 737-800 final 05 Toronto 2016

14. Have fun experimenting, like taking a shot just above your head while including other objects for added interest.

On the ILS 05 for Toronto 2016

15. Instead of always showing the whole aircraft, try a close-up view.

Air Canada Boeing 787-9 C-FNOI in Toronto 2016

16. The close-up view might be such that even passengers of an aircraft on final will look at you while you immortalize them.

United Express on final at the Quebec Jean-Lesage international airport.

17. Chances are that you will meet other enthusiast plane spotters in the same area as yours since they also prepared themselves for a successful photo session.

Westjet Boeing 737-800 C-FYPB in Toronto 2016

18. Since you are in Toronto, head to Toronto Harbour when you are back downtown. You will witness the air traffic surrounding the Toronto Billy Bishop airport (CYTZ), formerly known as Toronto Island, and possibly take some original shots.

Porter Q-400 C-GLQM and C-GLQB at Toronto CYTZ 2016

19. This is the photo equipment used for my Toronto airport plane spotting session: Canon 5D MKII camera and the following Canon lenses: EF 50mm f/1.4 USM, EF 16-35mm f/2.8L II USM, EF 24-70mm f/2.8L USM, EF 70-200mm f/2.8L IS II USM. No polarizer was used that day since I wanted to increase my margin of manoeuver with fast moving aircrafts under the February low intensity light.

Air Canada Rouge Boeing 767-300ER final 05 at Toronto 2016
American Eagle CRJ-701ER N523AE Toronto 2016

Aviation photography requires much planning for successful photos. But all your efforts will rapidly bear fruits once you are on site and you will not see time pass! Have a great plane spotting session and give me some news of your experience if you can!

Air Canada Boeing 767-375 (ER) C-FCAB in Toronto 2016

You can have access to other aircraft photos taken at Toronto through this link on my site:
photo galleries/aviation only

For other articles on aviation and photography, click on the following link: Aviation photography

Categories
Real life stories as a flight service specialist (FSS): Iqaluit FSS

An improvised demolition worker in Iqaluit

Colors of the sky during nightime. Summer 1988, Iqaluit.

Around 1989-1990, there was in Iqaluit, on Baffin Island, a very quiet Inuit living in the same eight floor building as I did. He spent his free time reading while walking, lost in his thoughts like a priest. When we crossed each other on the street, we always exchanged polite greetings.

One evening, as I was about to leave my apartment to go to work the night shift at the Transport Canada flight service station (FSS), I saw in the corridor a man who was really going through an anger crisis, shouting and using all his determination to destroy a wall with a hammer. He was really going at it and the work was moving ahead very well…

I recognized that person that I was greeting almost on a daily basis and I was now facing a problem: To go work at the FSS station, I had to walk very close to him, since there was no other issue out of the building. Was he in such a crisis that he would not remember me?

I got closer and took the chance to pass just behind him. He suddenly stopped hitting the wall, turned around with the hammer in his hand and looked at me. Then he calmly said, like the gentlemen that he usually was: “Good evening!” I replied then walked about ten meters toward the exit before I heard him shout and hit the wall again.

The least I can say is that, some nights, you could witness the most bizarre situations. And when that was preceding a night shift, in an isolated Arctic post, you sometimes had the feeling to be living in a surreal world.

I do not know how the story ended. The next morning, back from the night shift, I entered a building where everything was peaceful. The only trace left by the man in crisis was a damaged wall. Very soon, somebody would come and repair the wall and that event would rapidly be erased from memories.

For more real life stories as a FSS in Iqaluit, click on the following link: Flight service specialist (FSS) in Iqaluit

Categories
Photography

Night photography: the Blood Moon Eclipse seen from Quebec

A quick look on internet provided the exact location and time where the moon would rise in the Quebec City region. On September 27th 2015, one had to look towards 089 degrees and be ready for 18:25 PM.

September 27th 2015. Blood Moon photo taken from Promenade Champlain, Quebec City, with a Canon 5D MKII.

Imagine being able to connect your camera to a modern personal telescope. That would make for fantastic shots. But since I deal with a Canon 70-200 f2.8L IS II USM coupled with an extender, I cannot expect the same results. Nonetheless, it is not a reason to stay at home…

September 27th 2015 Blood Moon Eclipse. As for the blue object to the right of the screen, your explanations are welcomed.

The most interesting effect happened during late evening. I caught the above shot around 22:15. Cranking the ISO, I saw a blue planet or something that looks like it in the frame. The shot was not taken through a window so there was no glass reflection. I was kind of surprised to see this addition to the Blood Moon Eclipse. I wrote to a local astronomy club, asking them what it could be. They answered that unless I took the shot through a window, causing a reflection, they did not know what it was.

I know nothing yet about astronomy. If it is the reflection of the moon, I don’t know how it got there since I was taking the photo outside, without a polarizer. According to a recent comment sent by Mario Cloutier (see the comments) who points the reader to another blog looking at this question, it is possible that the picture of this ghost moon is the result of an overexposed shot combined with the atmosphere’s specific characteristics of temperature and moisture which would increase the reflexion and refraction. That is a logical explanation. The last shot was taken around 22:35:

September 27th 2015 Blood Moon Eclipse. Camera adjusted on BULB priority, with ISO 100 and 2.8 aperture.
Categories
Photos of Canada Photos of Quebec

Montreal street photography: night reflections

In the middle of a public place in Montreal, I saw a chromed office furniture installation inside a plexiglass box. As interesting as it was, I thought that the scene would be more attractive if I waited for nightime.

Street Photography: Montreal night reflections

Darkness meant that nearby lamposts would be lit. The additional white light would contrast with the night and also help to improve the reflections caused by the chrome and plexiglass.

I only then needed a bystander to add a human presence to the scene. I waited for the moment he would stand still before taking the shot, since I was working with quite a slow speed.

We rapidly recognize three elements: the chair, the person and the rounded white lights. The rest comes after a brief moment of observation. The man attracts our interest as he makes us wonder what he is actually doing: he seems to be looking at the installation, yet he might also be reading some explanations about what he sees.

The viewing angle is wider, thanks to a Canon 14mm 2.8L lens. I did not need any tripod for this photo since the Canon 5D MKII was stabilized by being in contact with the plexiglass box. The only remaining aspect to take care of was to find a good angle to take the shot.

For other photos on the province of Quebec and also Quebec City, click on the following links from my blog:

Province of Quebec Photos
Quebec City and Île d’Orléans in Autumn
Quebec City and Île d’Orléans in Winter
Quebec City and Île d’Orléans in Spring
Quebec City and Île d’Orléans in Summer
Categories
Photography

Night Photography

Empress Hotel at dusk, Victoria Harbor, Canada 2014

1. Ensure you bring : tripod, remote cable, flashlight and timer.

2. Use of RAW (.TIFF) is highly recommended. There is a greater potential for corrections afterward, if something is not according to your taste.

3. Noise reduction activated on the camera.

4. If the winds are calm: ISO between 50 and 200.

5. If there are strong winds: ISO 400 might be useful to avoid a blurred picture caused by the continual small vibrations of the tripod due to a long exposure. That is why a heavy tripod is always preferable.

Trailing lights on boulevard Champlain, Quebec City

6. If you wish to take a picture of people moving at a normal pace, and you have access to quality lenses, it will often be necessary to use ISO 800 to get a clear shot. This setting could allow the shutter speed to be adjusted at about 1/200 which is plenty to obtain a picture that is not blurred; that is unless you are not using a long focal like 200mm or more.

7. For people shots, it is better to have your back to the remaining light on the horizon, unless your goal is to capture a silhouette.

8. For extended exposure, use the autofocus “one shot” setting until it stops working due to insufficient light. Then use manual focus. Or use manual focus all along, with Liveview, if you prefer it that way, for extra precision.

9. Mirror lock-up function must be activated to avoid vibrations caused by the shutter action.

10. Use a remote cable when taking the picture to avoid useless vibrations.

Old Québec at dusk
Old Québec at dusk.

11. If you wish, you might think of selecting a specific AF point to ensure a better focus if there is a small area that matters the most to you in the picture.

12. Do not use the FULL AUTO mode during night photography.

13. The three most important modes are 1. Aperture (taking care of slightly overexposing for surrounding lights) 2. Speed 3. Manual. There is one more reason to overexpose a bit if you work with the RAW format: there is more data information in light than in shadow, so once the picture is taken you have access to more data to play with to adjust the dark sections of the picture.

14. If you expect an exposure longer than 30 seconds, use BULB mode.

15. Night pictures are best taken using the camera bracketing funtion (-1,0,+1) and this, every two minutes.

A Christmas tree in Sillery

16. The best period for night shots is 15 minutes after sunset, until official night time, which you can find on the internet. As this period is quite short, it is important that you know in advance what is of interest to you and where you will position yourself when comes the time for the picture.

17. Total darkness is not what is the most favourable in night photography. But you can certainly obtain interesting results using black and white.

18. Beware of surrounding light reflection in your lens.

19. Histogram has to be reviewed to ensure that there is no serious overexposure.

20. It is preferable to choose an aperture between F11 and F16 for maximum sharpness as well as an adequate depth-of-field.

21. If shooting a subject against the remaining light over the horizon, there might be quite a contrast in lighting between where you stand and where your subject is positioned. You might think of using grad filters (3-6-9-10) to help correct this huge light difference, or you can transform the standard photo session into an HDR one. Or both! There are also filters specifically designed for sunrise and sunset periods that can improve your shots.

Paris, Le Marais 2013

All the photos were taken with a Canon 5D MKII