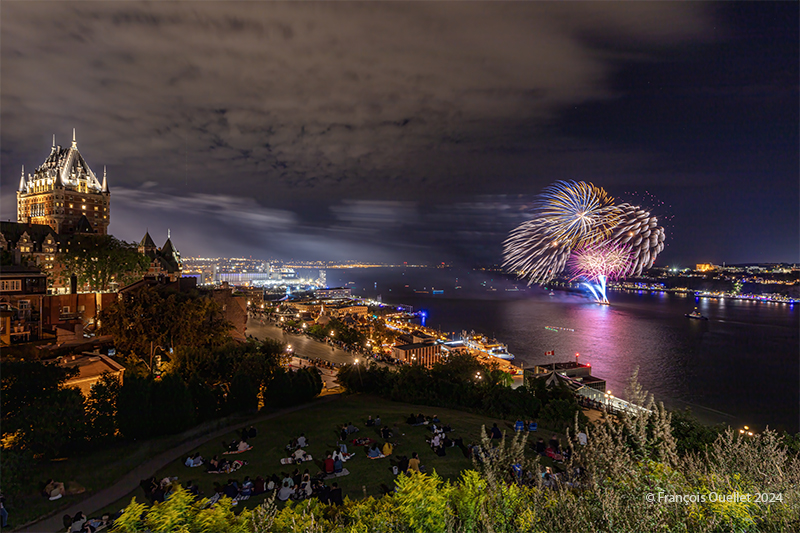
This year, the Grands Feux Loto-Québec are lit from a barge in the middle of the St. Lawrence River, between Lévis and Quebec City. A tugboat from the Ocean Group company secures the barge with a cable for the duration of the event.
I took the above shot with a Canon 5DSr full-frame camera equipped with a remote shutter release and a tripod-mounted Canon EF 11-24 mm F/4L lens. The super-wide-angle lens can capture both the Château Frontenac and the lights and city of Lévis across the river.
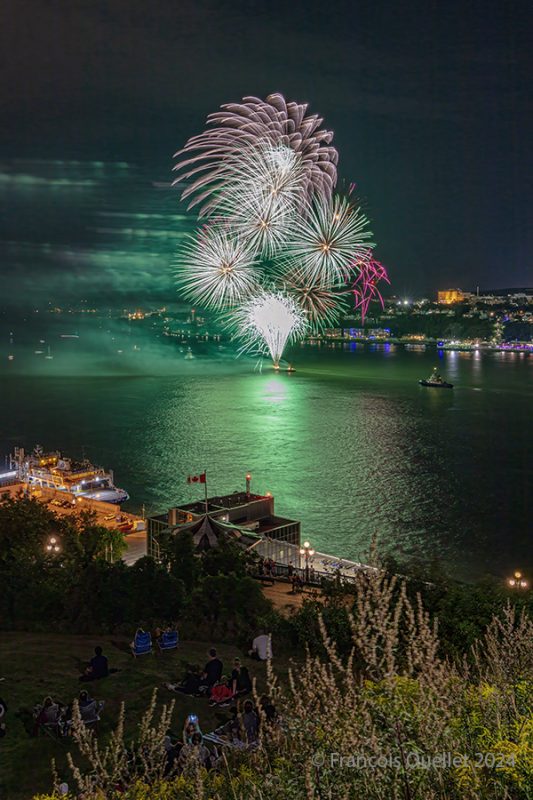
The BULB mode lets you set your own exposure time and take creative initiatives. The brilliant path from launch to explosion is captured in a single photo.
As soon as the bursts begin, you try a five-second exposure and observe the result. Then adjust by stretching the exposure time until good effects are achieved.
One mistake to avoid is leaving the shutter open for too long. When this happens, flashes of light build up on top of each other, and all you see in the final photo is blurry, glowing white.
Working with a RAW file offers much greater flexibility than with a JPEG file when processing the image on the computer.
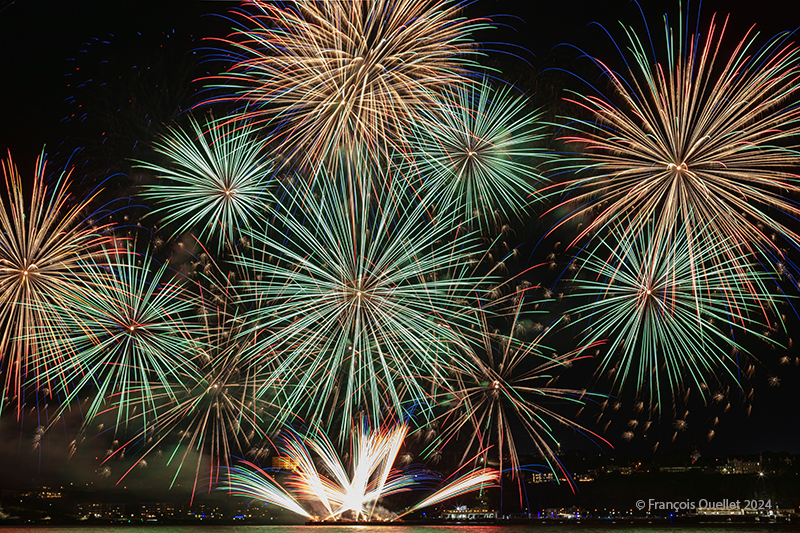
ISO 200 seems the best option here for several reasons: even if the activity takes place in full darkness, we want to avoid significant digital noise. A low ISO will also lengthen the exposure time and allow us to capture beautiful streaks at the moment of the explosions.
What’s more, the lights will illuminate the scene, reducing exposure time to a reasonable length. Finally, a layer of altocumulus cloud above the Château Frontenac serves today as an artificial light reflector in the photo above.
A depth of field between 8 and 13 ensures sufficiently accurate light at a reasonable distance.
Whether to focus manually or automatically remains a matter of taste. It should be noted that darkness can cause problems for autofocus. However, trial and error can sometimes produce interesting effects.
If you’re using manual focus, use the camera’s backlit screen to magnify the scene as much as possible and adjust the focus as required. You then return to the normal size display for the duration of the fireworks, taking care not to inadvertently touch the focus adjustment ring when changing the zoom.
Consider using a heavy tripod. In windy conditions, it will better resist vibrations during long exposures.
A final word of advice: fireworks attract a lot of people, some of whom are content with a fairly limited personal space, if they have one at all. Protecting your photographic area becomes an important objective, to avoid the tripod getting snagged or someone moving in front of you when enthusiasm takes over. So, arrive well in advance to choose the best location for you to work in, while protecting your work area.
For example, for the photos above, I had set up between a ramp fixed on a steep slope in front of me and a bush at the rear. No one could stand in front of me and no one could pass behind me because of the bush. I thus had only the sides to worry about. It sounds like an unnecessary concern, but these days everyone is filming fireworks and continually repositioning themselves without regard to their neighbors. Make life easier for yourself by making the necessary arrangements before the show.
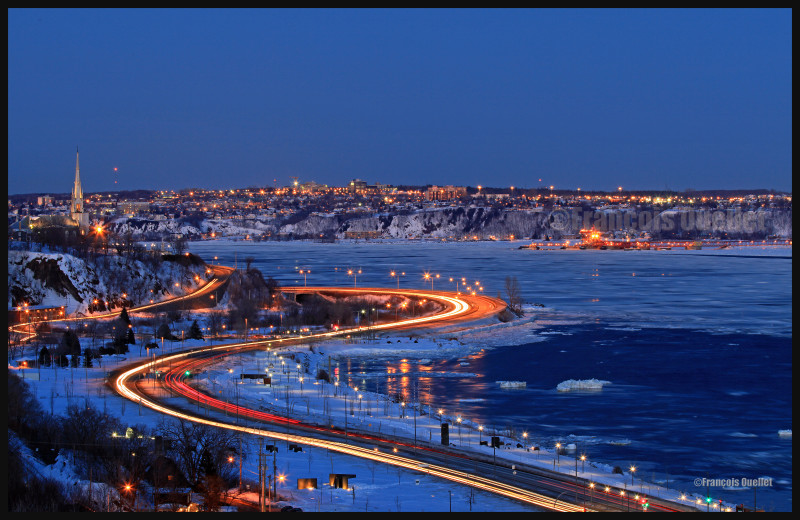
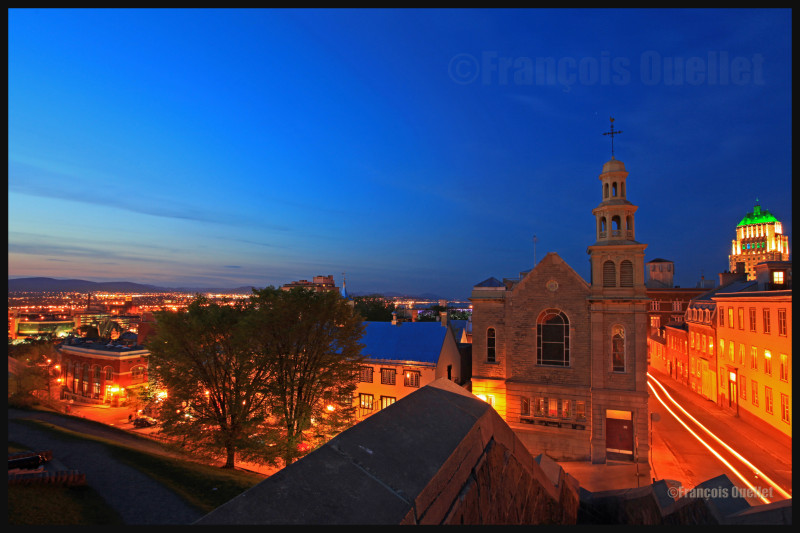
Click on the link for more photos of Quebec City and Île d’Orléans in Summer on my blog.