Categories
Photos of Canada Photos of Quebec
The new Pierre Lassonde pavilion of the Musée National des Beaux-Arts du Québec

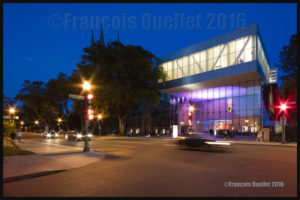
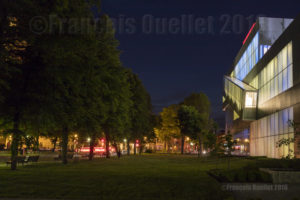
Official opening of the Pierre Lassonde Pavilion, which is part of the Musée National des Beaux-Arts de Québec, seen from Grande Allée on June 24th 2016
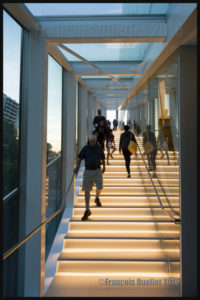
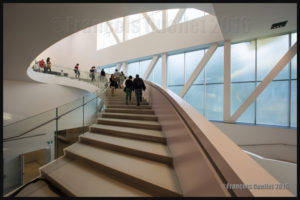
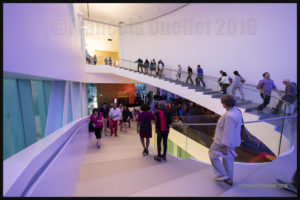
Pierre Lassonde Pavilion (Musée National des Beaux-Arts de Québec) intercommunication stairway on the day of official opening in June 2016

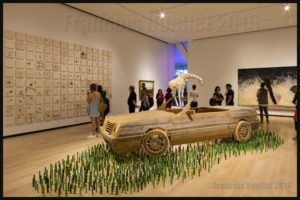
On June 24th 2016, during the National Holiday of Quebec, the new Pierre Lassonde pavilion of the Musée National des Beaux-Arts du Québec (MNBAQ) on Grande Allée in Quebec City was inaugurated. This pavilion, that has been expected for a very long time, will allow the Museum to expose art that had to be stored, up to now, due to lack of floor space. This new pavilion will double the exibition space.

Artwork exibited in the Pavillon Pierre Lassonde du MNABQ on June 24th 2016

Many political personalities were present, among them the Prime Minister of Canada Justin Trudeau and Quebec’s Prime Minister Philippe Couillard, as well as the MNBAQ director Line Ouellet. International actuality caught up with the Canadian Prime Minister during his presence in Quebec and he had to comment on United Kingdom’s exit from the European Union (Brexit) which was voted on the precedent day.

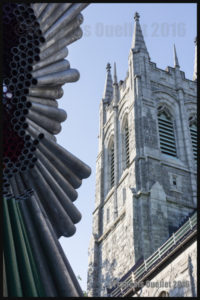
Part of a sculpture located outside of the Pierre Lassonde Pavilion at the Musée National des Beaux-Arts du Québec in 2016
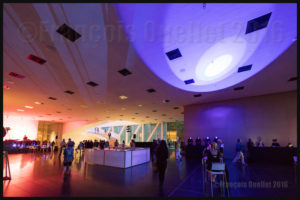
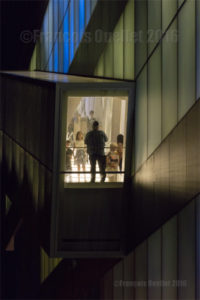
June 24th 2016 in the MNBAQ's Pierre Lassonde Pavilion
June 24th 2016 in the MNBAQ’s Pierre Lassonde Pavilion

The Pierre Lassonde pavilion architectural project, valued at about $103 millions, was the result of an international competition won by the American architectural firm OMA from New York. Fifteen thousand people were expected to show up for the inauguration. Instead, thirty thousand people visited the pavilion to get a glimpse of the creation directed by the architect Shohei Shigematsu.

Pierre Lassonde Pavilion's intercommunication stairway on June 24th 2016. Photo taken with a Canon 5DSR equipped with a 14mm 2.8L fixed lens.
Pierre Lassonde Pavilion’s intercommunication stairway on June 24th 2016. Photo taken with a Canon 5DSR equipped with a 14mm 2.8L fixed lens.
MNBAQ's Pierre Lassonde Pavilion's stairway on June 24th 2016
MNBAQ’s Pierre Lassonde Pavilion’s stairway on June 24th 2016

Lots of compromises to limit the expenses had to be made, like in all serious projects. Nonetheless, the pavilion is a success and I am eager to see what kind of atmosphere will be generated this coming winter when the light shines through the glass panels and colors the snow around the pavilion. This new building, with its original architecture and the light that emanates from it, already adds a new dynamic when night falls on Grande Allée.

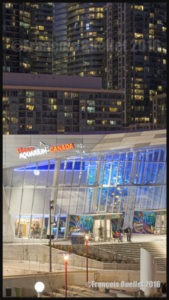
MNBAQ's Pierre Lassonde Pavilion on the evening of official opening. Photo taken with a Canon 5DSR on June 24th 2016
MNBAQ’s Pierre Lassonde Pavilion on the evening of official opening. Photo taken with a Canon 5DSR on June 24th 2016
Intercommunication staircase in the Pierre Lassonde Pavilion at the MNBAQ on the day of official opening (June 24th 2016)

For those of you who are interested in photography, here are some details about the photographic equipment used for my photos : they were all taken with a DSLR Canon 5DSR camera. The Canon lenses that were used were : EF 14mm f/2.8L II USM, EF 50mm f/1.4 USM and telephoto lens EF 70-200 mm f/2.8L IS II USM. The use of a flash being forbidden inside the museum, I had to carefully adjust the ISO, speed and aperture settings, especially where the use of a tripod was not authorized. For those occasions, the EF 50 mm f/1.4 USM was of great help.

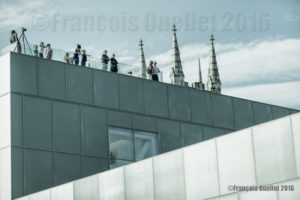
Visitors on the roof of the MNBAQ's Pierre Lassonde Pavilion on June 24th 2016
Visitors on the roof of the MNBAQ’s Pierre Lassonde Pavilion on June 24th 2016

For other photos on the province of Quebec and also Quebec City, click on the following links from my blog:

Province of Quebec Photos
Quebec City and Île d’Orléans in Autumn
Quebec City and Île d’Orléans in Winter
Quebec City and Île d’Orléans in Spring
Quebec City and Île d’Orléans in Summer
Categories
Photos of Canada Photos of Quebec
Photography with the Canon 5DSR in the Port of Montreal

In June 2016, I spent a few days in Montreal to look for photo opportunities in the city and in the Old Port. I had never seen so many construction projects going on at the same time in that city. We could feel that the city managers wanted everything to be perfect for the 375th anniversary of the city in 2017. Here are 2 percent of the photos that were taken during that photography session. (The files were in RAW and JPEG).

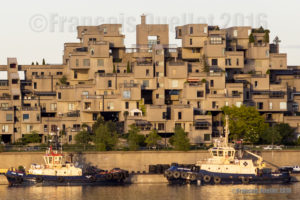
Photography and architecture. Habitat 67 in Montreal

The picture above represents Habitat 67, created in time for the 1967 Universal Exhibition by the architect Moshe Safdie. You can click on the following link if you wish to obtain supplementary details in regards to the conception and construction of Habitat 67: Moshe Safdie and Habitat 67

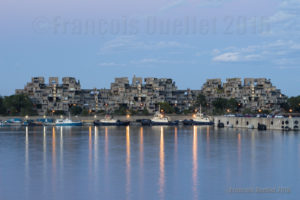
To take the photos, it was better to wait for the evening, a few minutes before nightime, in order to benefit from a better luminosity and prioritize the reflection of light sources on the water. Several boats passed by while I was taking the pictures and it momentarily diminished the quality of the light reflections. Eventually, after several trials, I benefited from a flat water surface. With ISO at minimum, I was able to limit the digital noise that would unavoidably become visible after cropping the images.

Habitat 67 Montreal
Habitat 67 Montreal

A photographic exposure lasting a few seconds helped to flatten the water surface and emphasize the light reflections. I made sure to keep the tugboats in front of the buildings since I consider that they added some dynamism to the scene. As usual, the use of a tripod, remote trigger and mirror lock-up helped to reduce the camera vibrations. Liveview was activated and the focus was done manually to ensure optimal image sharpness.

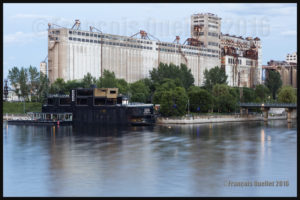
The picture below shows the abandoned grain silos in the Old Port of Montreal. They are protected since 1996 and will possibly be given a new role next year, just in time for Montreal 375th anniversary.

Grain silos in the Old Port of Montreal in 2016. Photo taken with a Canon 5DSR.

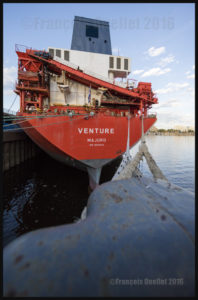
The bulk carrier Venture (formerly called Balder), built in 2002 and belonging to the CSL company, was docked in the Old Port. I tried a few shots, among them one with a telephoto lens Canon 14 mm 2.8L.

The Bulk Carrier Venture (CSL) in Montreal in 2016

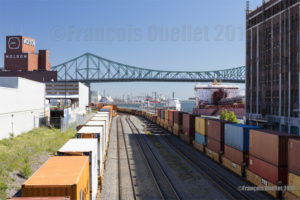
To get a privileged access to the harbor installations, where all the loading and unloading operations are performed, would have been really interesting, but, since it was not the case, I had to try to capture an idea of the Port activities from a distance. I wanted to include the wagons loaded with containers and the ships. The use of a polarizing filter allowed the enhancement of the colours of the wagons. I thought necessary to include the venerable Molson Brewery building in one of the shots.

View of the Montreal Harbor, Molson Brewery and the Jacques-Cartier bridge in 2016

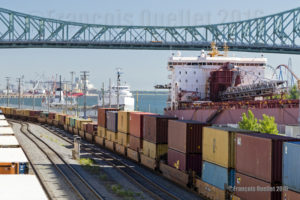
Then, profiting from the cancellation of the low pass filter in the Canon 5DSR DSLR, as well as the impressive enlarging capacities offered by the 50.6 megapixels full frame sensor, it was possible to capture a bit of the Port activities by cropping the photo later on, without any loss in quality, using an image editing software. The picture was taken with a telephoto lens Canon EF 24-70 mm f/2.8L USM at 70 mm.

Port of Montreal with ships and containers. Photo taken with a Canon 5DSR in 2016

For other photos on the province of Quebec and also Quebec City, click on the following links from my blog:

Province of Quebec Photos
Quebec City and Île d’Orléans in Autumn
Quebec City and Île d’Orléans in Winter
Quebec City and Île d’Orléans in Spring
Quebec City and Île d’Orléans in Summer
Categories
Photos of Europe

Photography in Europe: Gruyères and the Moléson in Switzerland

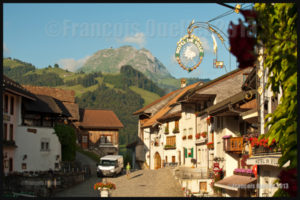
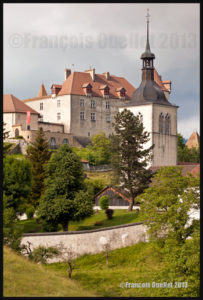
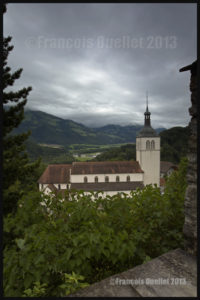
Gruyères and the Moleson in the background, Switzerland 2013

The city of Gruyères is located in the Prealps, in the Friburg County in Switzerland. It is a very charming small medieval town where cars are forbidden (the white van shown in the picture above is only used for morning delivery). In the city, one can visit the Gruyères Castle (Château de Gruyères), the H.R.Giger Museum (creator of the “Alien” in the movie Alien), the Tibet Museum, a cheese factory and boutiques. There are also some restaurants.

In the picture above, shot with a Canon 5D MKII, it is possible to see the Moléson in the background, a mountain that rises only 512 metres above the surrounding terrain but is still at more than 2000 meters above sea level. It is a tourist attraction that should not be neglected since it is very well equipped for all types of visitors, with a funicular and cable car. The visitors also have access to very interesting walking paths, for all ages and experiences.

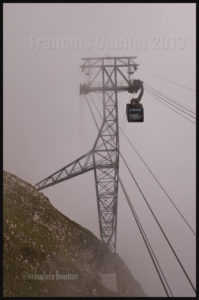
Moleson cable car, in the Gruyeres region, Switzerland 2013

When you use a cable car and do not see where it is leading due to the presence of clouds, you have to trust human engineering. But we are in Switzerland, so it should be all right!

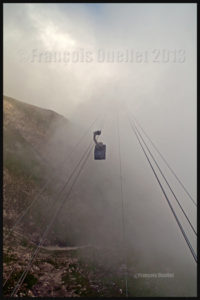
The Moleson cable car, Switzerland 2013

The Moléson summit offers superb views. The small cumuliform clouds visible in the morning around the mountain progressively lift up due to daytime heating and eventually become beautiful cumulus clouds that add life to any pictures.

Moleson summit in the clouds, Switzerland 2013

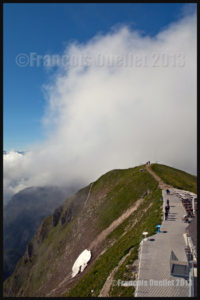
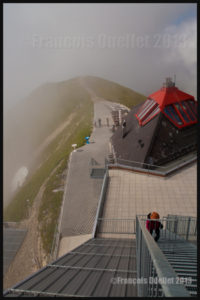
Once on top of the Moléson, it is possible to use a modern metal stairway to gain even more height and access a platform allowing an unobstructed panoramic view. The picture above was taken with a Canon EF 16-35mm f2.8L II USM wide-angle zoom lens equipped with a polarizing filter.

Metal stairs leading to an observation post on top of the Moleson, Gruyeres region, Switzerland 2013

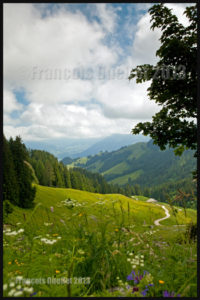
When ready to go down the mountain, the visitor has two choices: travel with the cable car and funicular he used when coming up, or slowly walk along an easily accessible path through beautiful green landscapes. The more experienced trekkers might decide to walk along the crests of surrounding mountains. We chose to walk on paths covered with flowers.

Path on the Moleson, Switzerland 2013

Back to Gruyères, a visit of the Château de Gruyères and both museums is a must, as well as a tour of the cheese factory. You might want to spend some time in the boutiques too and try the local restaurants. It is also the moment to take a few pictures…

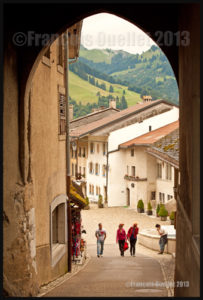
Inside the Gruyeres medieval city, Switzerland, 2013

The old architecture of the buildings in Gruyères as well as the neighbouring countryside allow for very interesting photographic compositions. A well-known photography technique consists in using an opening in a building and using it as a second frame (a frame within a frame). I made sure that the background was clear enough to improve the visual effect. An aperture around 16 allowed for an appropriate depth-of-field.

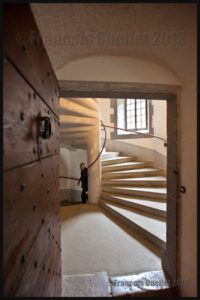
Spiraling stairs in the Gruyeres Castle, Switzerland 2013

The picture above shows a spiraling staircase inside the Château de Gruyères. I can barely imagine what the results would have been if I had had access to the new Canon 11-24mm wide-angle lens. But nonetheless, the Canon EF 16-35mm f2.8L II USM zoom lens did a good job.

The beauty of the full frame sensor mounted on the Canon 5D MKII DSLR is that a wide-angle shot taken at a 16mm focal will stay at 16mm while with a smaller sensor, like the APS-C, the photographer is facing a conversion factor of 1.5 or 1.6X, which transforms the 16-35mm wide-angle into a 24-52mm, in the best of cases. The APS-C sensor is interesting when used with a telephoto lens but a bit less when comes the time to take wide-angle shots.

The picture below presents the Château de Gruyères seen from a neighbouring field.

Gruyeres old architecture, Switzerland 2013

As the sun was setting down, I tried a shot from inside the castle. It was interesting to see the two little boys standing up alongside the wall and admiring the sunset. At the same time, it was possible to see the Moléson in the distance, its summit hidden in the clouds.

Due to the strong light contrasts, it was necessary to use a Hi-Tech ND graduated filter installed on my Canon 16-35mm wide-angle zoom lens. The Digital SLR Photography magazine, in one of its recent editions, made a comparison between ND grad filters and indicated that the Hi-Tech filter had a slight magenta coloration instead of a neutral grey. I think it is easily visible in the picture below. The photo could have been corrected with Photoshop but I thought of keeping it as it was since the scenery looked somewhat unreal already.

View from the Gruyeres Castle and the Moleson, Switzerland 2013

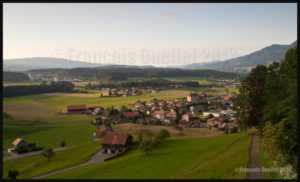
Once the sun was below the horizon, the more subtle colours gave a totally new look to the countryside. On the picture below, it is possible to see on the right a small path that a visitor can take to head down to the nearby village.

Gruyeres region in the sunset, Switzerland 2013

All the sceneries are not that easy to capture and it is sometimes necessary to use HDR photography to extend the dynamic range and take care of extreme light contrasts. The photo below needed five different exposures that were subsequently processed with the Photomatix image editing software. Useless to say, it was necessary to use the mirror lock-up function, a tripod and a remote control release.

View from the Gruyères Castle, Switzerland, in HDR 2013

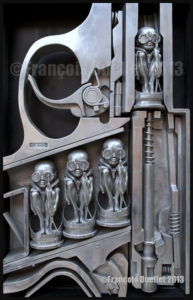
Here is, as the final picture, an idea of what is waiting for you at the H.R. Giger Museum. If there is a strange but very interesting museum, it is this one.

Artwork in front of the H R Giger Museum, Gruyeres, Switzerland 2013

Other pictures of Europe and around the world will be posted in the coming months…

Categories
Photography

Flowers and plants photography

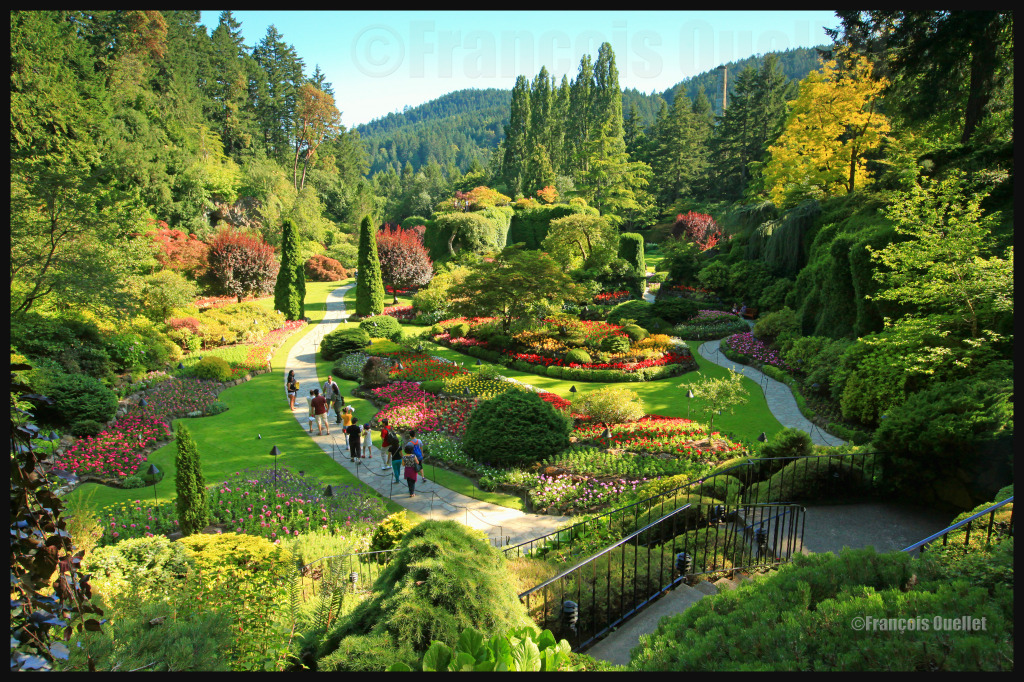
Butchart Gardens, British-Columbia, 2012.

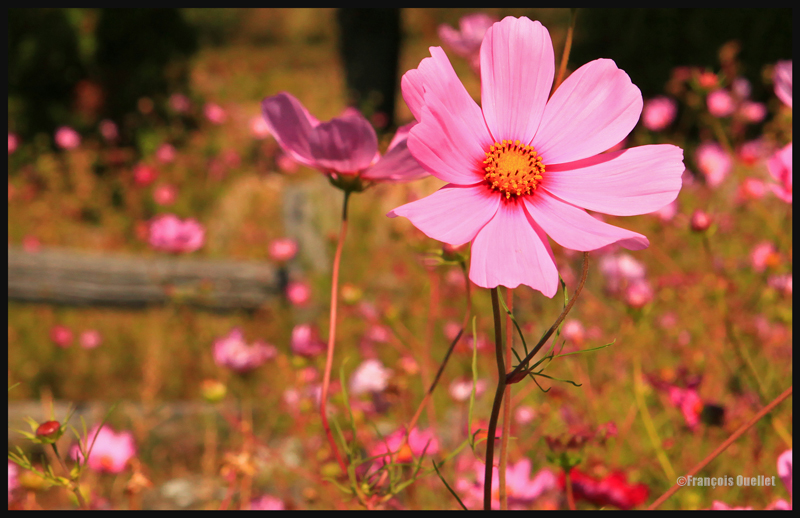
Facing a field of flowers, a photographer has to choose among many possibilities. Here are just a few:

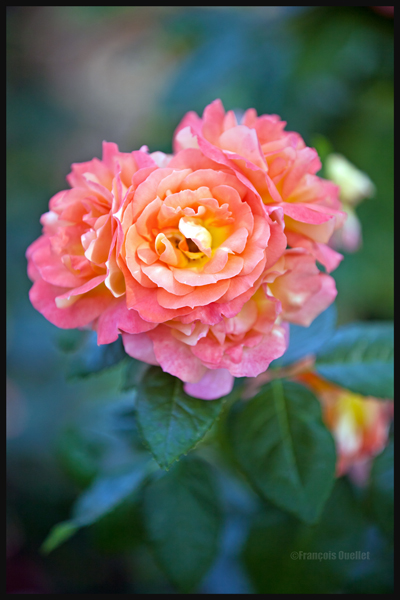
1) He can choose a really beautiful flower and make it the sole point of attraction. In that case, he must decide if the background will be free of any distractions.

A rose from the English Garden in Geneva, 2013.

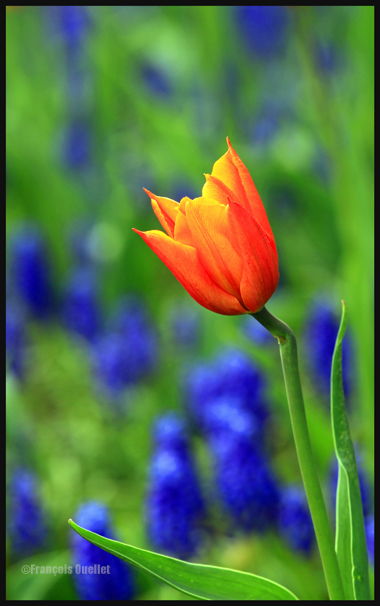
2) He can profit from a blurred background that is of a color dramatically opposed to the color of the chosen flower.

A tulip in the Bois-de-Coulonge, Québec City.

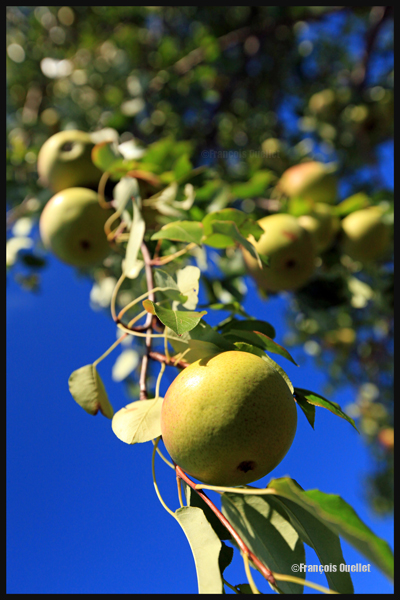
3) He might favor an overhead or a low angle shot. As this choice of the angle of view does not apply only to flowers, I found in my archives a low angle shot of a pear tree located in St-Nicolas, Québec. Here it is, so that you can see what kind of effect can be obtained.

Pears from Saint-Nicolas, Québec.

4) He can decide to show many flowers on the same picture, considering the interesting impact produced by all the color dots.

A field of flowers in Saint-Nicolas, Québec.

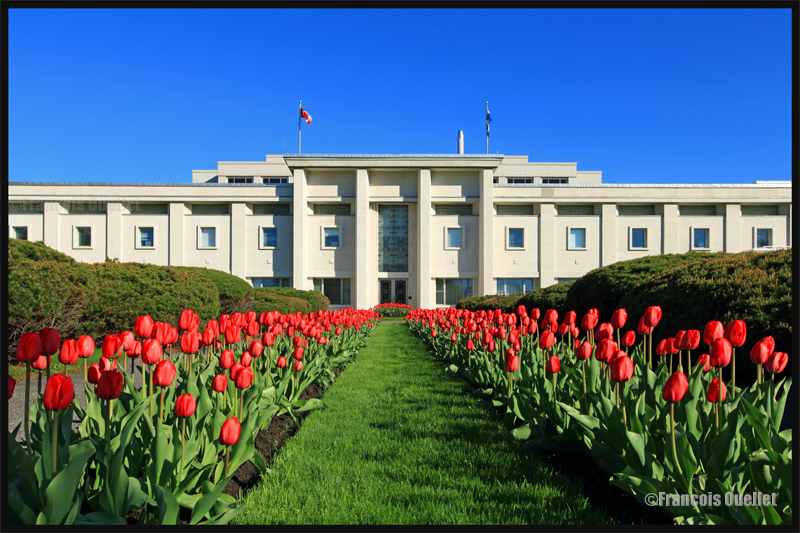
5) He might also use the flowers as accessories to direct the eye of the viewer to another point of interest like, for example, a building with special architectural characteristics.

Industrielle Alliance building, Quebec City, 2012

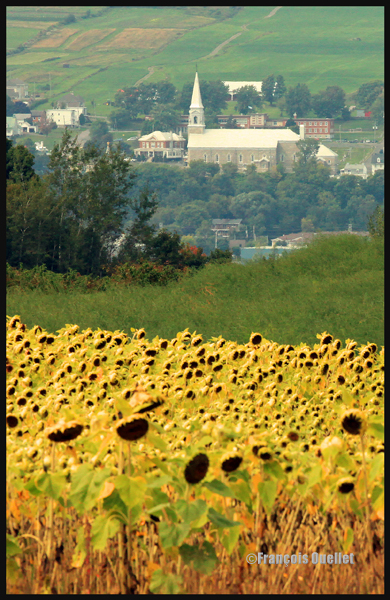
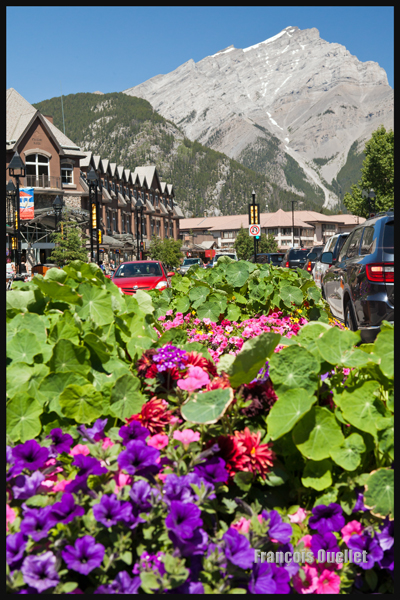
Flowers as accessories to improve a beautiful landscape in the background.

Sunflowers on Île d'Orléans
Sunflowers on Île d’Orléans
Photo of a part of Banff downtown, Alberta, Canada 2014
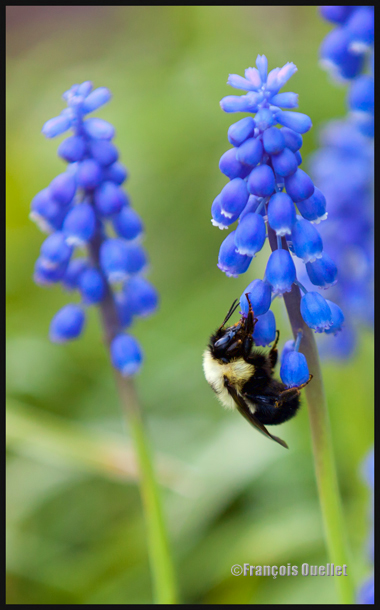
The flowers and the bumblebee are two interesting subjects; they complement each other in this picture. It would be hard for me to decide which one I prefer.

Bumblebee on a flower in the Parc du Bois-de-Coulonge, Québec City

Unless there is no other possibility, it is better to avoid shooting flowers under full sun as there will be considerable reflection on their petals. If you have no choice, use a polarizing filter, well adjusted, to reduce the undesirable effects of direct sunlight.

The ideal day to get out and take pictures of flowers is a day without wind, where there is a bright light but dimmed by an overcast sky.

The quality of colors and contrasts will be maximized if the pictures are taken during the morning or at the end of the afternoon.

2008 0505 Ottawa watermark eng

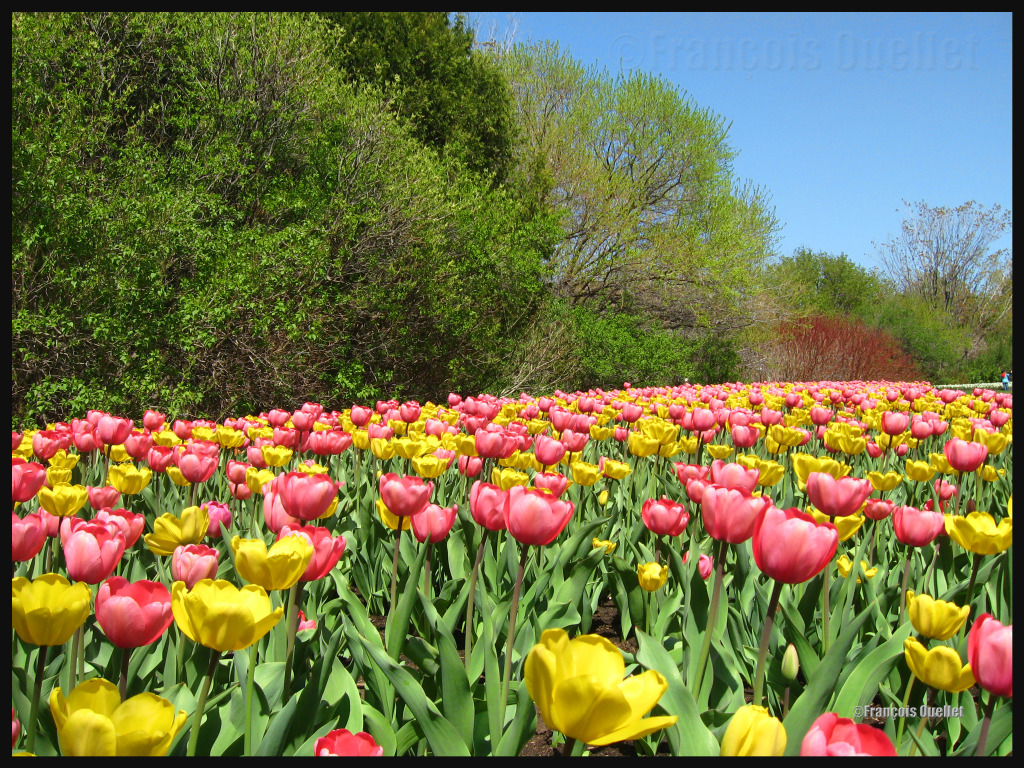
Aperture has a definite impact on the final result. With a wide aperture (smaller numbers like F2.8 or F4.0) you will get a sharp subject with everything blurred around it. This will make your flower stand out. With a small aperture (bigger numbers like F14, F16), both foreground and background will be sharper, with an even better result using a wide-angle lens. Your flower will lose a bit of its impact as all the elements in the picture will now shine. Below is a picture taken in Ontario, during the Ottawa Tulip Festival.

Macrophotography:

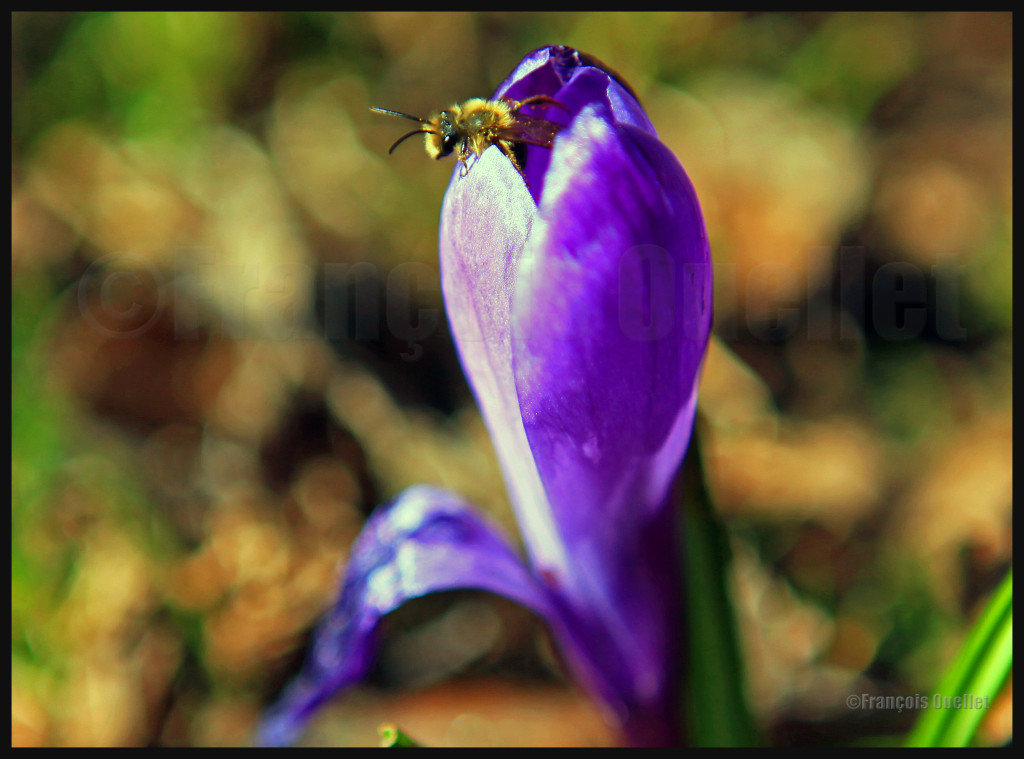
April 2012 on the Plains of Abraham: A bee makes its way out of a crocus.

1) Remove any dirt from the plant you want to capture and choose a plant whose petals are in perfect condition.

2) Use a tripod, a remote control release and the mirror lock-up (MLU) function for better results.

3) The camera should ideally be used with manual focus, for improved sharpness. In order to verify if the picture will be in focus, look at the LCD screen and enlarge the picture (5X or 10X). You will immediately see if a minor adjustment is needed to get a sharp photo or to improve the depth-of-field.

The histogram should be checked upon taking the picture to immediately compensate for the necessary amount of light.

You can use a flash to reduce aperture. You must adjust it so that it’s not shooting at full power otherwise there will be too much reflection and you will lose all the delicate nuances of colors and contrasts.

A method that will produce surprising results is called “zoom burst”. You slowly move the zoom of a lens on all its focal length while the shutter remains open during the process. You must select a speed that is slow enough to accommodate the full deflection of the zoom. You should know that many shots are normally needed before you get a satisfying image.

Every lens offers different possibilities:

1) The macro lens is useful if you wish to capture very precise details on the flower. To add an interesting effect, you can even spray the flower lightly with water so that a few droplets remain on the petals.

2) The wide-angle lens allows you to transform an image and give it an original perspective. The effect will be more important if you shoot the flower from a special angle like, for example, from the ground up. If you must lie on the ground, use a little carpet to keep yourself clean and dry. I bought a right-angle finder to ease the workload when shooting under complicated angles. This could be a potentially interesting addition to your equipment.

3) Finally, the telephoto allows you to pick a particular flower and, because of compressed perspective, offers you a background filled with multiple colors.

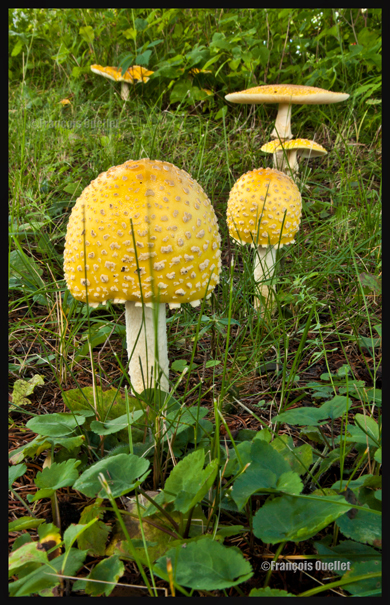
Let’s end this section with a mushroom picture. The same principles apply with regards to simplicity, settings and angles of views. I could have chosen to show only an oversize shot of a mushroom, or take only part of it, but I preferred an approach that would allow me to show the radically different shapes of the specimens found at the Laurentian Forestry Center in Québec.

Mushrooms around the Canadian Forestry Service building , Québec 2014.