An excellent spot for paddleboarding (SUP) in the Quebec City area is located at kilometer 25 (EKWATEK) of Jacques-Cartier National Park. There are no services as such at this location, but a large free parking lot provides easy access to the riverbank, which is only a few meters away.
The natural surroundings are breathtaking. Bring a good camera (or at least a cell phone) in a waterproof bag. There are several splendid spots for landscape photography.
As summer progresses, the water level drops. However, even in fall, the river remains deep enough to enjoy your sport in complete peace of mind. At first, paddleboarders follow the gentle current of the Jacques-Cartier River southward. So there’s no need to paddle vigorously! You can just let yourself go. You’ll know when it’s time to turn back when you see small waterfalls in the distance. To avoid damaging the board, you turn around.
On the return trip, the effort required is greater, but not excessive. In strong north winds, bring a paddle to which you can attach an oar in place of the handle, giving you the feeling of paddling like a kayaker. Sitting or kneeling on the board, you will return to your starting point more quickly.
In the event of a southerly wind, the energy required to return is minimal. This allows you to make several round trips and spend a few hours on the river without getting exhausted!

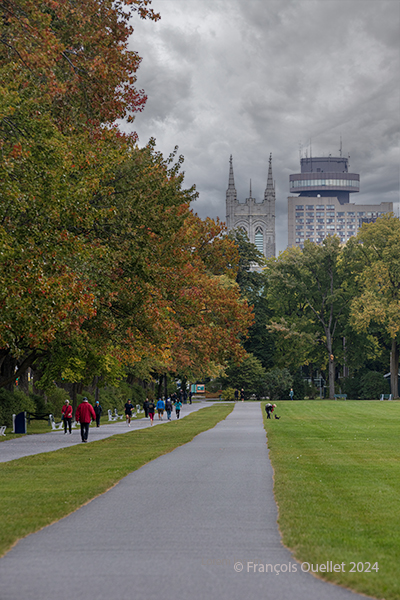
On your way to kilometer 25, you can admire several scenes like this. The surroundings are magnificent! Green, yellow, and orange are the colors of autumn. There is very little red in the area. The orange color is concentrated mainly at the beginning of autumn, while the yellow persists much longer. The photo above was taken at the beginning of August.
Click on the link for more photos of the province of Québec on my blog.