Categories
Photography Books

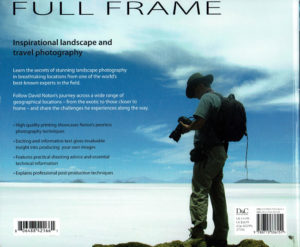
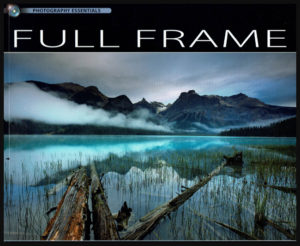
Photography books: “Full Frame” by David Noton

The photography book « Full Frame », by David Noton, was written in 2010 but the content is still totally pertinent today. It’s possibly the best photography book I’ve ever read. The images are fantastic and the text is loaded with practical and accessible information.

Photography book "Full Frame" by David Noton
Photography book “Full Frame” by David Noton

The author is known as one of the best landscape photographer in the world. Every page of his book is divided in three sections: before, during, after. This means that you read about everything that the author had to deal with as he travelled around the world with his wife to capture landscapes: the preparation, technique, priorities, obstacles, successes, etc.

All along the book, I had the feeling that a friend was writing me since the text is written with a light and humoristic approach in mind, and certainly without pretend. Here are some of his remarks and advices:

“Luck is where preparation and opportunity combine.” (p.38) This certainly applies to everything we do in life.

“Stick with the full frame quality and crop as when required, keeping all the [sensor’s megapixels] information in reserve”.

“Sometimes a new lens or format will serve as a catalyst for a whole new way of looking. It’s all part of the evolutionary process.” (p.64)

Sharpen all digital images. Pictures are made of square pixels and need microadjustments.

To choose among your interesting similar photos which one is the best, start with a very good one and compare it with each other photo, one at a time, throwing away the ones that are inferior. You will save a lot of time.

A bit of blinking in the highlights is not terrible since RAW files can easily be adjusted. Don’t forget that the camera’s monitor shows an histogram adjusted for JPEG files.

Use a grad filter to control the contrasts only, not to add mood or create an artificial contrast.

There is no need to always show the tops of mountains.

“The best pictures are the simplest. Composition is the art of knowing what to leave out.” (p.71)

“Be flexible and strive to extract the most from seemingly adverse conditions.” (p.77)

“For wide angle views on the world, a full-frame sensor is imperative.” (p.93)

Back cover of the photography book "Full Frame" by David Noton
Back cover of the photography book “Full Frame” by David Noton

“Scout the location, analyse the options in different lighting situations, previsualize the image, plan the shoot then keep returning until it’s nailed.” (p.113)

“Location finding is everything; the photography is the easy bit.” (p.125)

“Don’t be afraid of “blinkies” in the brightest part of the sky where the sun shines through […]. We don’t expect to see detail there.” (p.138)

“Using movement is an essential technique in a photographer’s repertoire.” (p.143)

“The classic, golden rule of thirds is a good starting point, but it’s only a guideline to ignore at will.” (p.149)

“A camera’s sensor is not a linear device so the right half of the histogram contains far more information than the left. Those apparently overexposed images, when processed with the brightness brought back to the desired density, will have richer tones and less noise than a frame exposed to the left.” (p.153)

“We photographers can only continue to improve if we keep pushing ourselves.” (p.187)

For more photography books, click on the following link: Other photography books

Title: Full Frame
Author: David Noton
Edition: David & Charles
ISBN-13:978-0-7153-3615-1
©2010
Categories
Photography

Flowers and plants photography

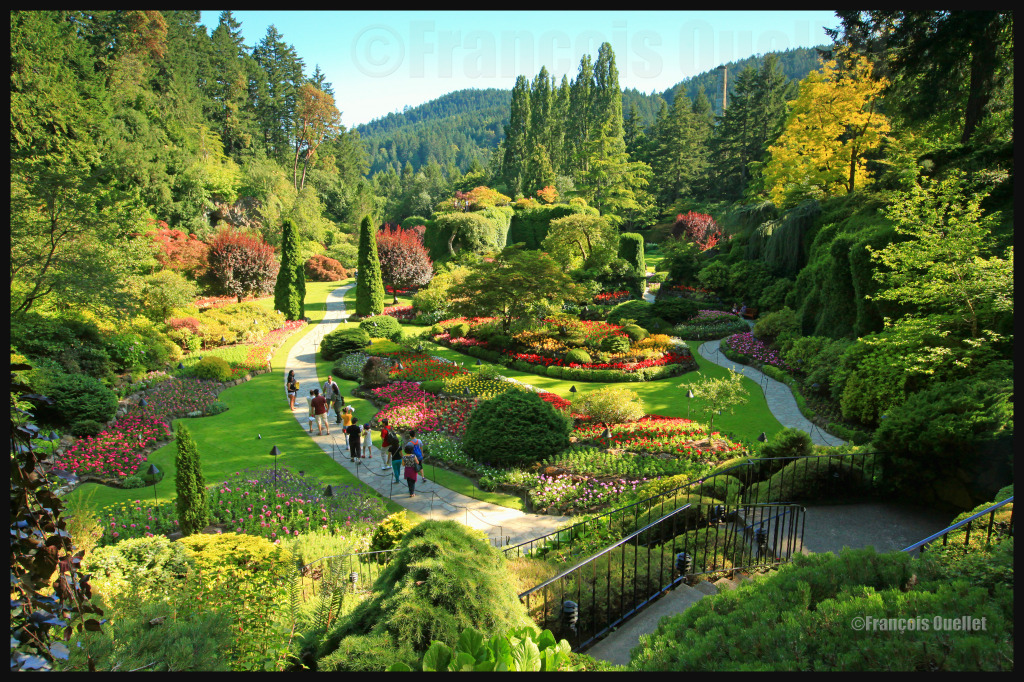
Butchart Gardens, British-Columbia, 2012.

Facing a field of flowers, a photographer has to choose among many possibilities. Here are just a few:

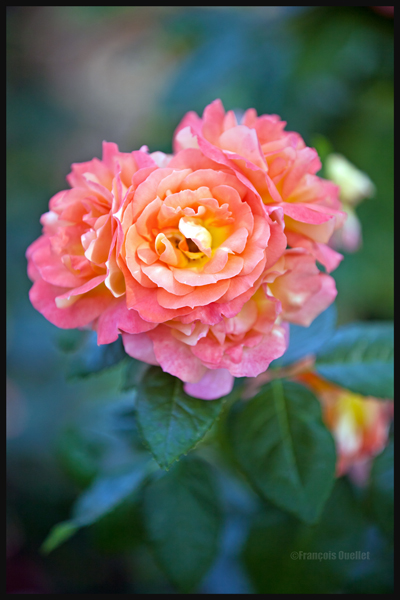
1) He can choose a really beautiful flower and make it the sole point of attraction. In that case, he must decide if the background will be free of any distractions.

A rose from the English Garden in Geneva, 2013.

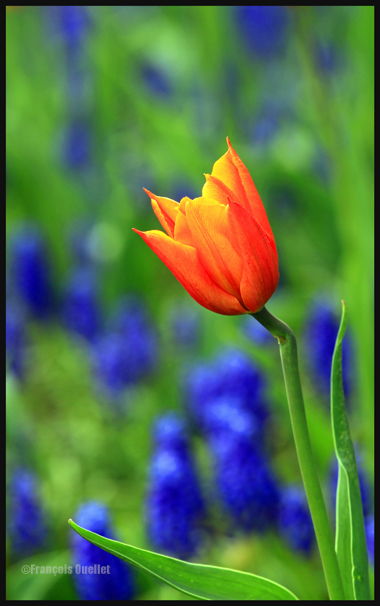
2) He can profit from a blurred background that is of a color dramatically opposed to the color of the chosen flower.

A tulip in the Bois-de-Coulonge, Québec City.

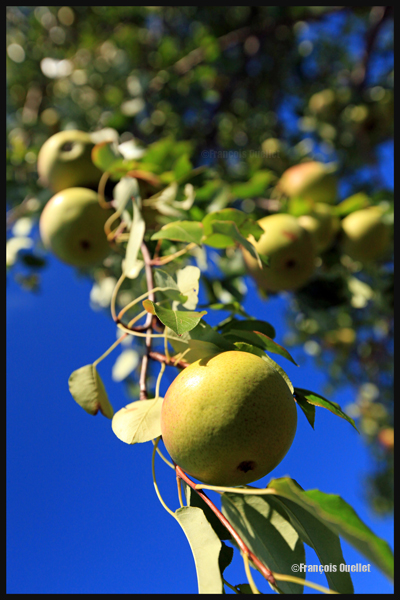
3) He might favor an overhead or a low angle shot. As this choice of the angle of view does not apply only to flowers, I found in my archives a low angle shot of a pear tree located in St-Nicolas, Québec. Here it is, so that you can see what kind of effect can be obtained.

Pears from Saint-Nicolas, Québec.

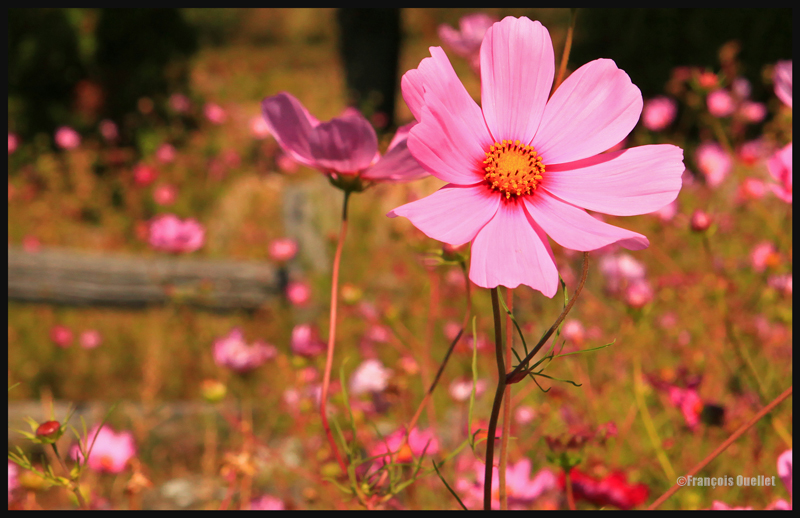
4) He can decide to show many flowers on the same picture, considering the interesting impact produced by all the color dots.

A field of flowers in Saint-Nicolas, Québec.

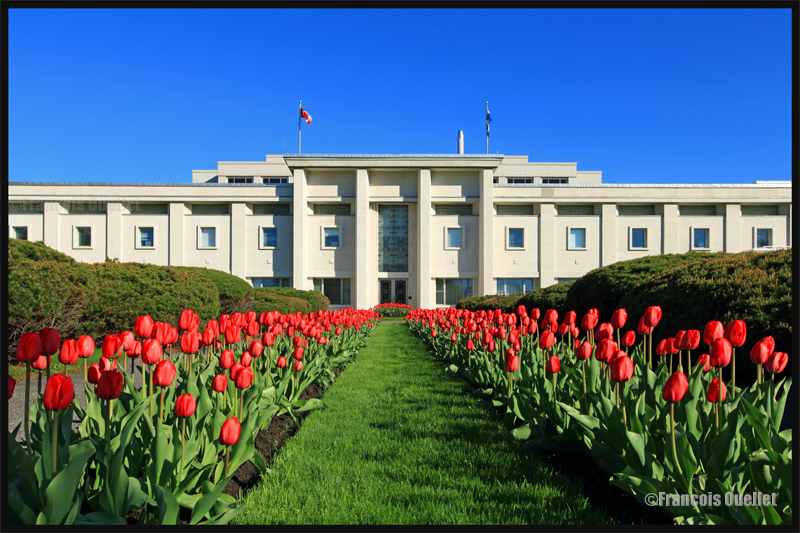
5) He might also use the flowers as accessories to direct the eye of the viewer to another point of interest like, for example, a building with special architectural characteristics.

Industrielle Alliance building, Quebec City, 2012

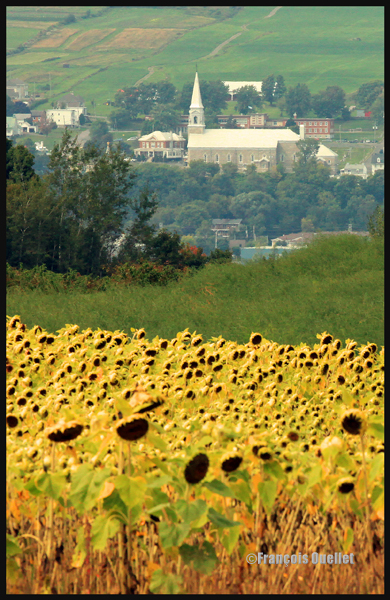
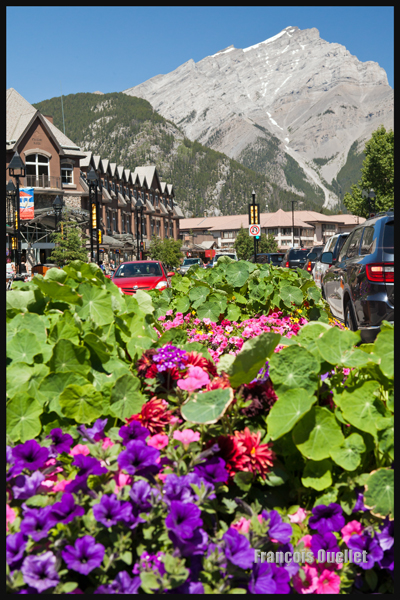
Flowers as accessories to improve a beautiful landscape in the background.

Sunflowers on Île d'Orléans
Sunflowers on Île d’Orléans
Photo of a part of Banff downtown, Alberta, Canada 2014

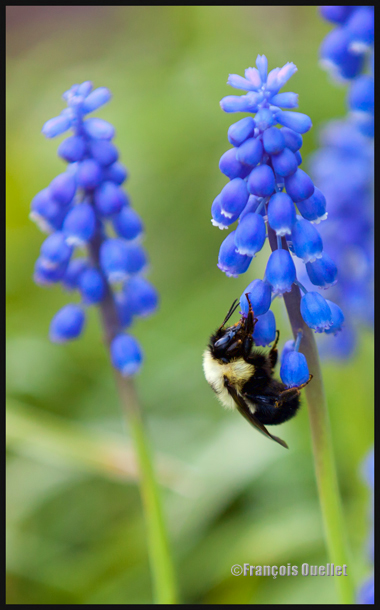
The flowers and the bumblebee are two interesting subjects; they complement each other in this picture. It would be hard for me to decide which one I prefer.

Bumblebee on a flower in the Parc du Bois-de-Coulonge, Québec City

Unless there is no other possibility, it is better to avoid shooting flowers under full sun as there will be considerable reflection on their petals. If you have no choice, use a polarizing filter, well adjusted, to reduce the undesirable effects of direct sunlight.

The ideal day to get out and take pictures of flowers is a day without wind, where there is a bright light but dimmed by an overcast sky.

The quality of colors and contrasts will be maximized if the pictures are taken during the morning or at the end of the afternoon.

2008 0505 Ottawa watermark eng

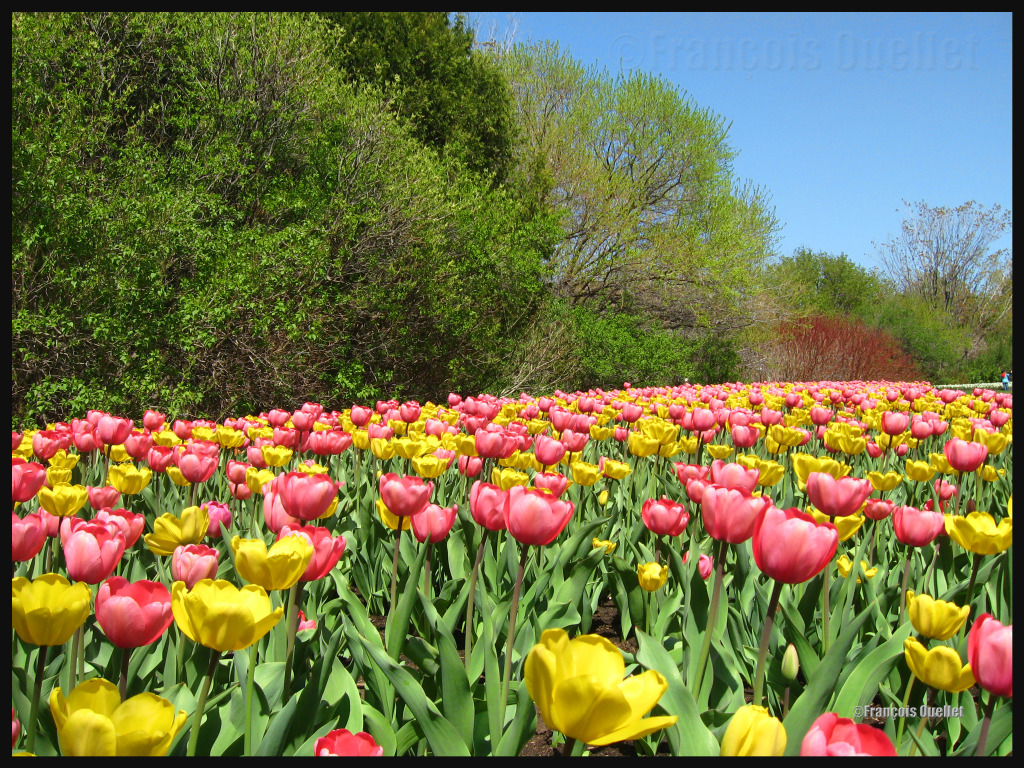
Aperture has a definite impact on the final result. With a wide aperture (smaller numbers like F2.8 or F4.0) you will get a sharp subject with everything blurred around it. This will make your flower stand out. With a small aperture (bigger numbers like F14, F16), both foreground and background will be sharper, with an even better result using a wide-angle lens. Your flower will lose a bit of its impact as all the elements in the picture will now shine. Below is a picture taken in Ontario, during the Ottawa Tulip Festival.

Macrophotography:

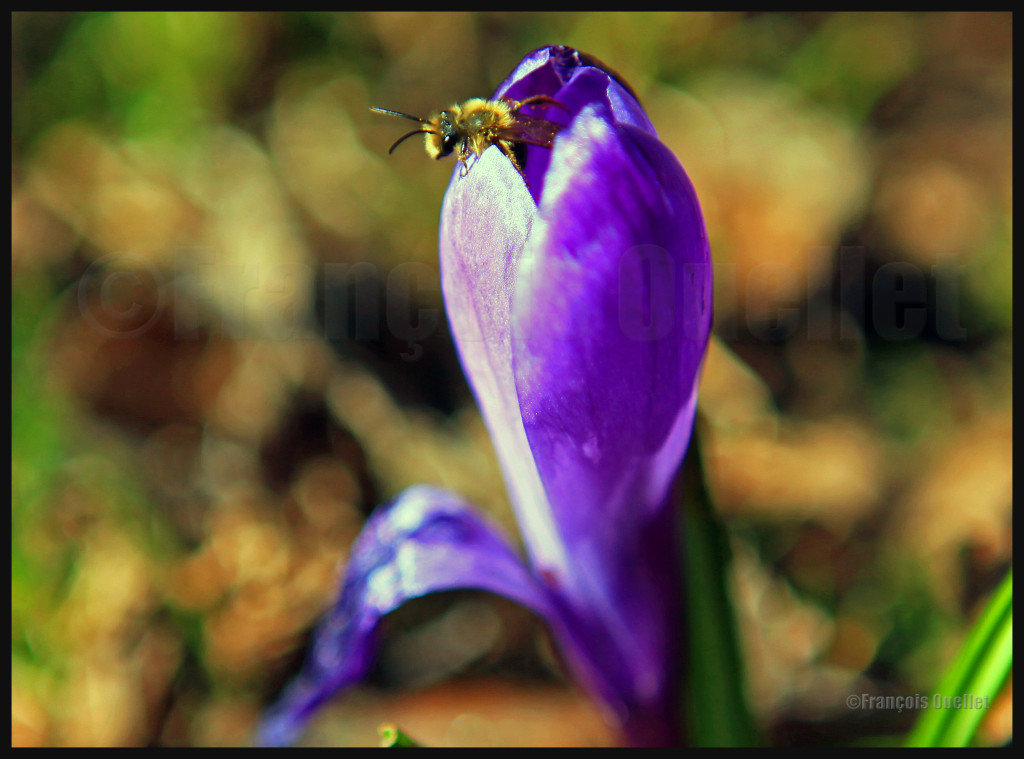
April 2012 on the Plains of Abraham: A bee makes its way out of a crocus.

1) Remove any dirt from the plant you want to capture and choose a plant whose petals are in perfect condition.

2) Use a tripod, a remote control release and the mirror lock-up (MLU) function for better results.

3) The camera should ideally be used with manual focus, for improved sharpness. In order to verify if the picture will be in focus, look at the LCD screen and enlarge the picture (5X or 10X). You will immediately see if a minor adjustment is needed to get a sharp photo or to improve the depth-of-field.

The histogram should be checked upon taking the picture to immediately compensate for the necessary amount of light.

You can use a flash to reduce aperture. You must adjust it so that it’s not shooting at full power otherwise there will be too much reflection and you will lose all the delicate nuances of colors and contrasts.

A method that will produce surprising results is called “zoom burst”. You slowly move the zoom of a lens on all its focal length while the shutter remains open during the process. You must select a speed that is slow enough to accommodate the full deflection of the zoom. You should know that many shots are normally needed before you get a satisfying image.

Every lens offers different possibilities:

1) The macro lens is useful if you wish to capture very precise details on the flower. To add an interesting effect, you can even spray the flower lightly with water so that a few droplets remain on the petals.

2) The wide-angle lens allows you to transform an image and give it an original perspective. The effect will be more important if you shoot the flower from a special angle like, for example, from the ground up. If you must lie on the ground, use a little carpet to keep yourself clean and dry. I bought a right-angle finder to ease the workload when shooting under complicated angles. This could be a potentially interesting addition to your equipment.

3) Finally, the telephoto allows you to pick a particular flower and, because of compressed perspective, offers you a background filled with multiple colors.

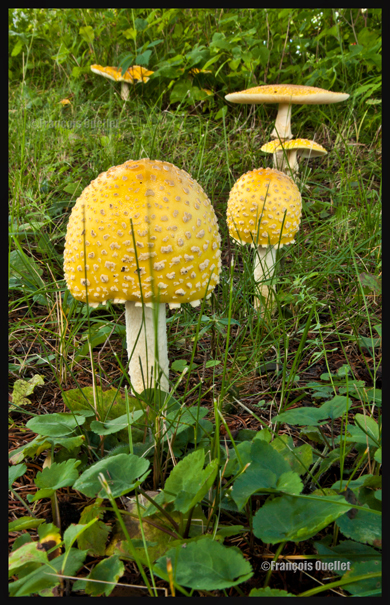
Let’s end this section with a mushroom picture. The same principles apply with regards to simplicity, settings and angles of views. I could have chosen to show only an oversize shot of a mushroom, or take only part of it, but I preferred an approach that would allow me to show the radically different shapes of the specimens found at the Laurentian Forestry Center in Québec.

Mushrooms around the Canadian Forestry Service building , Québec 2014.
Categories
Photography

Night Photography

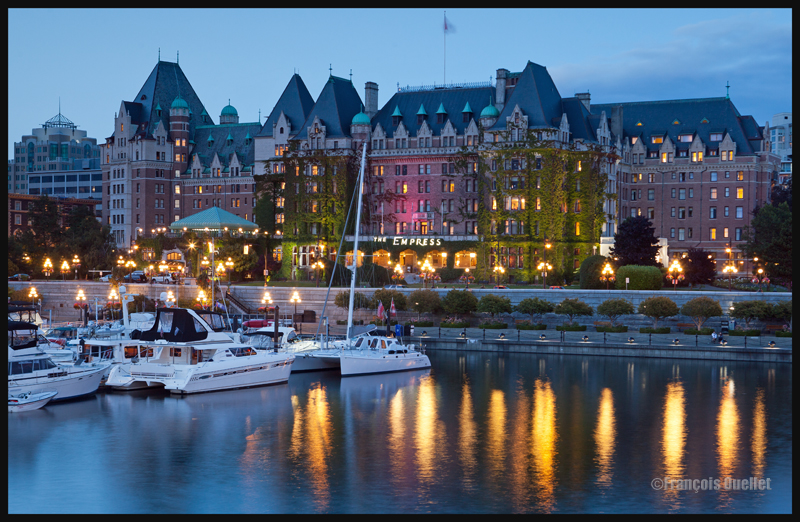
Empress Hotel at dusk, Victoria Harbor, Canada 2014

1. Ensure you bring : tripod, remote cable, flashlight and timer.

2. Use of RAW (.TIFF) is highly recommended. There is a greater potential for corrections afterward, if something is not according to your taste.

3. Noise reduction activated on the camera.

4. If the winds are calm: ISO between 50 and 200.

5. If there are strong winds: ISO 400 might be useful to avoid a blurred picture caused by the continual small vibrations of the tripod due to a long exposure. That is why a heavy tripod is always preferable.

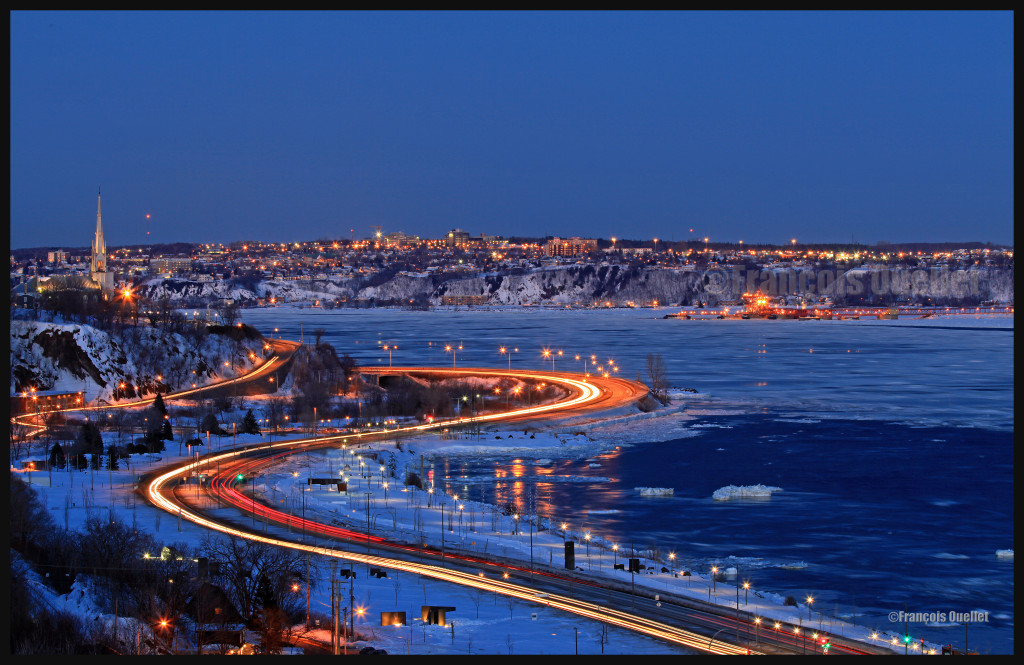
Trailing lights on boulevard Champlain, Quebec City

6. If you wish to take a picture of people moving at a normal pace, and you have access to quality lenses, it will often be necessary to use ISO 800 to get a clear shot. This setting could allow the shutter speed to be adjusted at about 1/200 which is plenty to obtain a picture that is not blurred; that is unless you are not using a long focal like 200mm or more.

7. For people shots, it is better to have your back to the remaining light on the horizon, unless your goal is to capture a silhouette.

8. For extended exposure, use the autofocus “one shot” setting until it stops working due to insufficient light. Then use manual focus. Or use manual focus all along, with Liveview, if you prefer it that way, for extra precision.

9. Mirror lock-up function must be activated to avoid vibrations caused by the shutter action.

10. Use a remote cable when taking the picture to avoid useless vibrations.

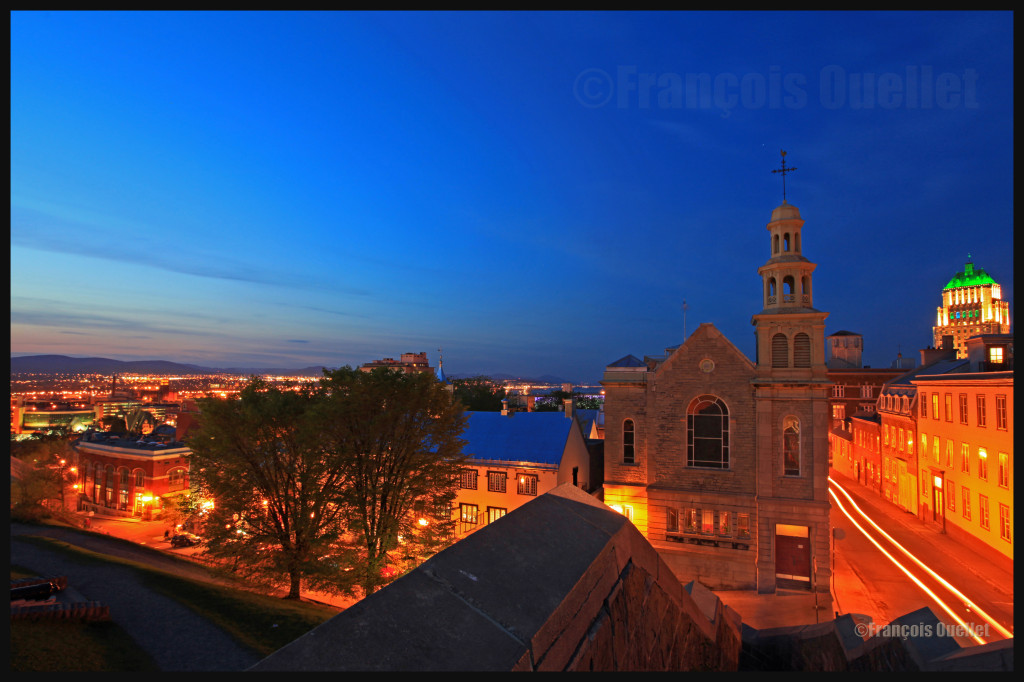
Old Québec at dusk
Old Québec at dusk.

11. If you wish, you might think of selecting a specific AF point to ensure a better focus if there is a small area that matters the most to you in the picture.

12. Do not use the FULL AUTO mode during night photography.

13. The three most important modes are 1. Aperture (taking care of slightly overexposing for surrounding lights) 2. Speed 3. Manual. There is one more reason to overexpose a bit if you work with the RAW format: there is more data information in light than in shadow, so once the picture is taken you have access to more data to play with to adjust the dark sections of the picture.

14. If you expect an exposure longer than 30 seconds, use BULB mode.

15. Night pictures are best taken using the camera bracketing funtion (-1,0,+1) and this, every two minutes.

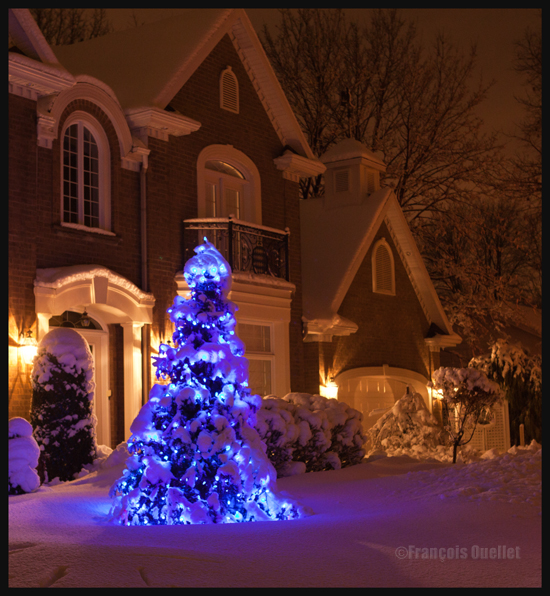
A Christmas tree in Sillery

16. The best period for night shots is 15 minutes after sunset, until official night time, which you can find on the internet. As this period is quite short, it is important that you know in advance what is of interest to you and where you will position yourself when comes the time for the picture.

17. Total darkness is not what is the most favourable in night photography. But you can certainly obtain interesting results using black and white.

18. Beware of surrounding light reflection in your lens.

19. Histogram has to be reviewed to ensure that there is no serious overexposure.

20. It is preferable to choose an aperture between F11 and F16 for maximum sharpness as well as an adequate depth-of-field.

21. If shooting a subject against the remaining light over the horizon, there might be quite a contrast in lighting between where you stand and where your subject is positioned. You might think of using grad filters (3-6-9-10) to help correct this huge light difference, or you can transform the standard photo session into an HDR one. Or both! There are also filters specifically designed for sunrise and sunset periods that can improve your shots.

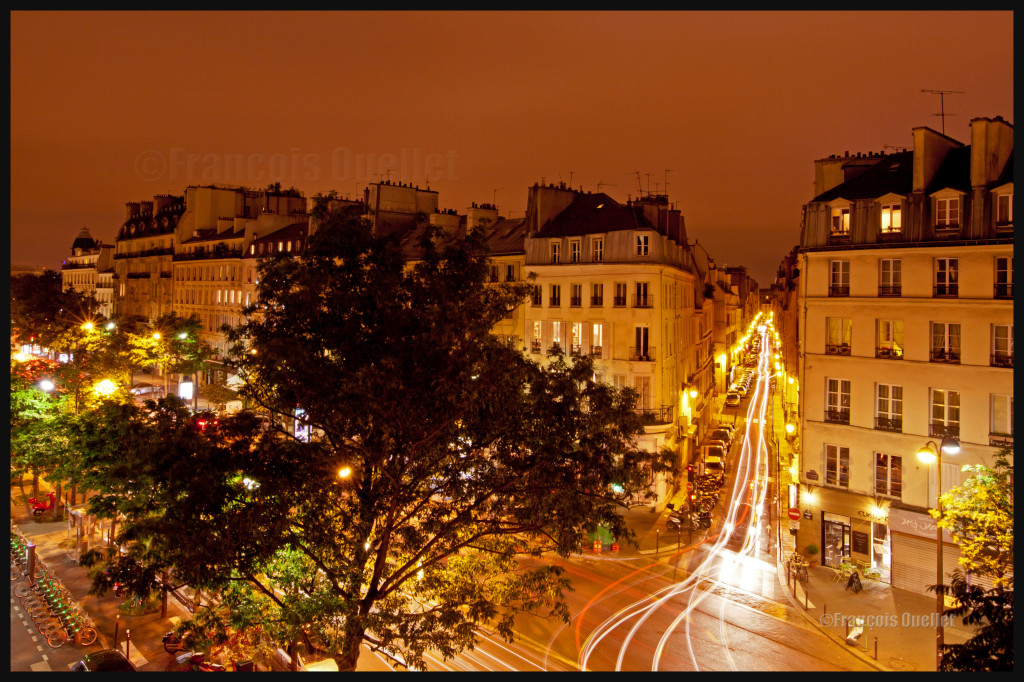
Paris, Le Marais 2013

All the photos were taken with a Canon 5D MKII