Categories
Photography

Night Photography

Empress Hotel at dusk, Victoria Harbor, Canada 2014

1. Ensure you bring : tripod, remote cable, flashlight and timer.

2. Use of RAW (.TIFF) is highly recommended. There is a greater potential for corrections afterward, if something is not according to your taste.

3. Noise reduction activated on the camera.

4. If the winds are calm: ISO between 50 and 200.

5. If there are strong winds: ISO 400 might be useful to avoid a blurred picture caused by the continual small vibrations of the tripod due to a long exposure. That is why a heavy tripod is always preferable.

Trailing lights on boulevard Champlain, Quebec City

6. If you wish to take a picture of people moving at a normal pace, and you have access to quality lenses, it will often be necessary to use ISO 800 to get a clear shot. This setting could allow the shutter speed to be adjusted at about 1/200 which is plenty to obtain a picture that is not blurred; that is unless you are not using a long focal like 200mm or more.

7. For people shots, it is better to have your back to the remaining light on the horizon, unless your goal is to capture a silhouette.

8. For extended exposure, use the autofocus “one shot” setting until it stops working due to insufficient light. Then use manual focus. Or use manual focus all along, with Liveview, if you prefer it that way, for extra precision.

9. Mirror lock-up function must be activated to avoid vibrations caused by the shutter action.

10. Use a remote cable when taking the picture to avoid useless vibrations.

Old Québec at dusk
Old Québec at dusk.

11. If you wish, you might think of selecting a specific AF point to ensure a better focus if there is a small area that matters the most to you in the picture.

12. Do not use the FULL AUTO mode during night photography.

13. The three most important modes are 1. Aperture (taking care of slightly overexposing for surrounding lights) 2. Speed 3. Manual. There is one more reason to overexpose a bit if you work with the RAW format: there is more data information in light than in shadow, so once the picture is taken you have access to more data to play with to adjust the dark sections of the picture.

14. If you expect an exposure longer than 30 seconds, use BULB mode.

15. Night pictures are best taken using the camera bracketing funtion (-1,0,+1) and this, every two minutes.

A Christmas tree in Sillery

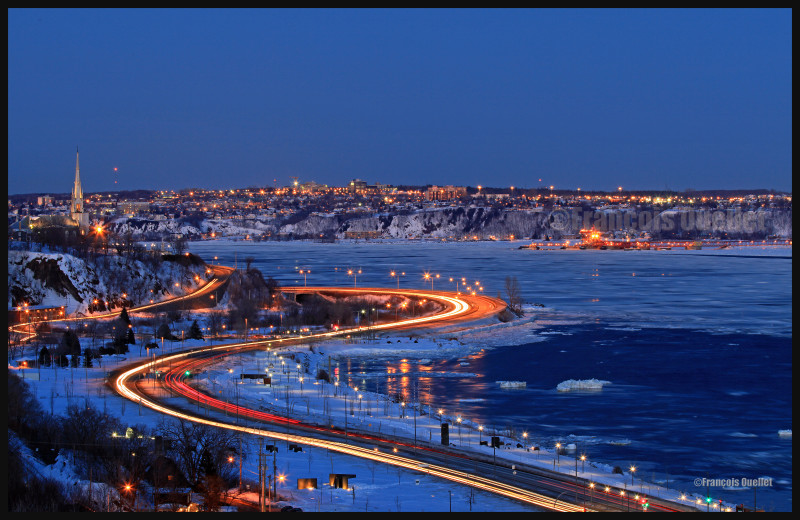
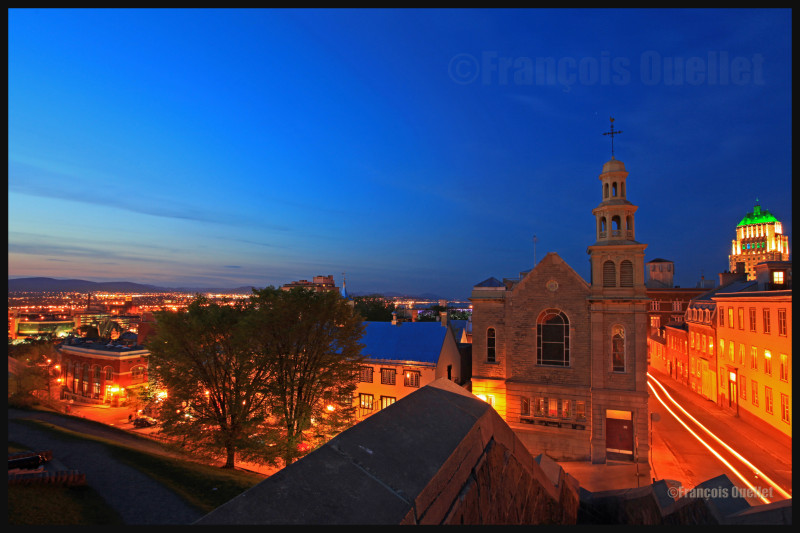
16. The best period for night shots is 15 minutes after sunset, until official night time, which you can find on the internet. As this period is quite short, it is important that you know in advance what is of interest to you and where you will position yourself when comes the time for the picture.

17. Total darkness is not what is the most favourable in night photography. But you can certainly obtain interesting results using black and white.

18. Beware of surrounding light reflection in your lens.

19. Histogram has to be reviewed to ensure that there is no serious overexposure.

20. It is preferable to choose an aperture between F11 and F16 for maximum sharpness as well as an adequate depth-of-field.

21. If shooting a subject against the remaining light over the horizon, there might be quite a contrast in lighting between where you stand and where your subject is positioned. You might think of using grad filters (3-6-9-10) to help correct this huge light difference, or you can transform the standard photo session into an HDR one. Or both! There are also filters specifically designed for sunrise and sunset periods that can improve your shots.

Paris, Le Marais 2013

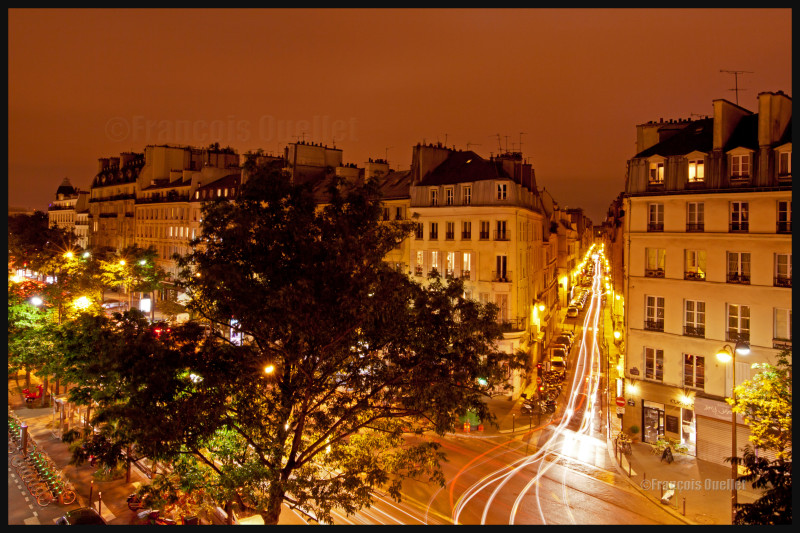
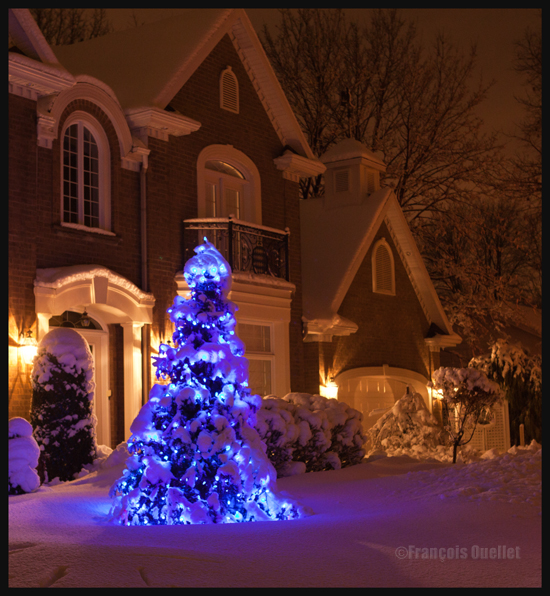
All the photos were taken with a Canon 5D MKII

Categories
Photography

Aperture, ISO and Speed

A Decision Has to be Taken

You must decide the ideal combination between the following: aperture, speed and ISO. All three are interrelated and choosing one has a direct influence on the other two.

You are facing a beautiful landscape in which you want everything to be in focus: you decide that the aperture is what matters the most. Choosing aperture as the priority is a very popular choice. Let’s consider that you choose F16, which should give you a very interesting depth-of-field but will demand a lot of light. You have to compensate somewhere. If there is not much movement in the scene, and you have access to a tripod, you might decide to choose a slow speed, which allows more time for the light to enter the camera. Doing so, you won’t need to crank the ISO and you will avoid adding useless noise to your picture.

In the picture below, aperture is set at F16. The vegetation in the left corner draws the viewer’s eye toward the pedestrians, and then progressively to the quai des Cageux. We finally see the Quebec bridge, the longest cantilever bridge in the world.

Quai des Cageux, Québec 2012.

If you decide that speed is a priority, you will have to compromise ISO or aperture. ISO will have to be increased to improve light sensibility, but doing so will increase the size of the grain in the picture. Depth-of-field will have to be adjusted as well since a higher speed does not let much light enter the camera. You won’t be able to pick F16 this time. So you will eventually find that there are some out of focus areas in your picture. With a bit of practice, you can be less demanding on the speed, providing you can follow the subject with your camera (it is like if you were slowing down the subject, so less speed is required).

The picture below was a bit particular: it was taken when I was on a boat rocked by waves. The eagle was far away and was traveling in the opposite direction, thus increasing the relative speed of the subject. The Canon 5D MKII was hand held and 400mm focal was necessary. Speed was crancked at 1/1600 and the ISO required was set at 5000. Naturally, the grain in the picture being larger, slightly diminishes the quality. This was a necessary compromise if the eagle was to be taken in flight.

Eagle observed in the Campbell River region. Summer 2012.

It is getting dark and you want a photo with absolutely no noise and you decide that the aperture is what matters the most. You make no compromise and choose ISO 50. This setting requires a lot of light, because the lower the ISO, the higher the demand for light. In order to make sure that your picture will not be blurred, a tripod will be necessary, since there will be an extended exposition time. In the picture below, the shutter has been opened for ten seconds, with a 9.0 aperture, 200mm focal and 50 ISO. Only the small branches in the foreground are blurred.

IMG_0617 - Resize Queen Mary 2 Québec 2012 watermark eng

Note: in general, it is better to use a tripod as often as possible, even in daylight, in order to optimize quality. Choose a heavy enough tripod to prevent vibrations under windy conditions. A light tripod is easy to carry but does not allow for acceptable pictures in adverse weather. It’s obvious that this Queen Mary II photo would not have been as precise if a light tripod had been used. In this case, it would have meant that continual vibrations would have been recorded during 10 seconds. The boat would have been totally blurred.

Categories
Photography

Bad weather in Quebec

A violent storm is approaching the Quebec Jean-Lesage airport in 2012
A roll arcus cloud in development ahead of a thunderstorm approaching Quebec in 2012

In the “Improve your pictures” section of this web site, there is a page titled “Photography and weather” . In few days, this page will hold about twenty pictures and information that can help photographers profit from the best that nature has to offer. The picture above represents a roll arcus cloud in development that is preceding a violent thunderstorm that was approaching Quebec City in 2012. The most interesting clouds were formed as the system was moving over the Val-Bélair hills near the airport.

The photo was taken with a Canon 5D MKII

Categories
Photography

A tulip in the parc du Bois-de-Coulonge

A tulip in the Bois-de-Coulonge, Québec City.

This flower is part of the new pictures added in the “Photo galleries” section. The photo was taken during spring 2012 in the parc du Bois-de-Coulonge, in Québec, with a Canon 5D MKII. I include the technical details, for the photographers who could be interested: speed 1/80 sec., aperture 5.0, ISO 100, focal 110.0 mm, Mode WB auto, Mode AF Autofocus One-Shot, lens Canon 70-200 mm F2.8L IS II USM, RAW file. There were other tulips all around but I chose to isolate one flower for maximum effect.

Categories
Photography

Last opportunity for a picture in Montreal

Montreal, 2012. Juste à temps pour prendre cette dernière photo, avant la démolition du bâtiment
Montreal, 2012. Juste à temps pour prendre cette dernière photo, avant la démolition du bâtiment.

I was lucky to be able to take this picture. Being in Montreal for a winter photography session with a Canon 5D MKII, I went by a street where some employees were busy demolishing a building. There was an interesting scene to be taken but I had to get much closer before I could start shooting. The site was fenced and under surveillance while workers were active, so the access was forbidden.

As lunch time was approaching, I decided to wait a bit, hoping that the workers would leave the site for a quick bite. I was expecting the security guard to accompany the group and forget about locking the fence. That’s exactly what happened. As soon as the last employee had disappeared, I was on the site with my photo equipment. By the end of the afternoon, nothing was left of the building. I hope that you like this picture, as much for the scene as for the small murale done by the unknown artist, murale that is today only a souvenir.