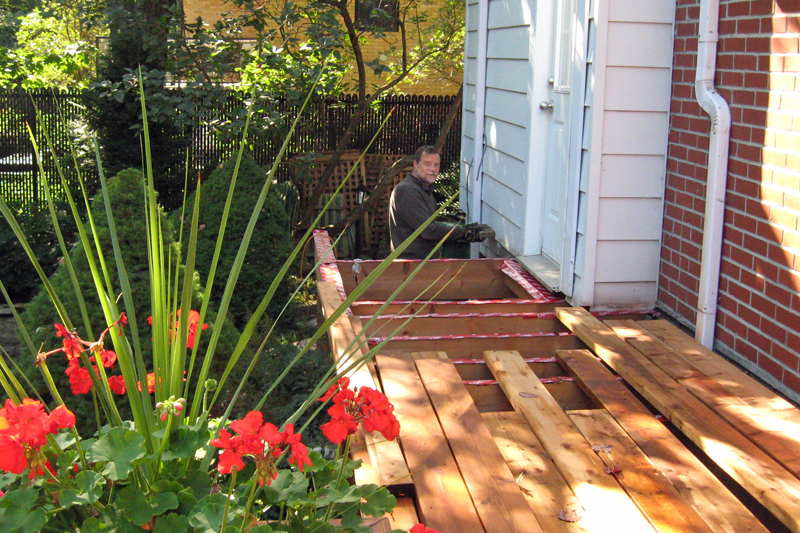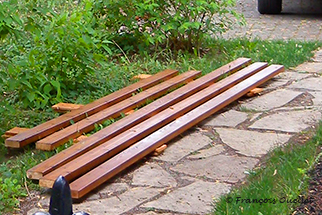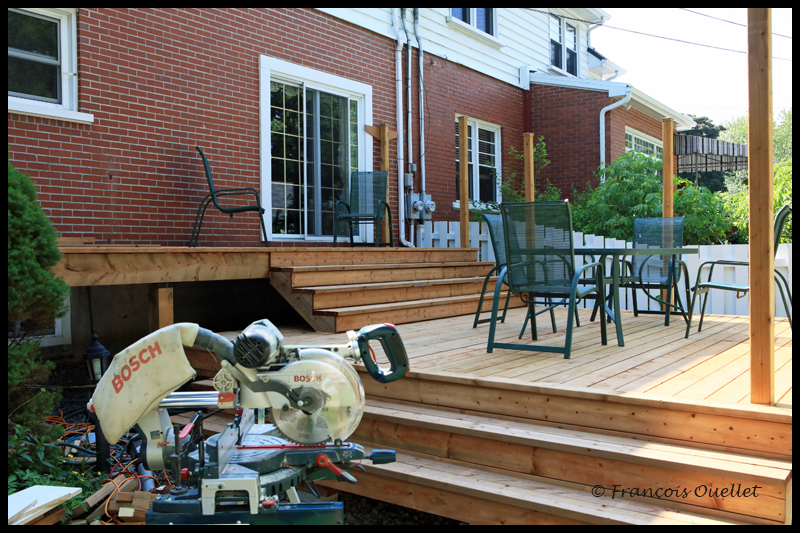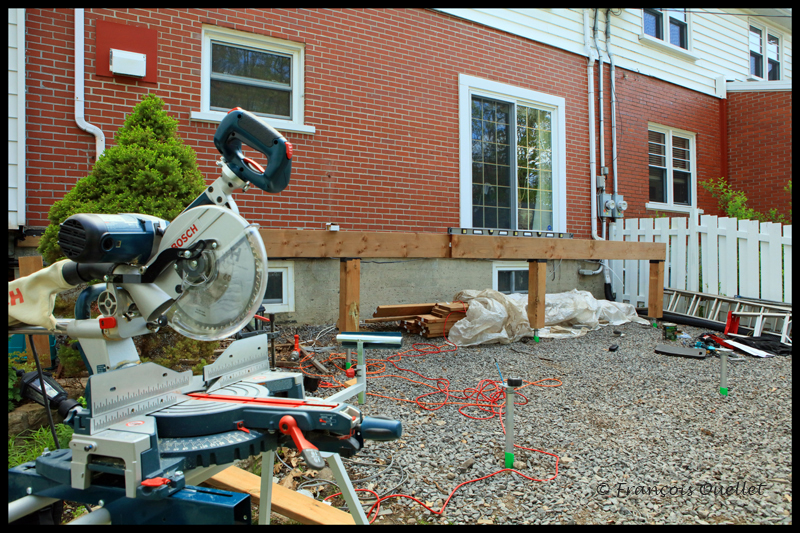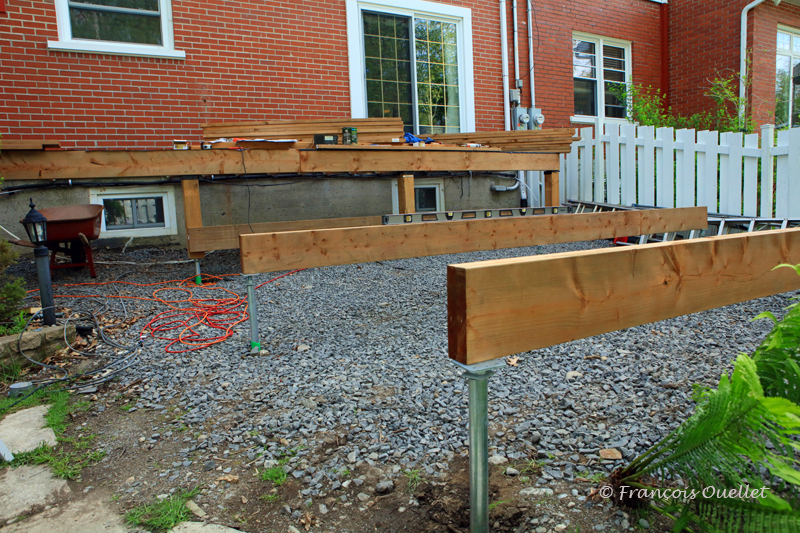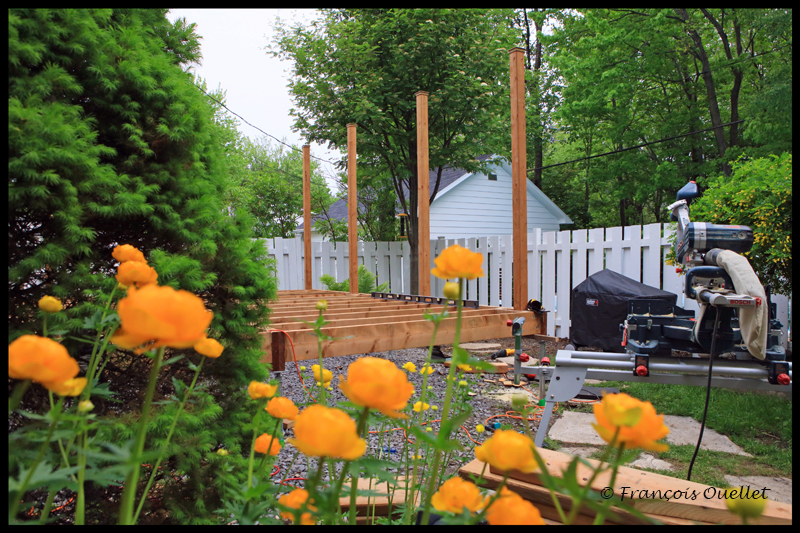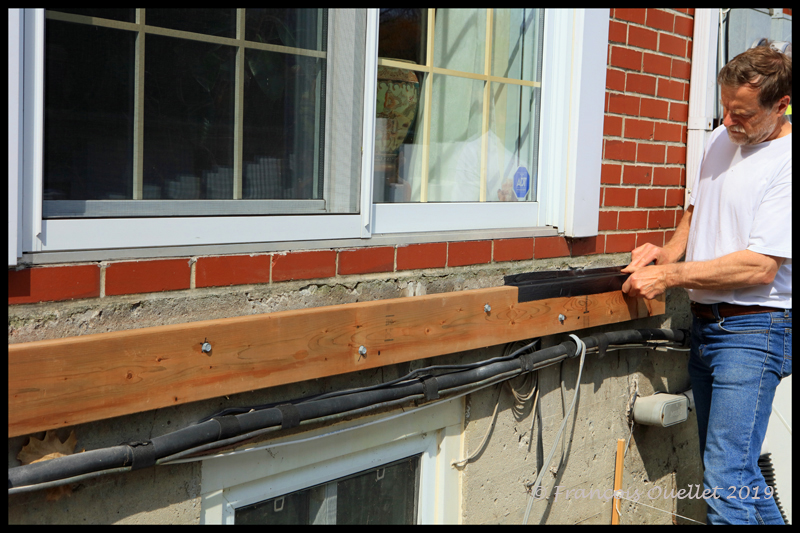
The third staircase and the ramp are under construction. The vertical posts and steps are made of spruce and the rest will be red cedar.

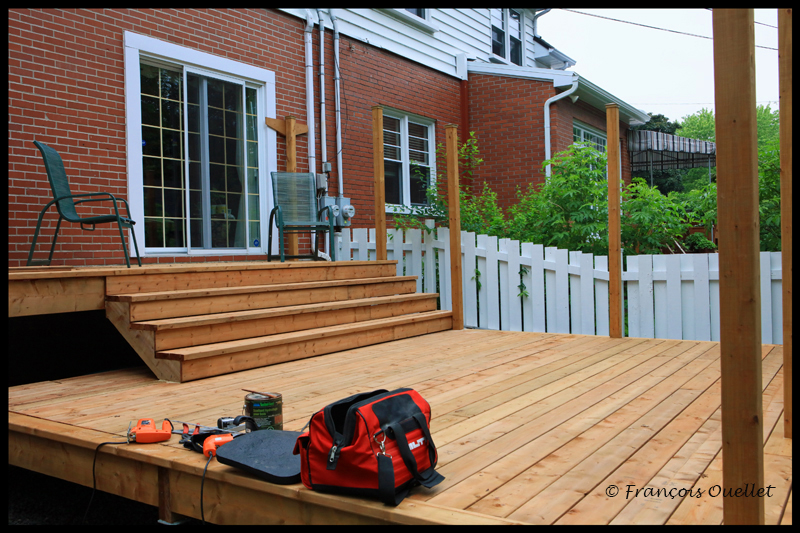
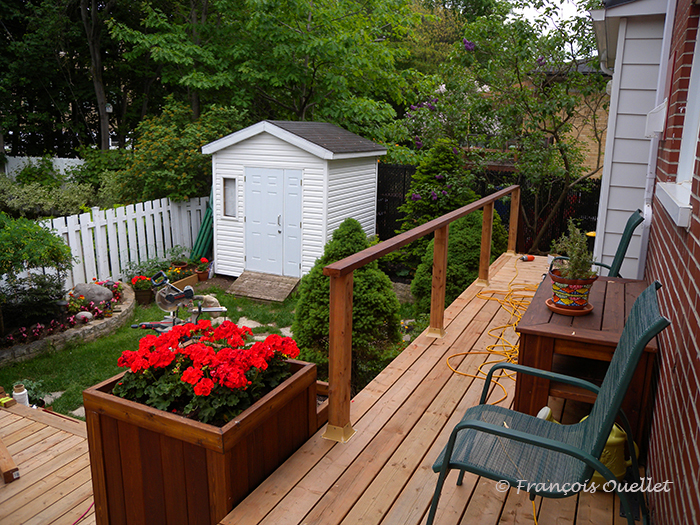
Construction of the railing has started. Initially, we thought of a metal railing with glass panels. We investigated the available models and it seemed to us that the appearance was a bit too modern for the age of the house. We thought that continuing with the same materials as the terrace would be a better idea. I drew up railing plans and had family members vote on which model to use.
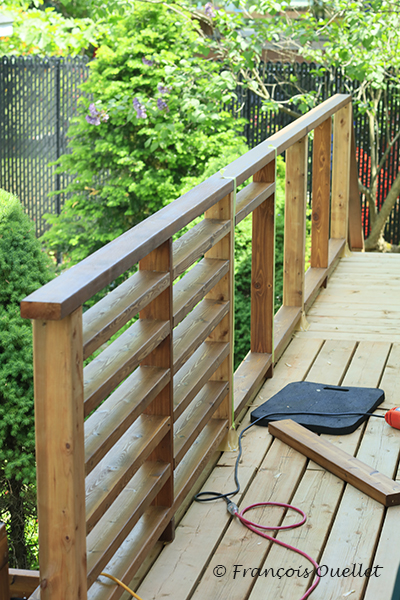
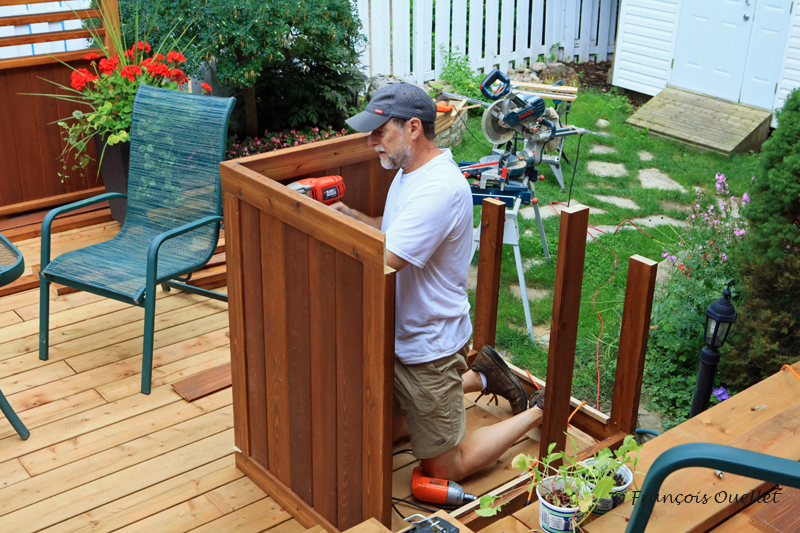
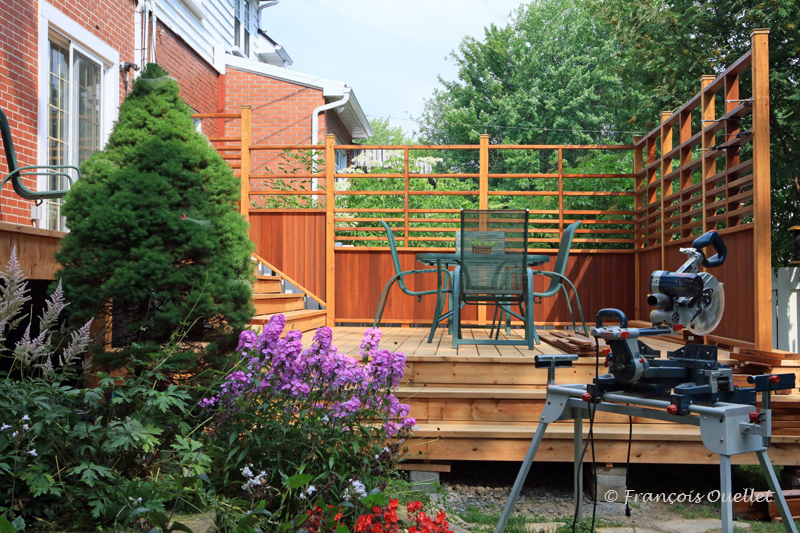
One at a time, the horizontal bars of red cedar are installed between the vertical posts. Spirit level and measuring gallon ensure that the appearance will be as correct as possible. The flaws are easy to see when a railing of this length is built, with so many separate pieces inside.
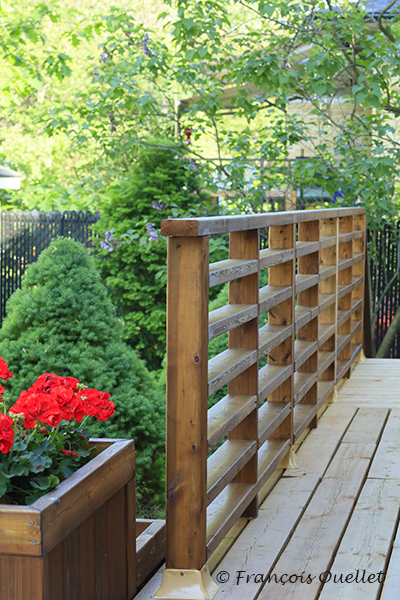
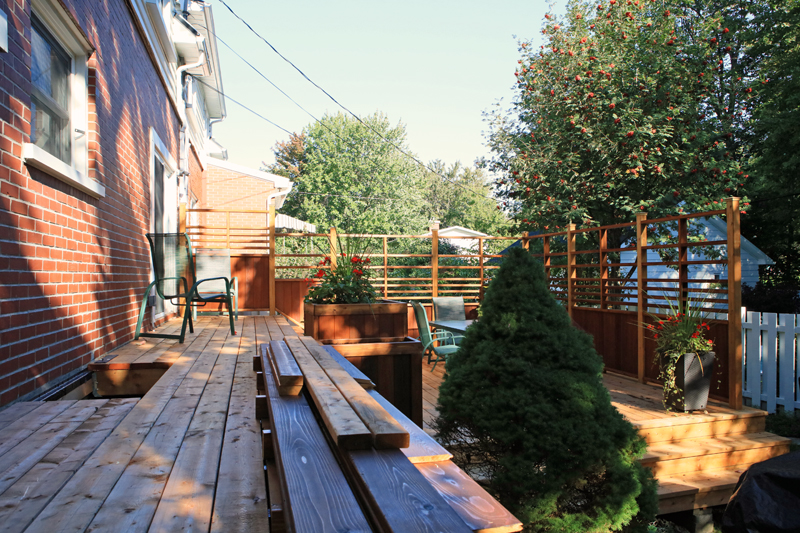
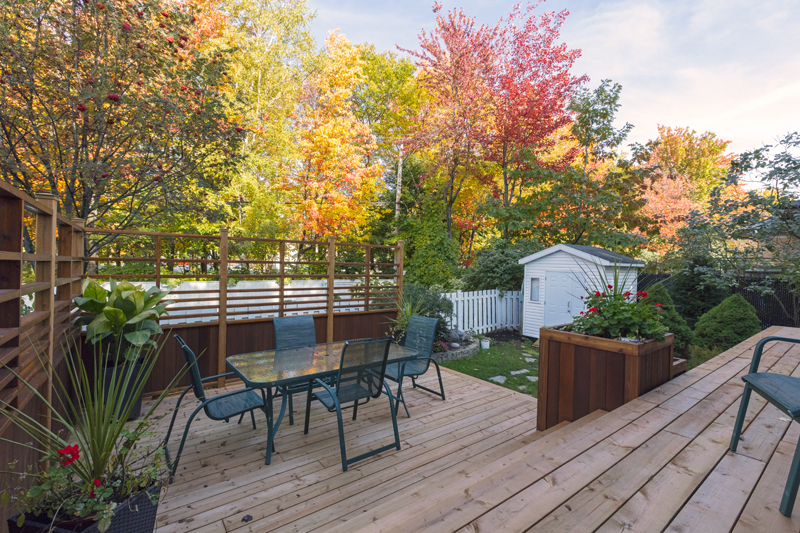
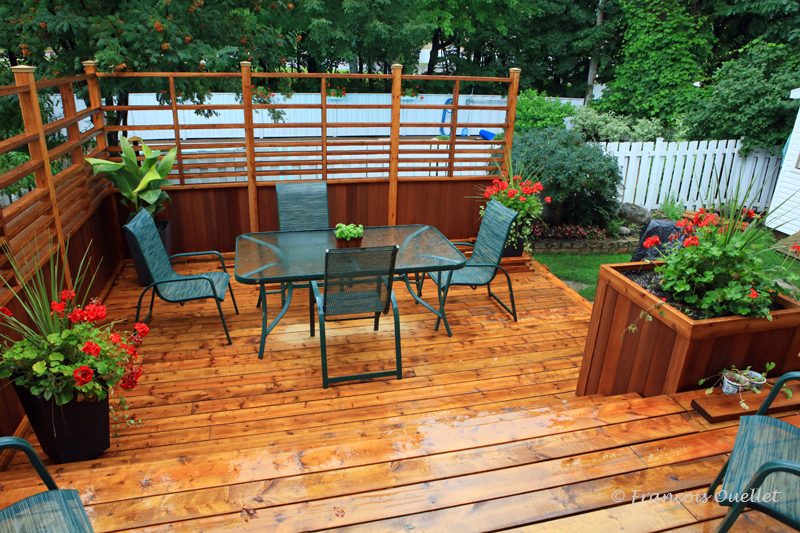
This is the final effect, when the thirty-six pieces of wood have been cut and laid.
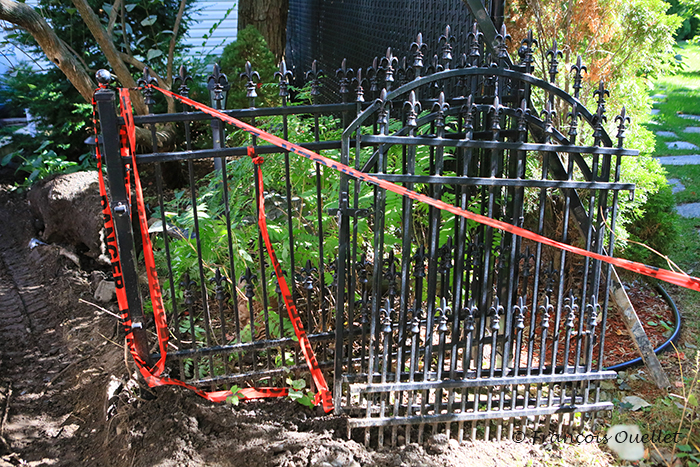
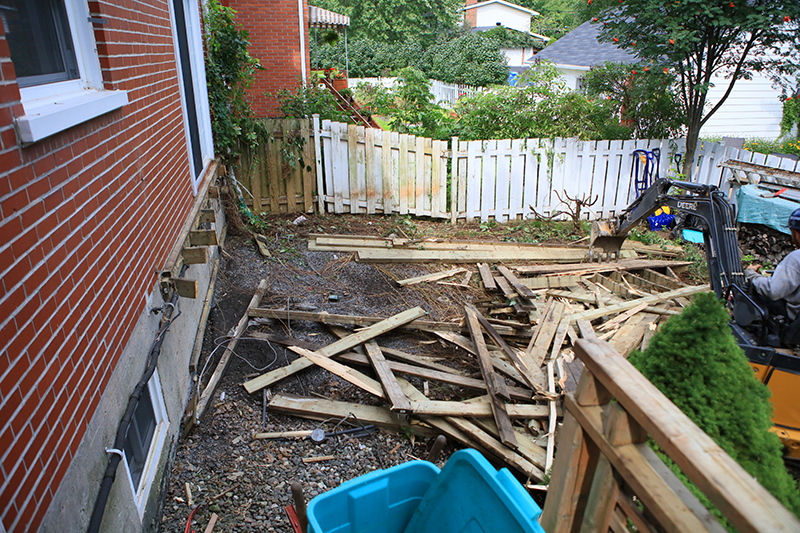
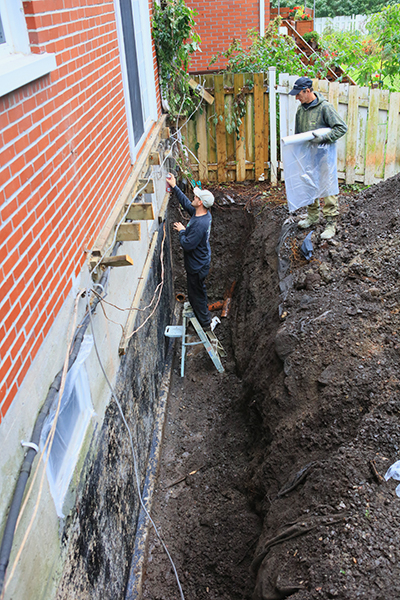
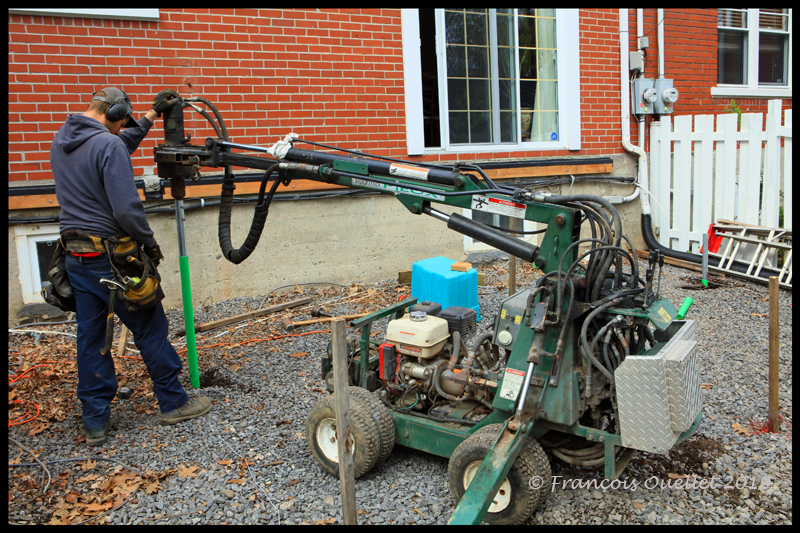
The black metal fence that stood right next to the patio was partially dismantled during the installation of the new French drain. The cement bases of the fence posts were damaged by machinery. It was now necessary to get this old cement out of the ground, regroove, cut off five centimeters from the fence, re-weld the parts of the fence together, recast cement and replant the metal posts.
I tried to have the work done by Clôture Provinciale, of St-Augustin, because the initial fence had been made by them, according to my drawing. After ten calls, months of waiting and no return calls, I tried to approach other companies to do the work. I was told I would have to wait until next year because all the companies had contracts for months to come. Finally, I found a company in Beauport that bid $ 2700.00 to do the work. But it was a bit expensive.
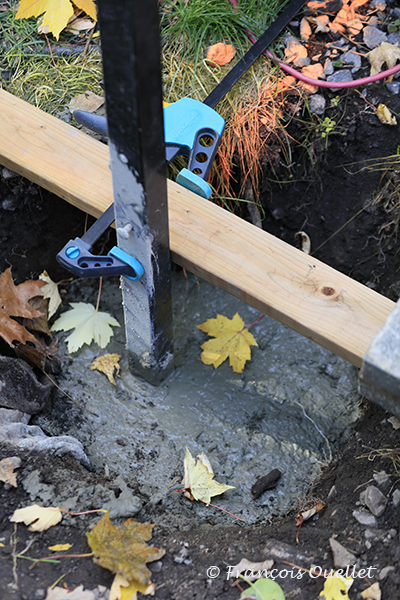
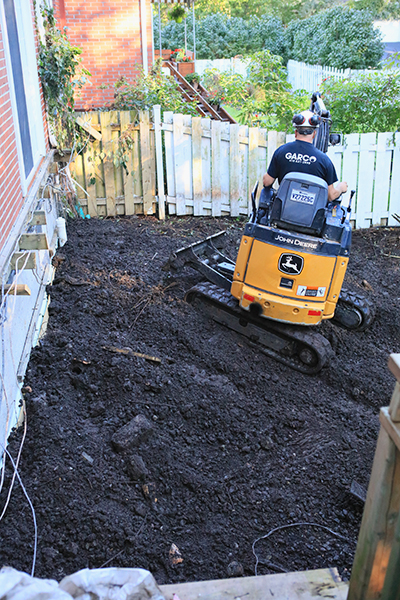
So I decided to do a lot of the work myself, but still called on Clôture Nordik to pull the old cement bases out of the ground and dig two new holes at least 5 feet deep. I sawed off the metal fence and had the sections welded together. I then poured 700 pounds of cement into the two holes, laid the metal posts and reinstalled the fence. I then applied a coat of black Tremclad paint. Total expenses: $ 700 instead of the $ 2700 proposed by the Beauport company.
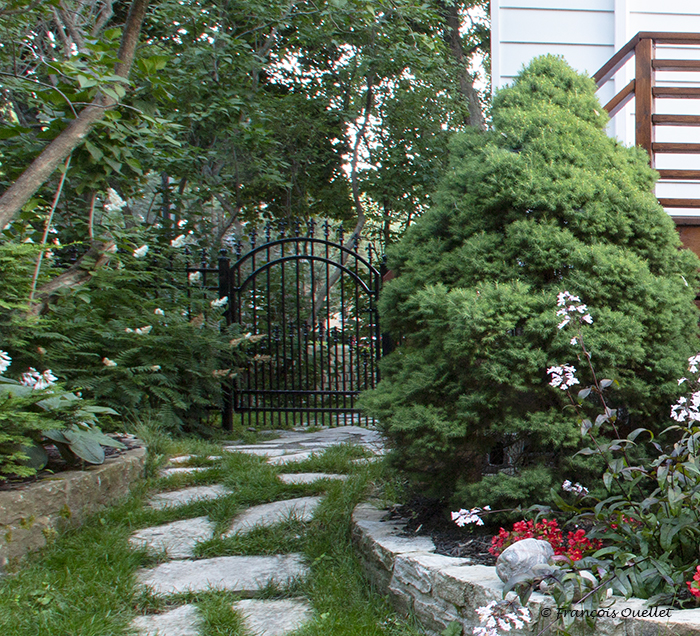
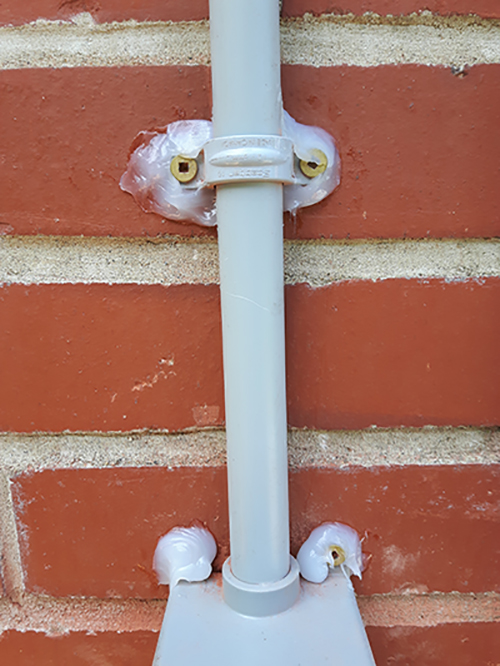
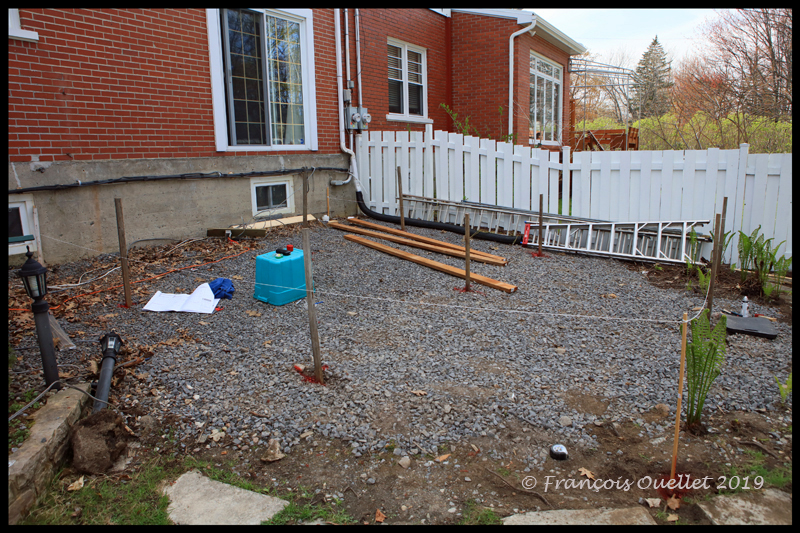
Here is the final result for the fence.
Continued in the next article: “Building a patio (6 of 7)”.