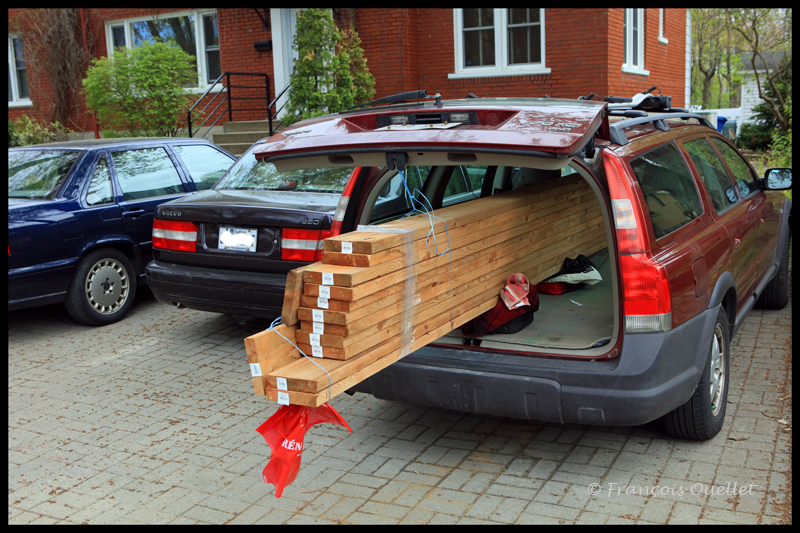
If you can (you have the vehicle and the time), go get your wood yourself and select it piece by piece. Take as many trips as you need, because the effort is worth it. Often, if you order, you end up with certainly a 10-15% of pieces of wood that are crooked, twisted, cracked or with significant knots: the general appearance suffers, in addition to the losses with which you will have to contend and the increased difficulty level to adjust all those pieces together. Building a patio is made easier with quality products.
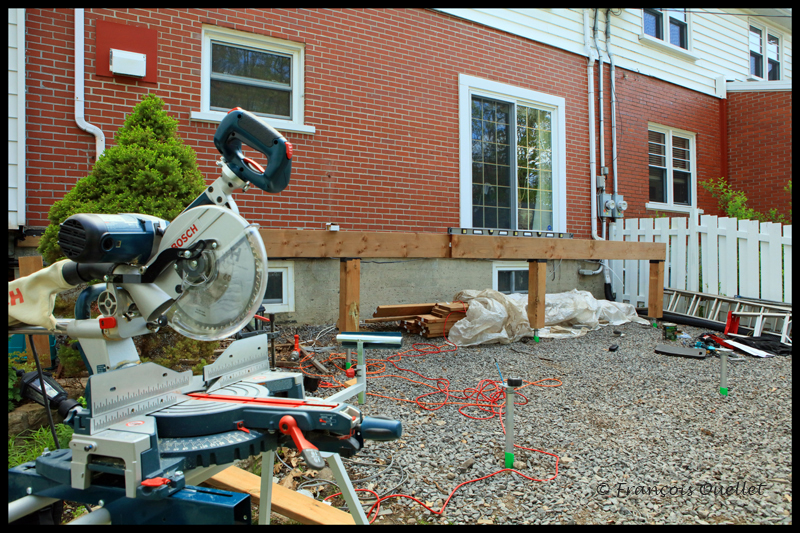
The first 6 x 6 posts are placed on five adjustable piles, to support the large contour beam that will run along the house. The contour beam is made of pieces of wood 2 X 12 that are doubled, glued and screwed.

In the picture above, the contour beam is under construction. In the background, a few joists are already anchored to the building. The family wants to get out through the patio door as soon as possible and I must therefore lay a first section of flooring as soon as possible.
The spirit level on the beam makes it possible to verify that the height of the first floor of the patio will be the same over the entire length of the house. It is easier to work with a long spirit level because it is less forgiving of mistakes.
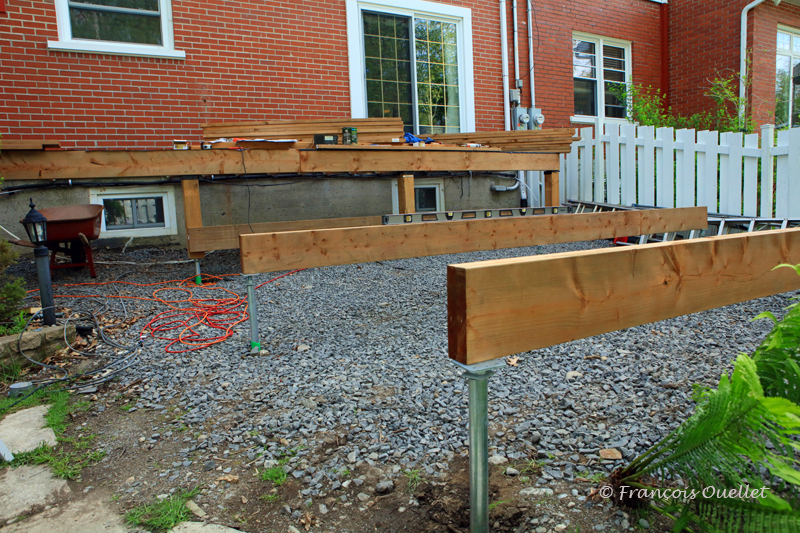
The beams are now placed on the eleven adjustable piles. At this point, I tell myself that it is too late to go back … Some of the piles having been slightly repositioned because of the rocks, so I have to accept some compromises in order to be able to screw the underside of the beams to the piles. But it ends up working …
The joists are now attached to the beams with joist hangers. Then begins the delicate task (at least for me) of fixing the long wooden posts vertically to the patio. When a post is slightly crooked, it must be repositioned immediately before the construction adhesive solidifies. Here, the spirit level and the neighbors’ comments are useful. Subsequently, the screws make it possible to solidify the construction definitively.

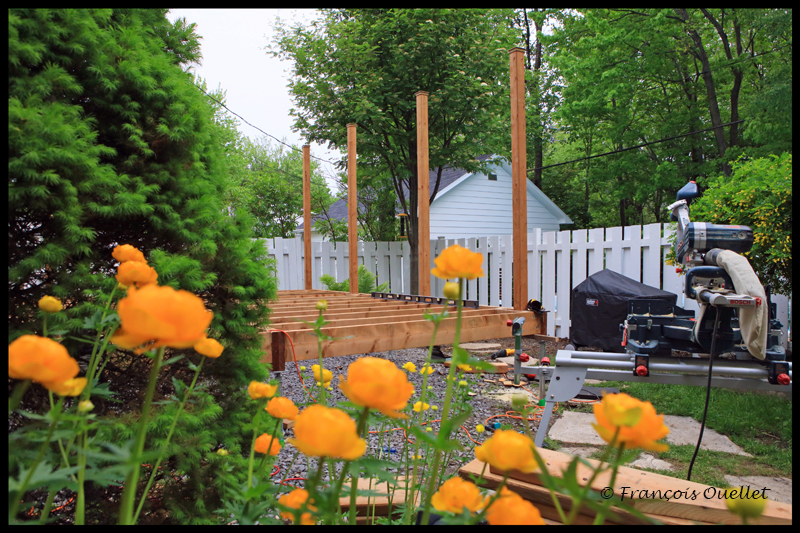
View of the patio from another angle. The first chair is already out on a temporary installation on the second floor of deck! The black waterproof membrane shown in the picture above was not good enough : it wrinkled and did not stick enough. I changed it to a red Resisto membrane.
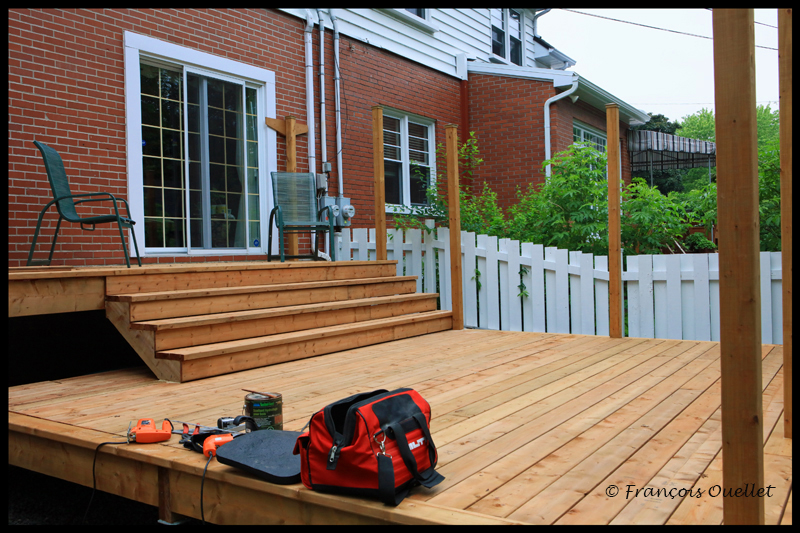
It’s starting to look like a patio. I completed my first stairs. There are some minor renovation errors on my part, but I’m very happy overall. No one fell yet, and the patio doesn’t make any weird sounds. Two chairs are out and there is finally a semblance of normalcy, while the project progresses further. It will be necessary to stain all this, but there is no hurry.
Continued in the next article: “Building a patio (3 of 7)”.