The following series of seven articles discuss patio building. This new patio was necessary because the old one was over thirty years old and showing obvious signs of fatigue, in addition to greatly hampering the digging work along the foundation to change the French drain and insulate the foundation.
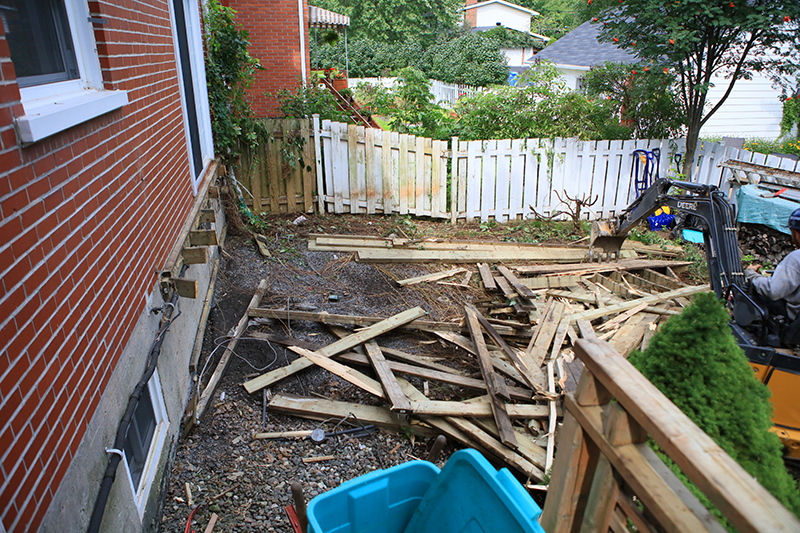
Above, the old wooden patio is demolished with a mechanical shovel. Where the machine cannot go, I finish the demolition by hand. Subsequently, digging begins to reach the foundation.
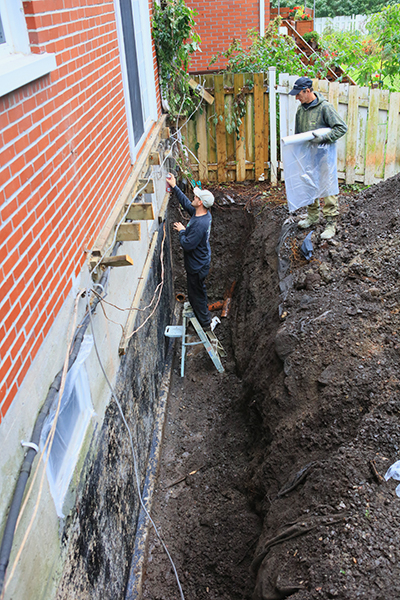
Once the trench has been dug, the employees of the Garco company install the French drain and prepare the concrete surface that will receive the new insulation (blown urethane).
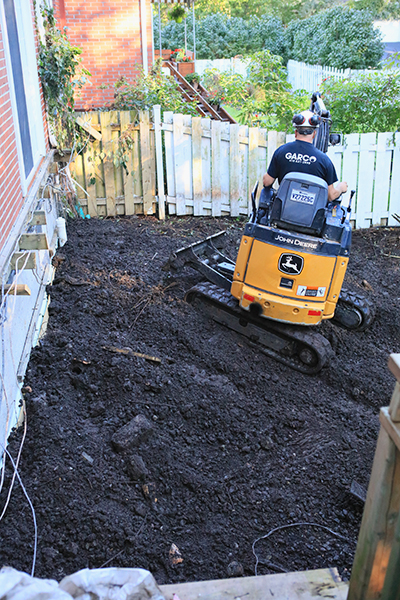
When the drain is complete and the urethane has been blown out, an employee reseals the hole, adding soil, rock and sand, the latter only required for less stable terrain.
Now we have to think about rebuilding a patio. The savings are significant when you do the work yourself. It has been reported to me that generally the cost of labor is 2.7 times the cost of materials. In the case of a large patio made up mainly of cedar planks, each plank of which will be sanded and stained by hand, the savings amount to several tens of thousands of dollars.
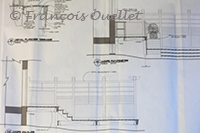
At 62, I unfortunately have no experience in the field. Risk management (especially financial) is necessary and, since the work will be carried out without assistance, I prefer to work from plans designed by a company. A specialist in the construction industry offered me his advice before the project started, because there was no question of starting the patio again.
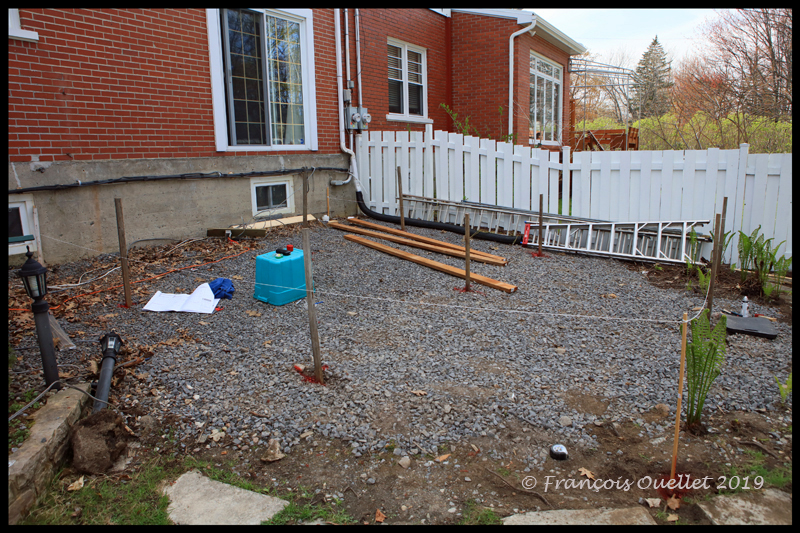
On the proposed plan, there must be eleven adjustable metal piles anchored in the ground to receive the patio. We must therefore measure where the eleven metal poles from Techno-Pieux will go, because they are not responsible for doing the calculations for me.
I am using a laser pointer for the first time. It is not easy to work with this device outdoors, the red dot of the laser being difficult to see in bright light (the base model I got myself certainly did not make the job easy). Eventually, I got through it. Luckily, I wasn’t doing the job for a client.
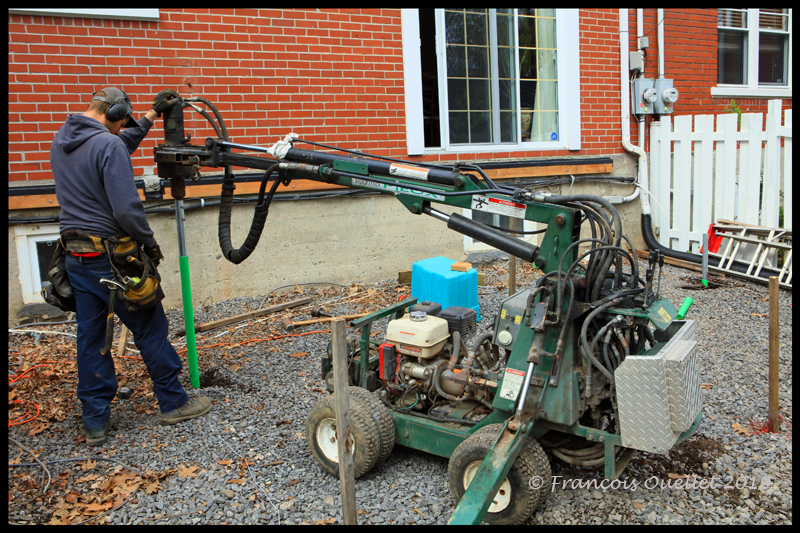
The Techno-Pieux technician gets to work. He relies on the wooden posts to drive his stakes and then checks with his laser (much better) if his posts are perfectly aligned. The problem that sometimes occurs is that he meets a rock and has to start over and reposition his stakes slightly off the ideal line. A slight slope is also necessary to facilitate the flow of water onto the patio. The piles therefore must not be perfectly level from the house to the end of the patio.
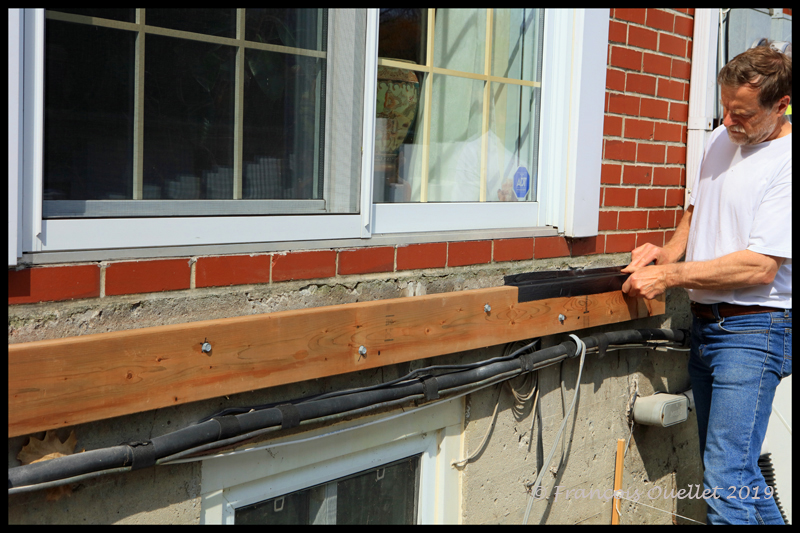
A rented hammer drill is sufficient to make the holes in the concrete that will be used to fix the first piece of wood in the foundation of the house. The screws are laid alternately to avoid creating weaknesses in the wood. It is on this piece of wood that a small part of the patio will rest. Special waterproof insulating tape is applied to the wood to protect it from rotting that could occur after several years when water gets under the patio boards.
Continued in the next article: “Building a patio (2 of 7)”.