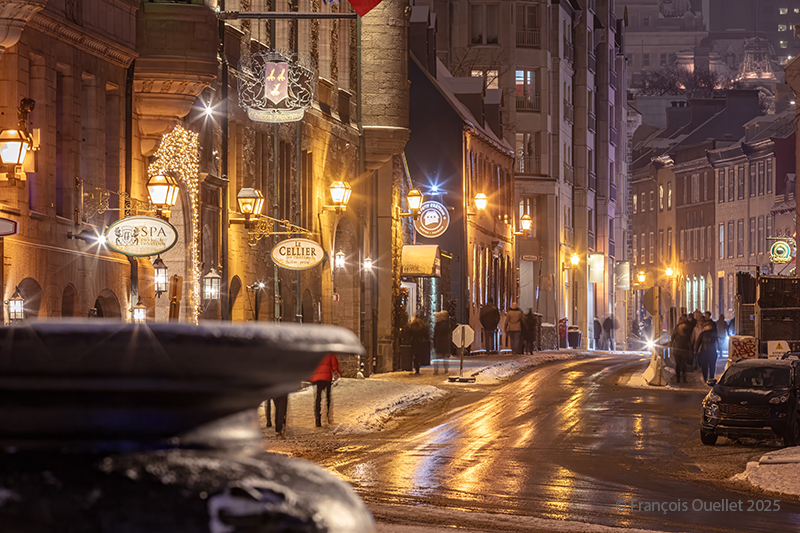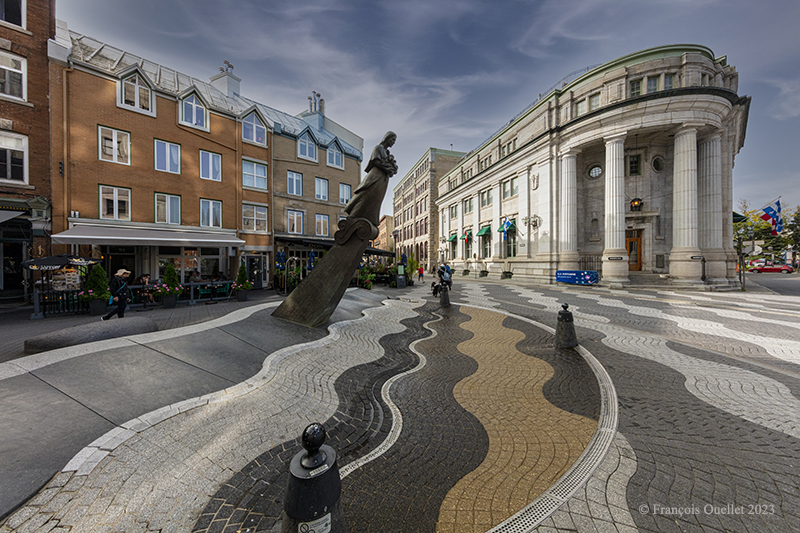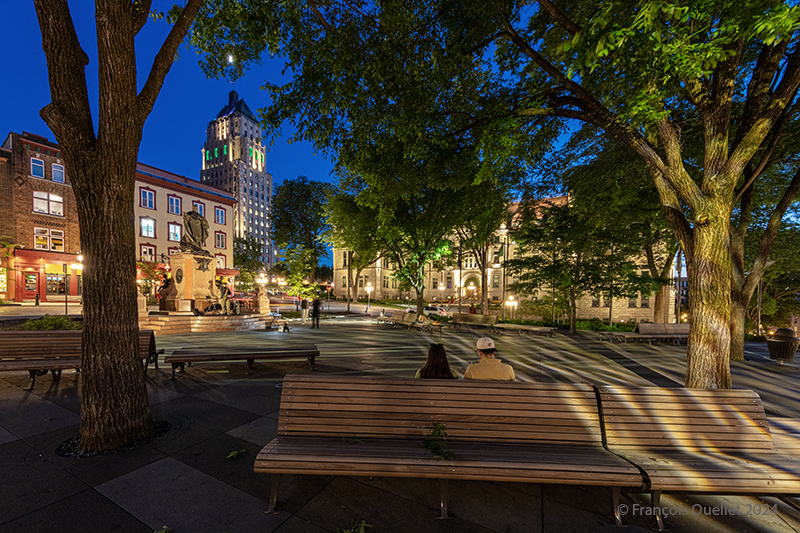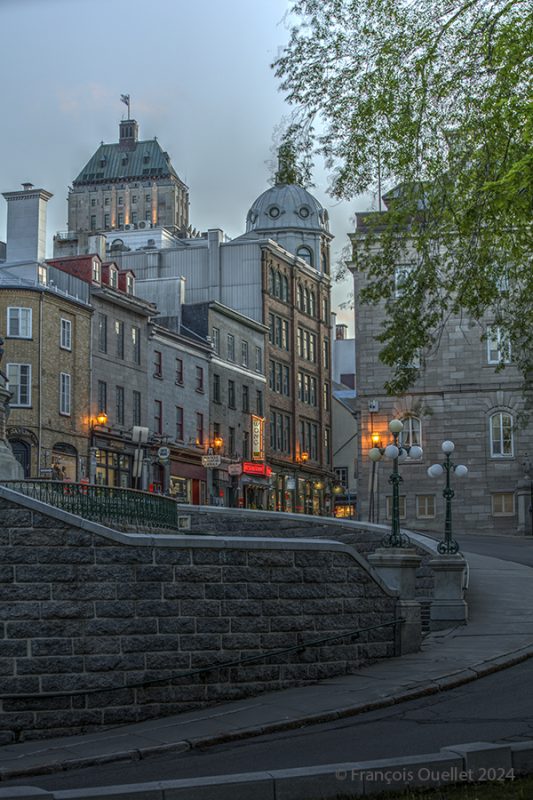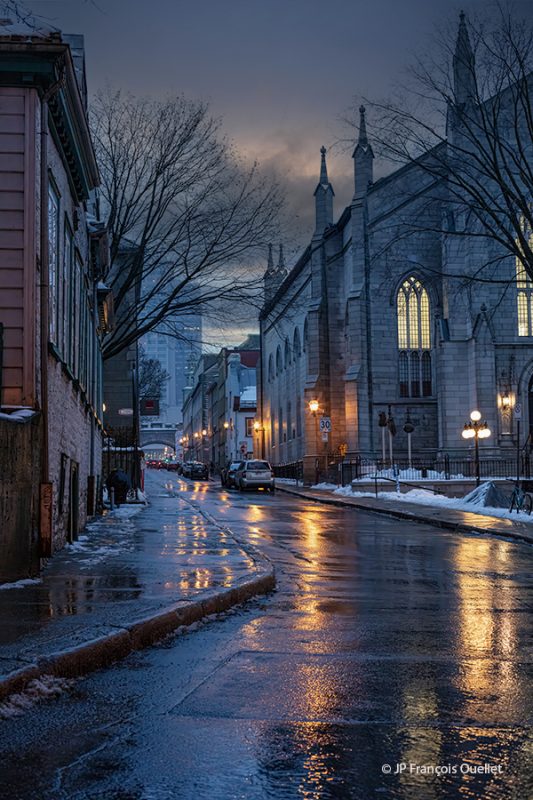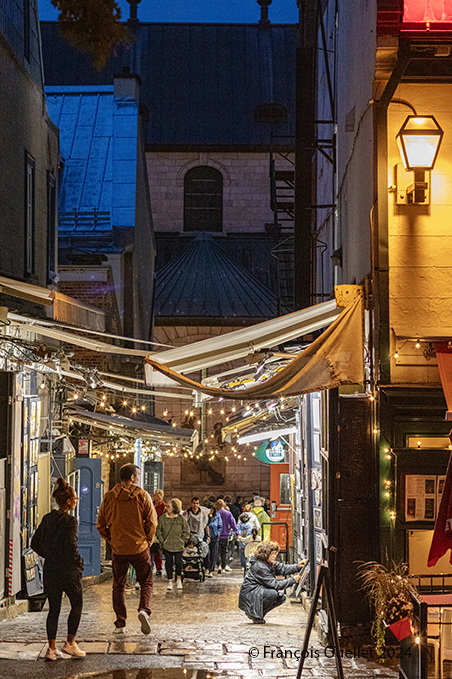
For this photo of rue Dauphine in Old Quebec, I chose a period when everything changes rapidly. The blue hour still allows us to make out the most significant details of this night photography session. Winter is just around the corner and the rain showers, momentarily halted, are trying to erase the snow that now lingers on the ground in early December.
The freshly fallen rain reflects the light from the streetlamps on rue Dauphine and from the windows of the former church, now the Maison de la littérature.
This kind of photo can only be taken with frequent visits to the old town, in all seasons and weather conditions. The photographer’s eye immediately catches sight of a scene around a bend in the road that needs to be captured.
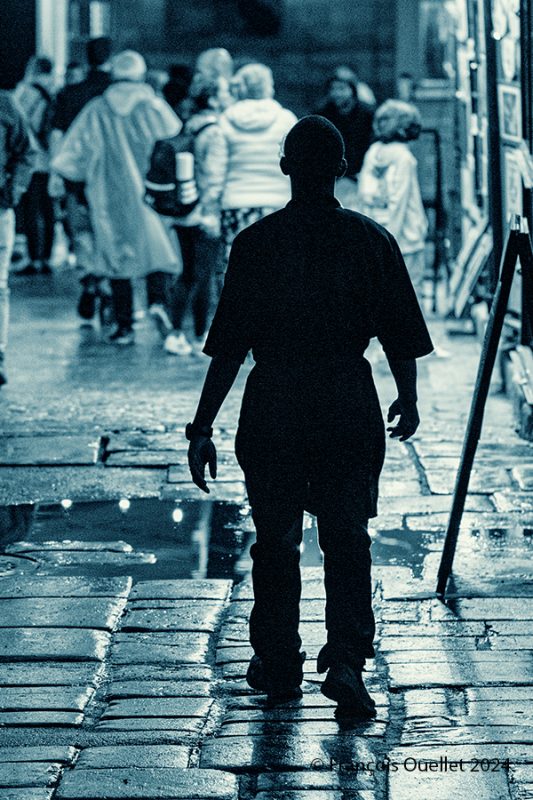
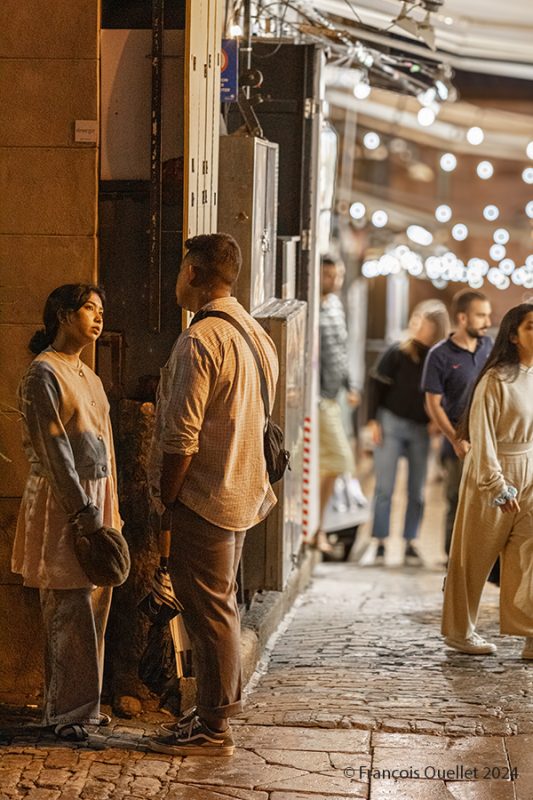
On an evening when isolated showers were continually changing the atmosphere in Quebec City, I visited the old part of the town, especially “rue du Trésor”. Today’s article features four photos of the same street captured from different angles. About three hours separates the shots.
Above, passers-by seem to be followed by an individual. I’ve maximized the effect of tension by taking advantage of a moment when the tourists in the background are in the light and the lone walker remains in shadow. To accentuate the discomfort, I opted for a cold tone and undersaturation in post-processing.
Below, two young people chat quietly at the entrance to rue du Trésor, while pedestrians go about their business. The tiles have had time to dry out a little since the last shower.
The photo is legal in Quebec because it’s not just about the two persons in the foreground. There’s a street setting where other passers-by are also present. This is always a factor to consider when publishing for non-commercial use. If the couple is alone in the scene and it’s a close-up, I can capture the scene, but under Quebec law, I don’t publish. For added precaution, it is sometimes better to wait a while between the moment the photo is taken and its distribution. Finally, I make sure that people are not portrayed in such a way as to damage their reputation. So, there are always multiple factors to consider before a photo is taken and distributed.
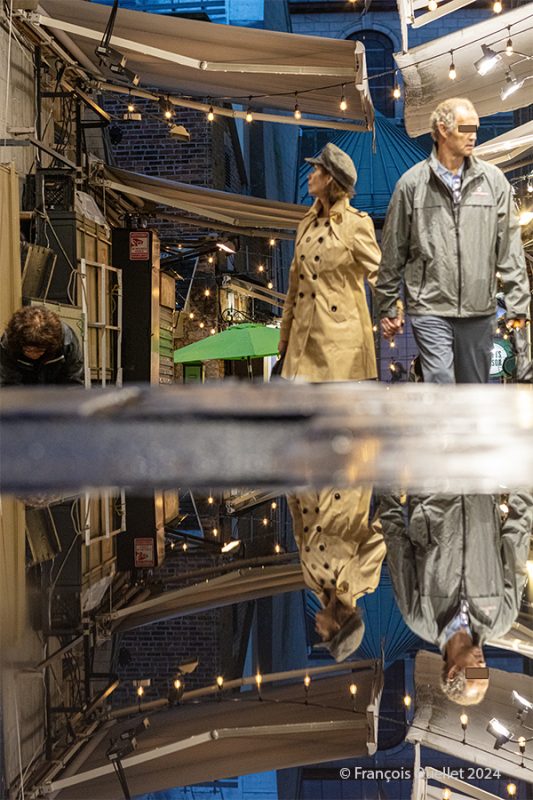
Above, a couple takes a walk immediately after a rain shower. I set up the camera a few inches off the ground, in front of a puddle to get a reflection.
The goal of the picture is the water reflection but, since I want to publish the photo, I have to think about the persons. The couple becomes possibly the main subject for some viewers. Using added precaution, I put an artificial obstacle in front of the man’s eyes to make him less recognizable. As for the woman, her head turned to one side makes identification impossible.
Below is a view of the Rue du Trésor during the “blue hour,” after the showers. The last tourists take the opportunity to choose a piece of art before the shopkeepers leave.
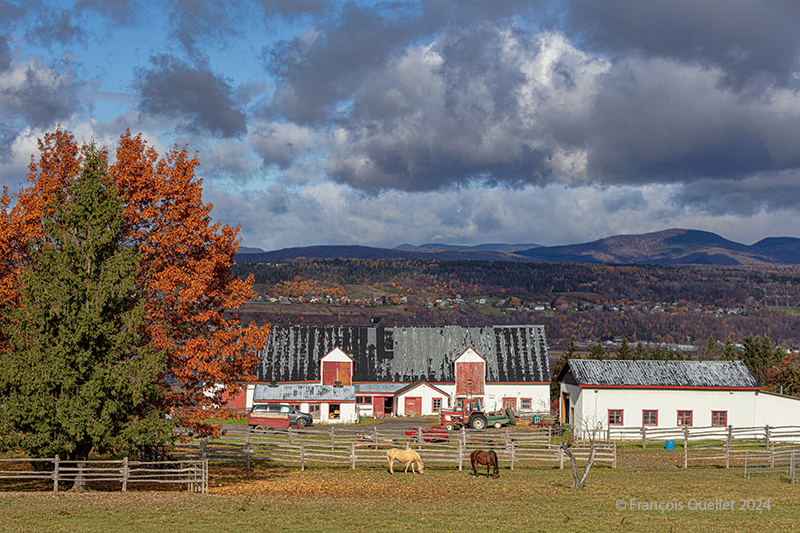
Here’s a photo taken late autumn on Île d’Orléans. The sun shines through the cumuliform clouds, helping to create interesting contrasts of light and shadow on the mountains in the background. Towards noon, the more direct sunshine dissipates these clouds, and late in the afternoon, the new-found coolness helps to form a uniform stratocumulus ceiling over the region. The photo was taken around 10 am, at a time when there is still a mixture of clear skies and clouds, making the photo more dynamic.
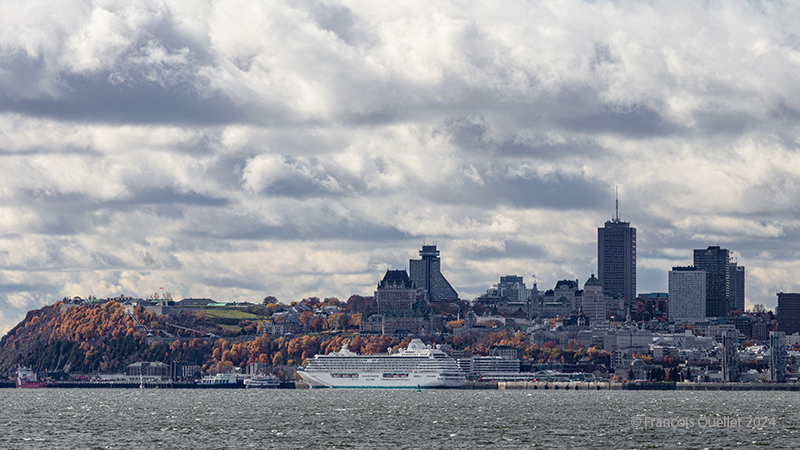
Above, a photo of the Château Frontenac in autumn with a cruise ship that has just docked at the Port of Québec. The photo was taken from Île d’Orléans. Also visible in the center of the photo is the Concorde Hotel’s revolving restaurant, “Ciel! Resto-bar”.
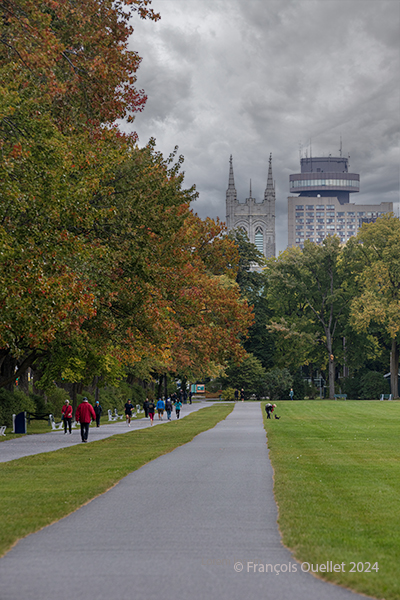
The photo shows the Battlefields Park in early autumn, as the trees begin to change color. In the distance on the right is the revolving restaurant “Ciel! Bistro-bar” and, on the left, the turret of Saint-Dominique church.
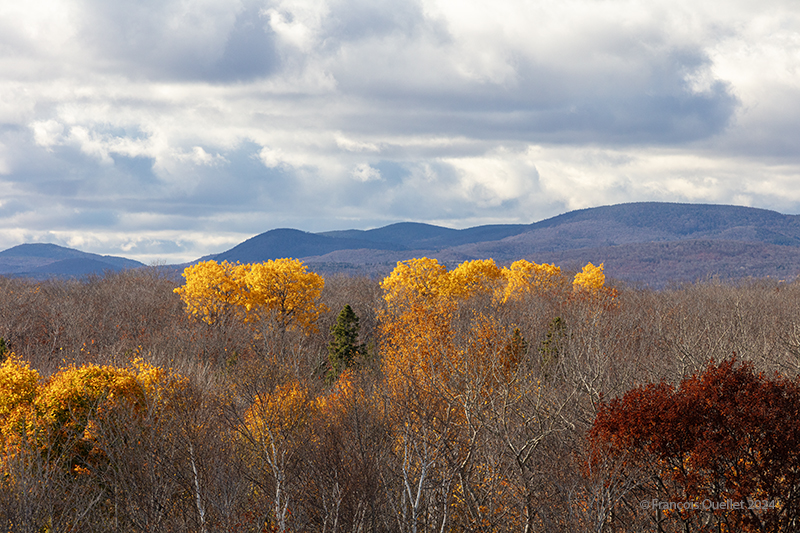
This photo was taken in autumn from the wooden tower at the eastern end of Île d’Orléans. Late in the season, there are fewer leaves left on the trees, but the sun hitting the vegetation from the side breathes new life into the landscape.
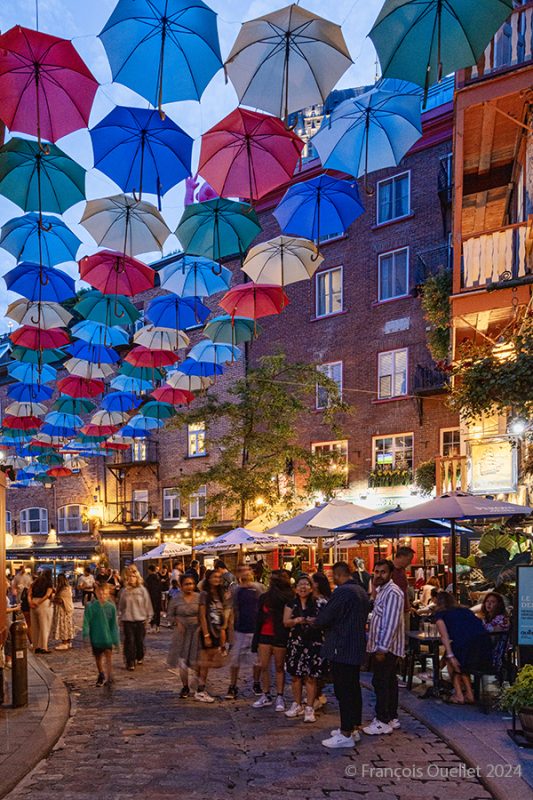
Umbrellas cover part of Rue du Cul-de-Sac in Quebec City. Most tourists are unaware of this installation when they set foot in the Petit Champlain area. Surprised, they whip out their cell phones and capture the moment as best they can. Since they’re just passing through, most don’t have the luxury of choosing the most appropriate light for their multiple shots.
The situation is different for someone who has easy and frequent access to the location. They can wait for the “blue hour” on a fine summer evening, and at the same time capture the golden hue of the lights in front of the many restaurants lining the alleyway.
The main challenge in taking the above shot, however, is the sharp contrasts in light.
For example, the tourists in the foreground are standing in the half-light, but the viewer still wants to see the details. Just above the people, the lighting contrasts sharply with the shaded area at the bottom of the photo. It’s hard for the camera to decide which brightness to prefer.
To top it all off, the soft blue light of late evening illuminates the umbrellas from above, while the restaurant lights illuminate the installation from below.
Image processing software is used to optimize the information contained in the RAW file of the photo, helping to highlight the different areas of brightness in the scene while avoiding areas that are too light or too dark.
The curb in the lower left corner of the photo serves as a prompt to integrate the scene. The door covers the first right-hand third of the photographic composition, preventing the observer from moving too quickly into the background. The rounded shape of the door and the old stones manage to occupy almost 50% of the image, while the rest shows an entire artery, mountains and a portion of the sky.
To energize the scene, I waited for an automobile to drive down the street.
Dating back to 1647, this Basilica-Cathedral has been renovated on several occasions and includes a historic crypt and holy door, attracting believers from all over the world.
Note that in this shot, the close-up of the tower does not prevent us from obtaining perfectly vertical lines, which are usually difficult to achieve in photography. This result is due to the use of a Canon EF 11–24 mm F/4L USM ultra-wide-angle lens, the only one on the market that allows such results without correction and without the fisheye effect taking over.
Above is the Basilica-Cathedral seen from another angle.
The photo above was taken in Matane, Quebec, in September 2024. It’s more a matter of chance than planning. I was on the beach photographing the sunset, and when the sky got too dark, I turned around to see if there was anything interesting left to capture. And I came across this full harvest moon rising in the firmament.
Photographing a full moon is a good challenge. We often capture only an almost white, very bright disk, losing the nuances of colour and the details of the lunar geography.
The advice available on the Internet on how to successfully shoot a full moon with a normal camera goes in all directions. But one thing’s for sure: to improve your chances of success, it’s best not to wait until nightfall, because then the very high luminosity of the star becomes impossible to attenuate while still retaining a view of the planetary topography.
Most of the time, the choice is between an excellent photo of a full moon, but a very dark surrounding earth relief where nothing is discernible, or a visible earth relief of acceptable quality, but a moon that represents nothing more than a large, white circle of light.
The method that works for the photo above is as follows: you have to be on the spot at the right time, i.e., during the blue hour and not the whole night. So, in my case, I was lucky because it wasn’t planned.
You need a tripod and an extension cable. There are two reasons to avoid long exposures: firstly, the moon is a moving object. The longer the exposure, the more the disk moves. You end up with an oval rather than a round moon. A long exposure also picks up more light, and the moon’s disk turns completely white.
Compromises become necessary. Trying to get a perfect moon and foreground at exactly the right brightness is quite a challenge. By the time every attempt has been made to achieve a flawless result, the moon is already too high in the sky. We have to act quickly.
We’re advised to lower the ISO to 200, but if I do that, I’m increasing the exposure time and introducing too much light into the camera. Instead, I use a higher ISO to reduce exposure, and use all the camera functions likely to reduce the amount of light entering the camera: higher shutter speed, if necessary, strong negative exposure compensation, and so on.
By not overdoing the settings and using RAW files, there’s still enough flexibility to bring out the foreground, in this case the houses lining Matane’s beaches and the surrounding lights.
In short, shoot during the blue hour, act quickly, accept compromises, limit exposure time in every way possible and use RAW files to facilitate post-production work.
The HDR photo of the Dauphine Redoubt above comprises seven pictures with different apertures. The Photomatix software stacks them one on top of the other to create a single shot. This allows the darker regions to stand out, while controlling the lighter areas as much as possible.
For a successful effect, the following factors need to be taken into account: type of camera (ideally full frame), use of an appropriate wide-angle lens, focus, time of day, cloud types, tripod, extension cable, camera mirror vibrations, wind, visibility, photographic grain, depth of field, moving obstacles in front of the camera and photographic composition.
I use a Canon 5 DSr with a Canon EF 11–24 mm F/4L super-wide-angle lens. Focusing with the camera’s backlit screen improves accuracy. It is better to avoid nighttime and take advantage of the blue hour. The clouds don’t prevent the capture of a distant background, and allow the city lights to be reflected in the sky.
I opt for a sturdy tripod. Its extra weight cancels out minor jolts and supports fairly heavy photographic equipment. The extension cable prevents the photographer from touching the camera when taking seven photos.
For mirror-equipped cameras like the Canon 5 DSr, it is important to activate the mirror lock function. This means that vibrations caused by the mirror rotation will have two seconds to fade before the actual picture is taken. A light wind also reduces the chance of vibrations.
Moderate visibility allows better graduation of colours and reflections. Tonight, the mist plays its part well. By using a tripod, I greatly limit the photographic grain. ISO is therefore set at 200. Depth of field is not a problem, as the tripod will prevent movement caused by long exposure.
As many people visit the site in the evening, I try to take each of the seven photos between two crosswalks. This isn’t always possible, but Photomatix can remove “ghosts” when compiling the shots. There is, however, a limit to this function.
The final point concerns photographic composition. The photo above is divided into three roughly equal horizontal zones. Oblique lines on either side at the bottom of the photo direct the eye towards the centre of the image. The five lights of the Dauphine Redoubt and those of the city capture the attention. All the shots have visible details and are not lost in the darkness. For better balance, the composition ignores another imposing building at the right of the scene.
These are just some of the precautions taken when capturing the scene in HDR night photography.