A winter photography project can consist of planning a photo session during a huge winter storm. The next few articles related to photography will concern the snowstorm that took place on February 7, 2020 in Quebec.
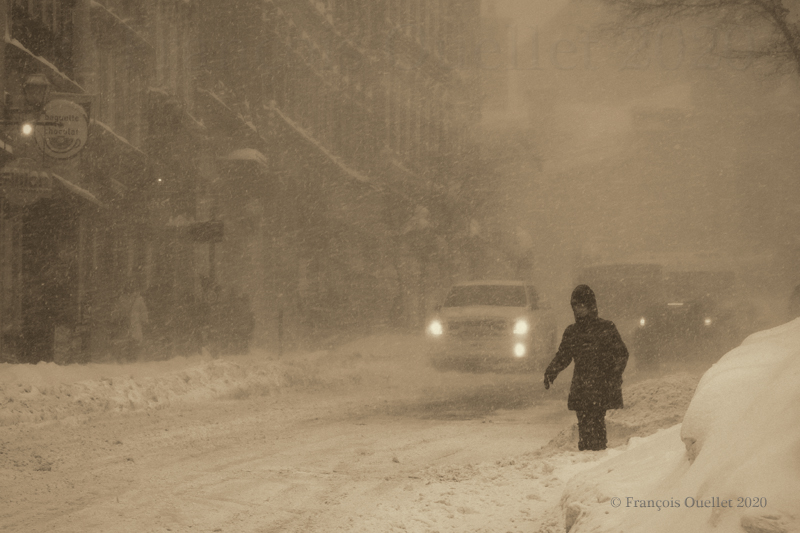
The photo above was taken near Côte de la Fabrique, in Old Quebec, after the storm which left 35 centimeters of snow. I chose a black and white photo because the colors added nothing significant, even going so far as to distract the viewer.
The technique of black and white photography works very well here at showing the contrasts between light and dark. The pedestrian and the vehicle headlights emerge much better and the blowing effect near the buildings is more visible.
Interestingly, the rise and fall of tides in the St. Lawrence Seaway impacts snow removal in upper town of Old Quebec.
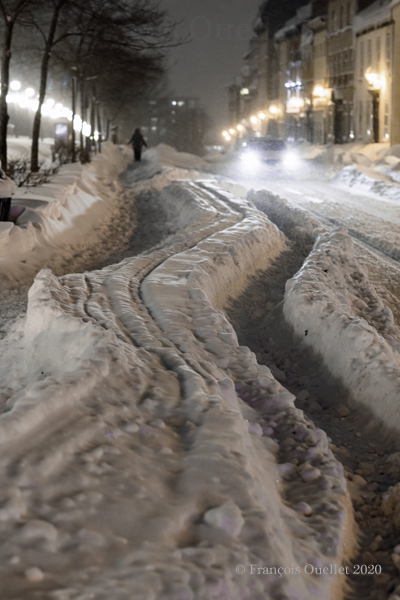
If the storm occurs during high tides, there may be an overflow of the St. Lawrence Seaway on certain sections of the highway in the lower town. The trucks responsible for collecting snow then have to make a long detour which brings them back to areas already affected by automobile congestion and where speed limits are considerably lower.
While the snowblower is on site and ready to clear the streets of Old Quebec, trucks are caught in traffic, thus slowing the snow removal process. (To be continued).
The photos were taken with a Canon 5DSr.
Click on the link for other photos of Quebec City and île d’Orléans in winter on my blog.