Tonight, the weather is too nice to stay at home. Thousands of people are already walking in the streets of Old Quebec on this day of Saint-Jean-Baptiste, the national holiday of Quebecers.
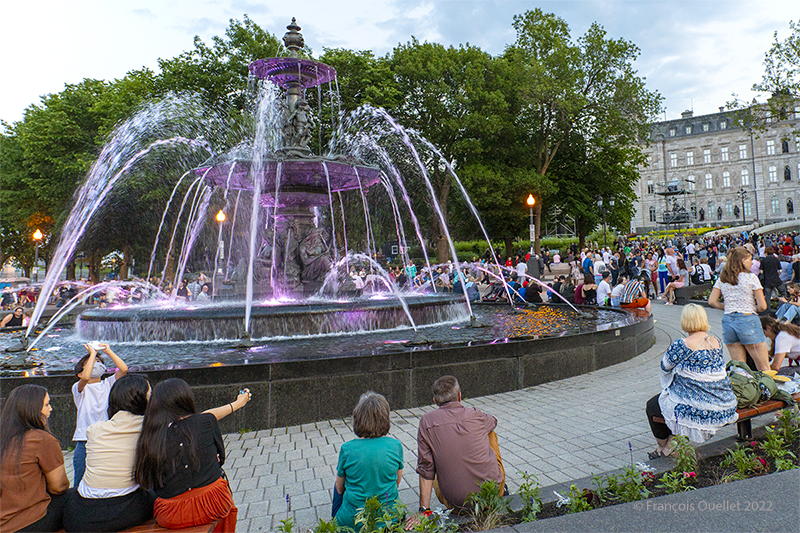
People are positioning themselves early around the Tourny Fountain and on the Parliament grounds in anticipation of a multimedia show whose images will be projected on the façade of the National Assembly.
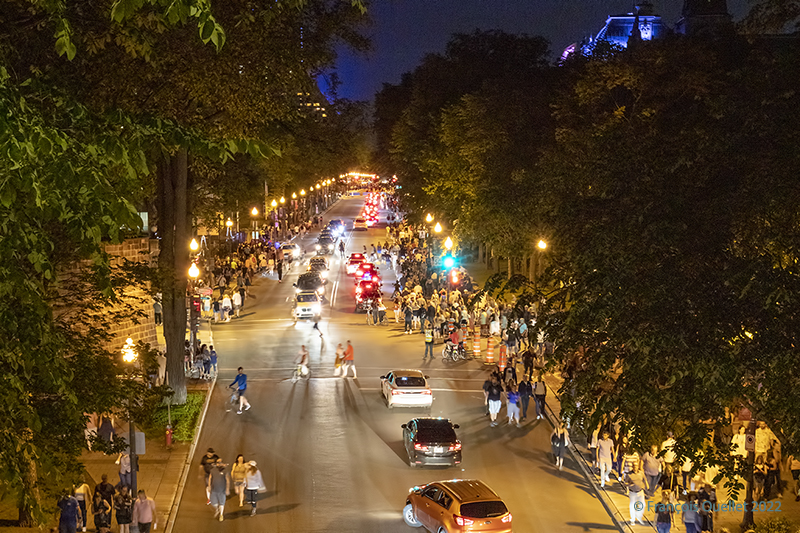
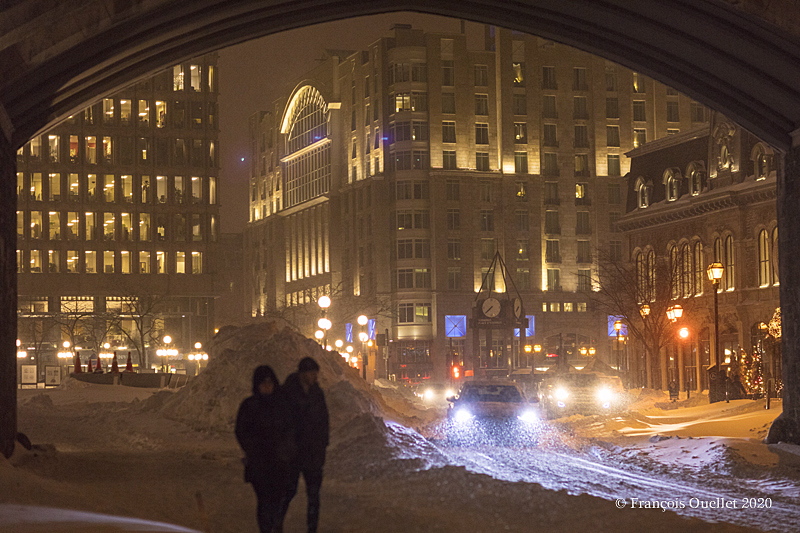
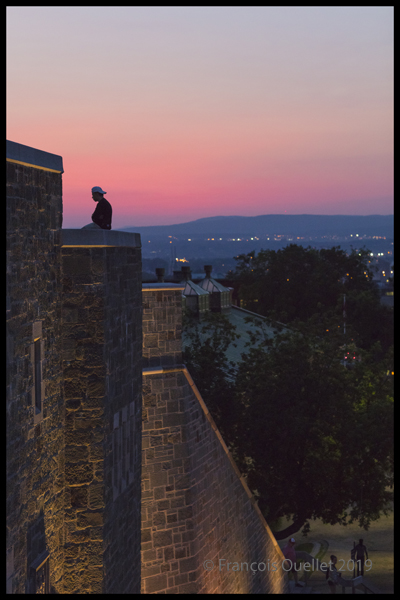
Once the show is over, it’s the rush to Old Quebec or the restaurants of the Grande-Allée. The photo above was taken from the top of the St. Louis Gate.

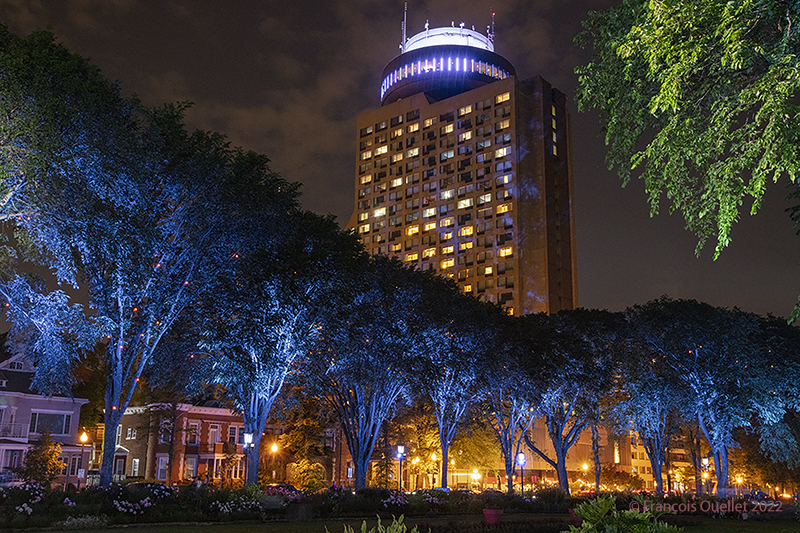
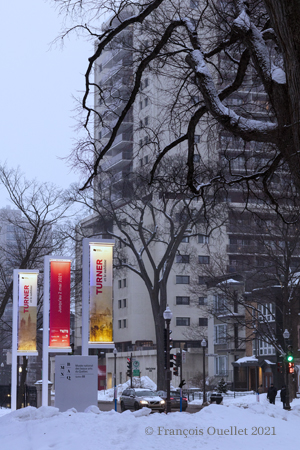
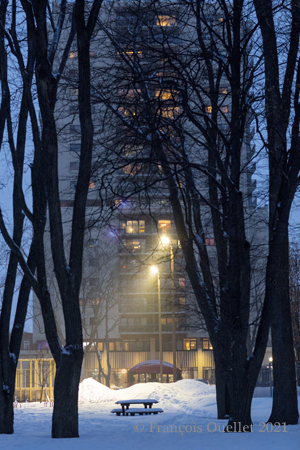
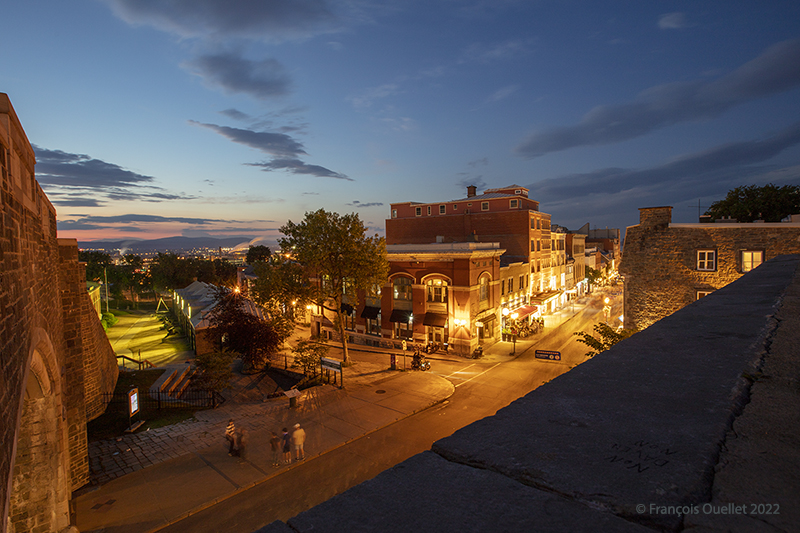
I love this view of the northern sector of Quebec City in the late evening. Normally, a filter would be needed to neutralize the intense light generated by a setting sun. But tonight, the clouds act as a natural attenuator and the sensor of the Canon 5DSr camera can do its job well.
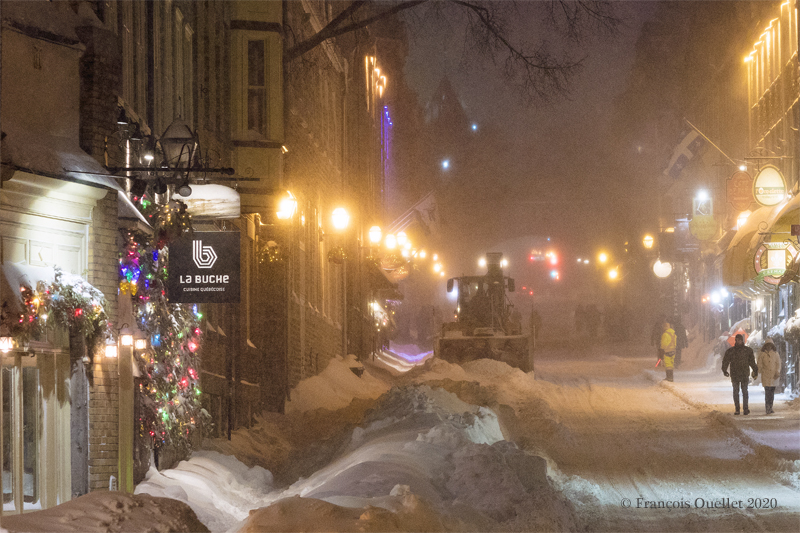
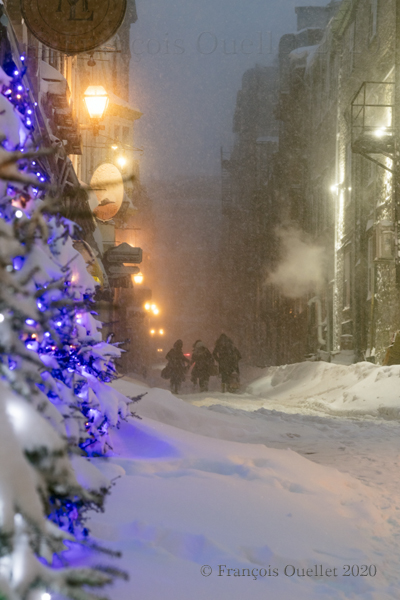
The last picture below is of St-Jean Street, in Old Quebec, in the late evening of June 24, 2022. This street is being revitalized and new businesses and restaurants have recently settled there. During the summer, a section of the street is reserved to pedestrians and the strollers have access to many terraces.
Click on the link for more pictures of Quebec City in Summer on my blog.