Categories
Renovation

Building a patio (5 of 7)

Cedar table and ramp construction.

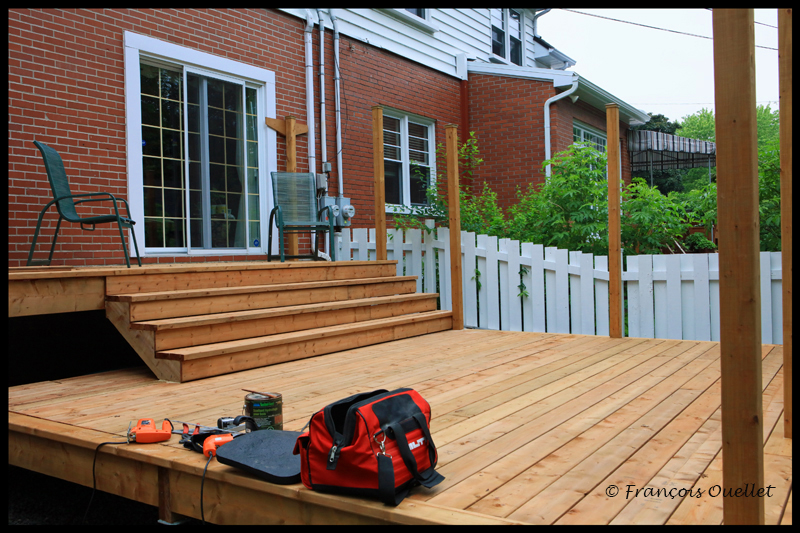
The third staircase and the ramp are under construction. The vertical posts and steps are made of spruce and the rest will be red cedar.

Handrail and staircase.

Construction of the railing has started. Initially, we thought of a metal railing with glass panels. We investigated the available models and it seemed to us that the appearance was a bit too modern for the age of the house. We thought that continuing with the same materials as the terrace would be a better idea. I drew up railing plans and had family members vote on which model to use.
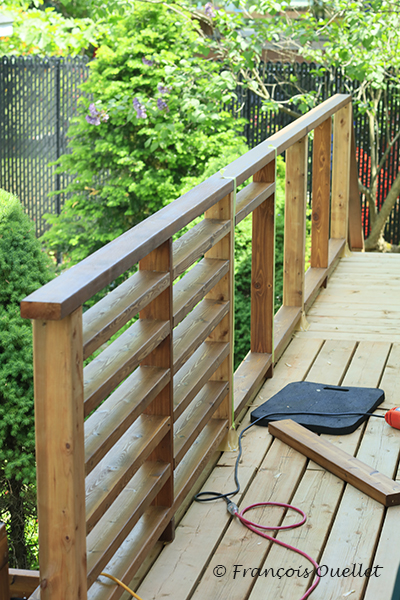
Installation of horizontal red cedar posts.

One at a time, the horizontal bars of red cedar are installed between the vertical posts. Spirit level and measuring gallon ensure that the appearance will be as correct as possible. The flaws are easy to see when a railing of this length is built, with so many separate pieces inside.
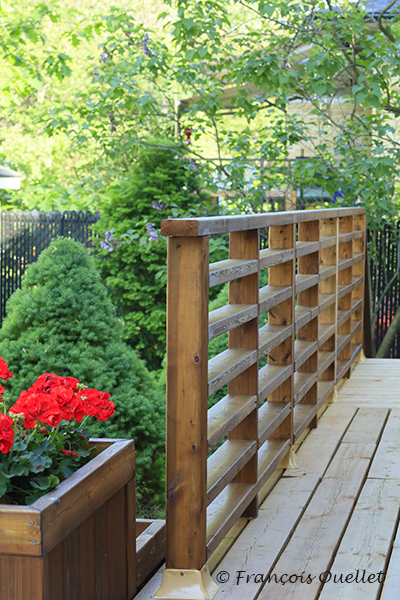
Completed red cedar ramp.

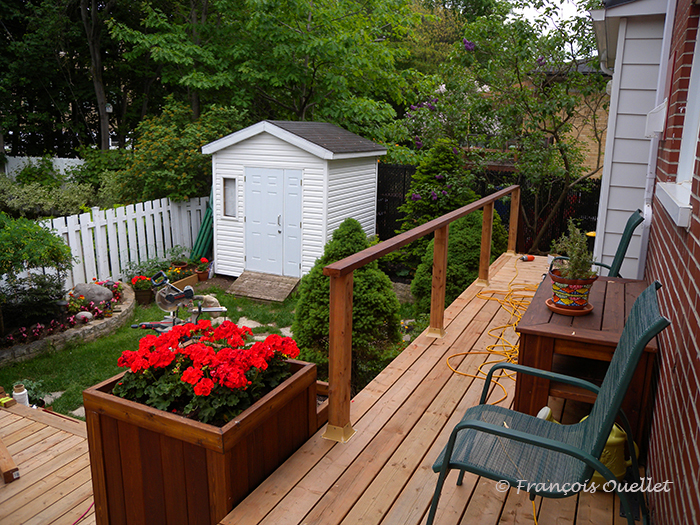
This is the final effect, when the thirty-six pieces of wood have been cut and laid.
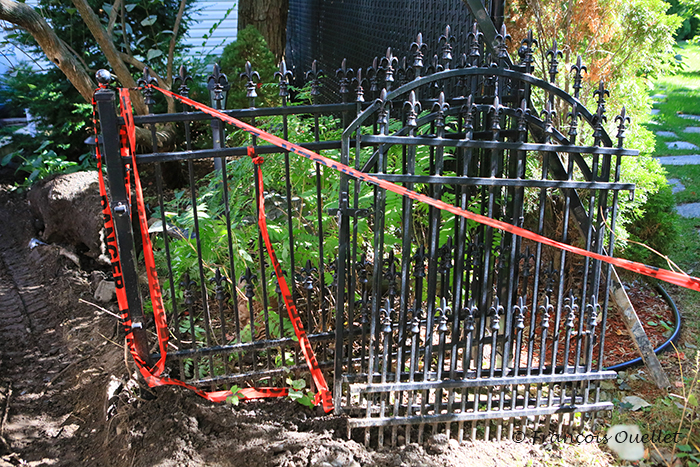
The sections of metal fence to cut and reinstall.

The black metal fence that stood right next to the patio was partially dismantled during the installation of the new French drain. The cement bases of the fence posts were damaged by machinery. It was now necessary to get this old cement out of the ground, regroove, cut off five centimeters from the fence, re-weld the parts of the fence together, recast cement and replant the metal posts.

I tried to have the work done by Clôture Provinciale, of St-Augustin, because the initial fence had been made by them, according to my drawing. After ten calls, months of waiting and no return calls, I tried to approach other companies to do the work. I was told I would have to wait until next year because all the companies had contracts for months to come. Finally, I found a company in Beauport that bid $ 2700.00 to do the work. But it was a bit expensive.
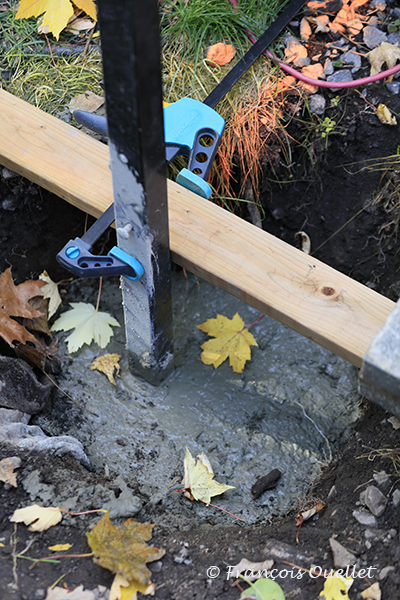
Cement is poured to secure the fence post.

So I decided to do a lot of the work myself, but still called on Clôture Nordik to pull the old cement bases out of the ground and dig two new holes at least 5 feet deep. I sawed off the metal fence and had the sections welded together. I then poured 700 pounds of cement into the two holes, laid the metal posts and reinstalled the fence. I then applied a coat of black Tremclad paint. Total expenses: $ 700 instead of the $ 2700 proposed by the Beauport company.
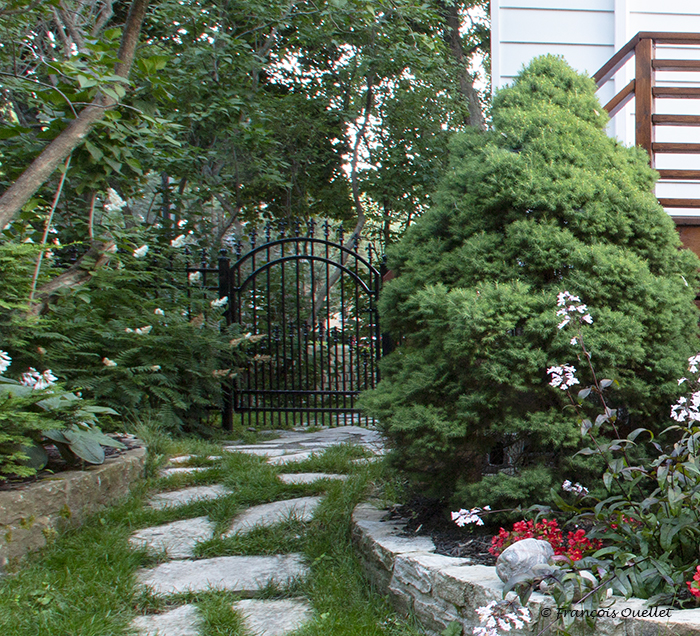
Reinstalled metal fence.

Here is the final result for the fence.

Continued in the next article: “Building a patio (6 of 7)”.
Categories
Renovation

Building a patio (2 of 7)

Each piece of wood is selected individually.

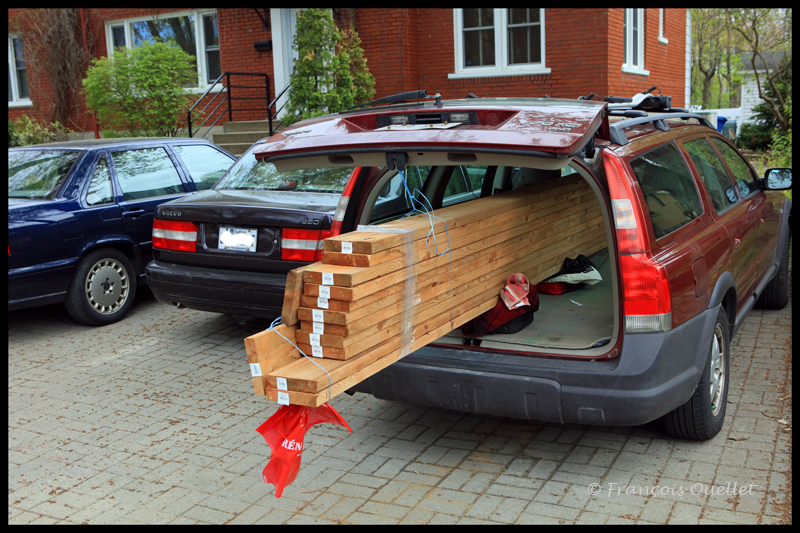
If you can (you have the vehicle and the time), go get your wood yourself and select it piece by piece. Take as many trips as you need, because the effort is worth it. Often, if you order, you end up with certainly a 10-15% of pieces of wood that are crooked, twisted, cracked or with significant knots: the general appearance suffers, in addition to the losses with which you will have to contend and the increased difficulty level to adjust all those pieces together. Building a patio is made easier with quality products.

6X6 beams on screw piles.

The first 6 x 6 posts are placed on five adjustable piles, to support the large contour beam that will run along the house. The contour beam is made of pieces of wood 2 X 12 that are doubled, glued and screwed.

Patio in construction and spirit level.

In the picture above, the contour beam is under construction. In the background, a few joists are already anchored to the building. The family wants to get out through the patio door as soon as possible and I must therefore lay a first section of flooring as soon as possible.

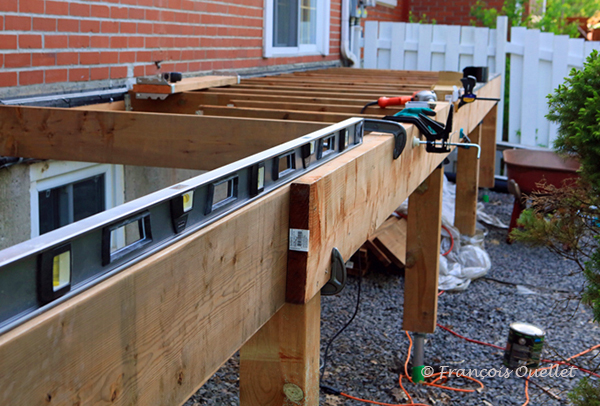
The spirit level on the beam makes it possible to verify that the height of the first floor of the patio will be the same over the entire length of the house. It is easier to work with a long spirit level because it is less forgiving of mistakes.

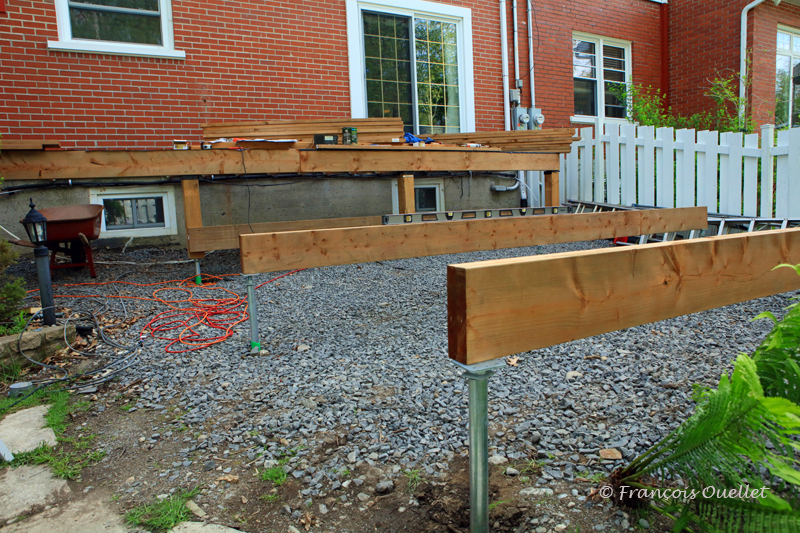
Three beams on screw piles.

The beams are now placed on the eleven adjustable piles. At this point, I tell myself that it is too late to go back … Some of the piles having been slightly repositioned because of the rocks, so I have to accept some compromises in order to be able to screw the underside of the beams to the piles. But it ends up working …

Installation of large posts on the terrace.

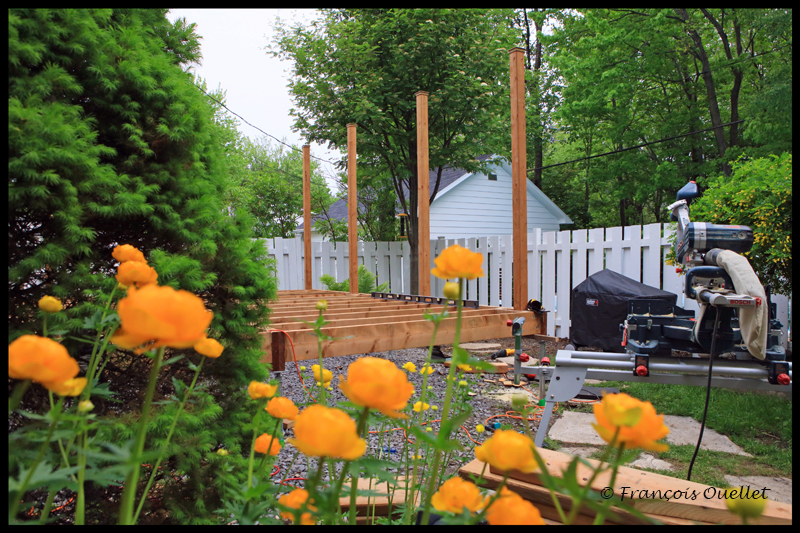
The joists are now attached to the beams with joist hangers. Then begins the delicate task (at least for me) of fixing the long wooden posts vertically to the patio. When a post is slightly crooked, it must be repositioned immediately before the construction adhesive solidifies. Here, the spirit level and the neighbors’ comments are useful. Subsequently, the screws make it possible to solidify the construction definitively.

A first chair is installed on a temporary floor.

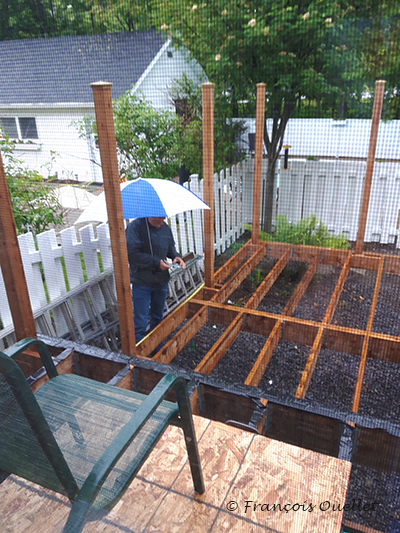
View of the patio from another angle. The first chair is already out on a temporary installation on the second floor of deck! The black waterproof membrane shown in the picture above was not good enough : it  wrinkled and did not stick enough. I changed it to a red Resisto membrane.

One of three stairs is now completed.

It’s starting to look like a patio. I completed my first stairs. There are some minor renovation errors on my part, but I’m very happy overall. No one fell yet, and the patio doesn’t make any weird sounds. Two chairs are out and there is finally a semblance of normalcy, while the project progresses further. It will be necessary to stain all this, but there is no hurry.

Continued in the next article: “Building a patio (3 of 7)”.