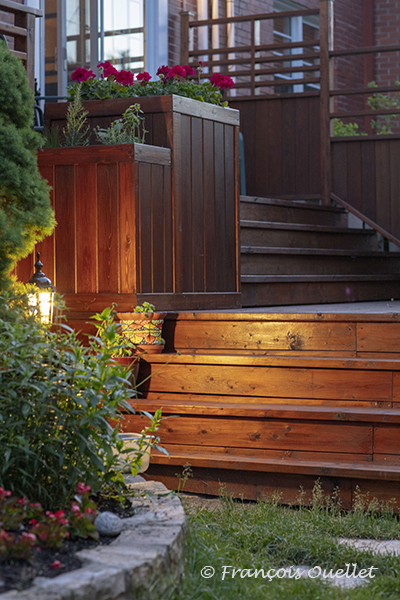
We have arrived at the last article in the “ Building a patio ” series. The photo above shows the two-tiered flower box as well as the three-step staircase that has been completely redone. The last step must be cut at an angle to follow the pronounced drop in the ground at this point, under the patio.
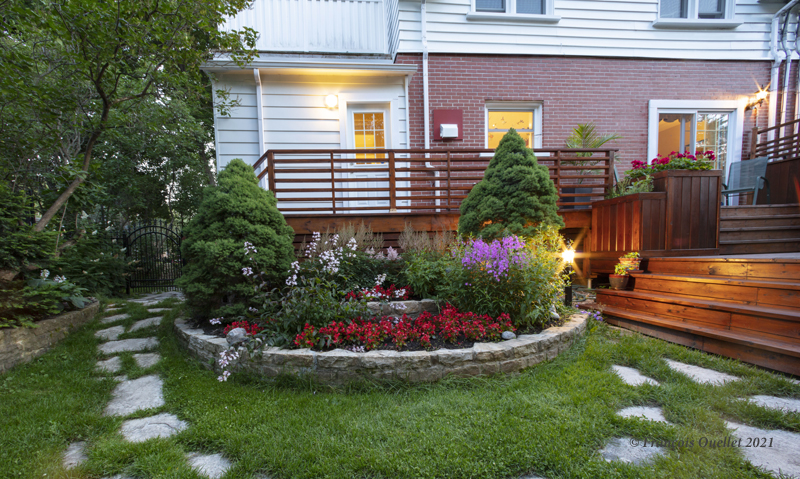
A general view of the railing and of the black metal fence to the left of the photo which has been sawn and set back in cement.
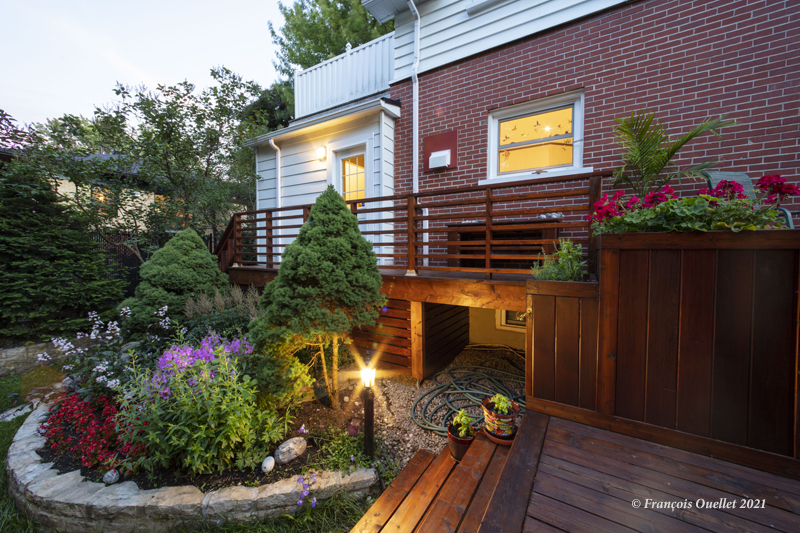
Above is a view of the red cedar siding built under the patio. I kept an access to the hose and didn’t block out all of the light entering in the basement window. Another fixture has also been reactivated.
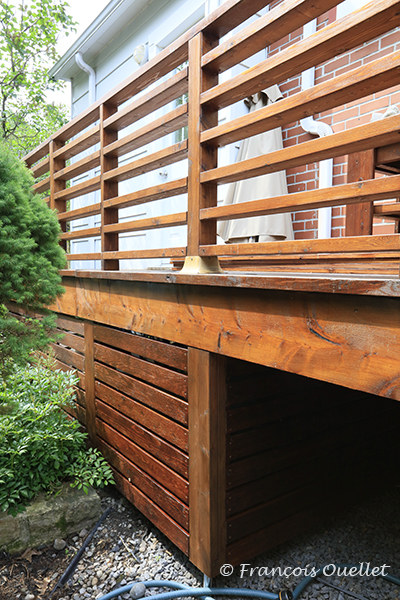
The photo above shows a close-up of the siding under the patio. We can see a metal pole near the watering can which seems to support the terrace: its practical function is null; it is only there for appearance (all the siding is firmly fixed from the top).
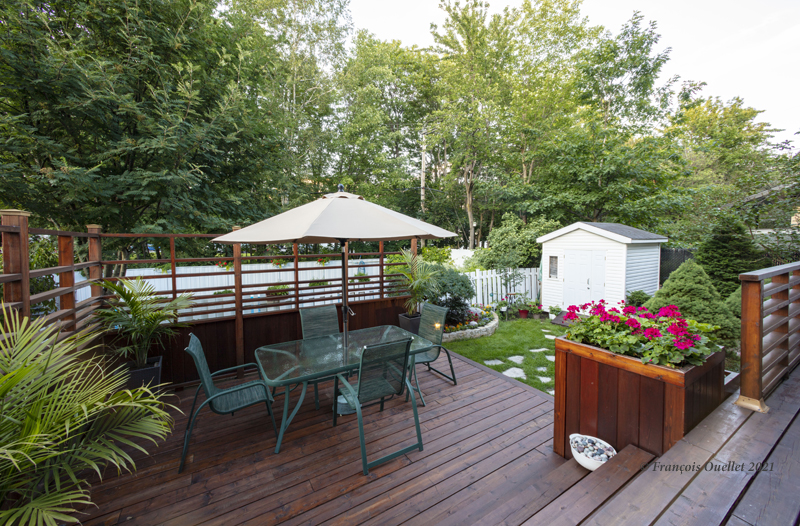
Overview of the terrace.
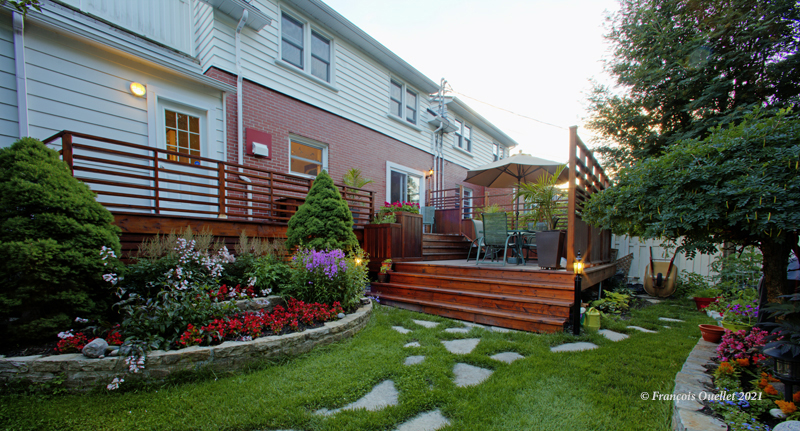
Another overview of the patio. This time, I took the picture in HDR, meaning five pictures were taken with a different aperture and compiled on a computer to achieve a result that fights the highlights in the background. When you shoot westward with the sun going down, that’s what it looks like: you have to correct the photo in order to see something. The terrain looks larger than it actually is: this is due to the effect of the wide-angle lens.
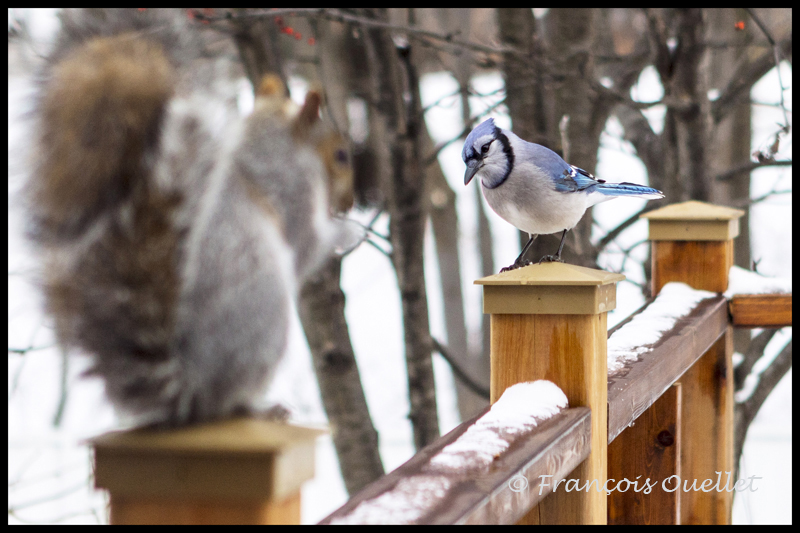
The last photo is of a squirrel and a blue jay who regularly invite each other for a peanut meal on the patio. If you want to see some close-up photos of these blue jays, click on these pages of my site: Blue Jay in Autumn and Blue Jay and Russian Mountain Ash.
I hope this series on renovation and on building a patio has been helpful to you.