Categories
Renovation

Building a patio (7 of 7).

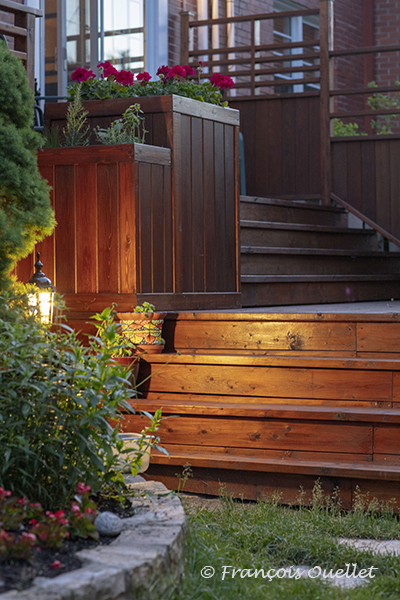
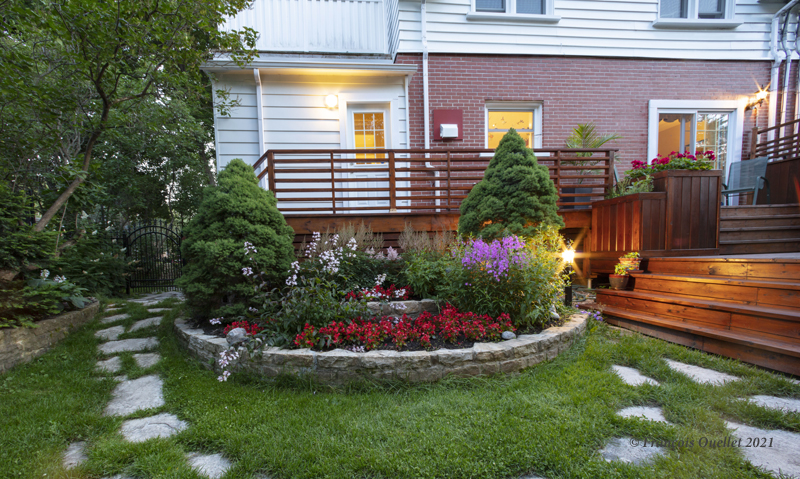
Red cedar flower box and light fixture.

We have arrived at the last article in the “ Building a patio ” series. The photo above shows the two-tiered flower box as well as the three-step staircase that has been completely redone. The last step must be cut at an angle to follow the pronounced drop in the ground at this point, under the patio.
Black metal fence sawn and replanted.

A general view of the railing and of the black metal fence to the left of the photo which has been sawn and set back in cement.
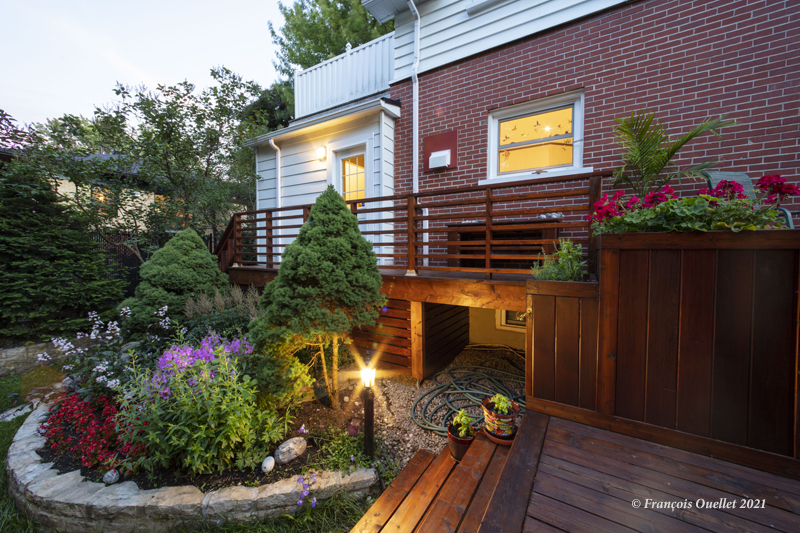
Red cedar siding under the patio and support post.

Above is a view of the red cedar siding built under the patio. I kept an access to the hose and didn’t block out all of the light entering in the basement window. Another fixture has also been reactivated.
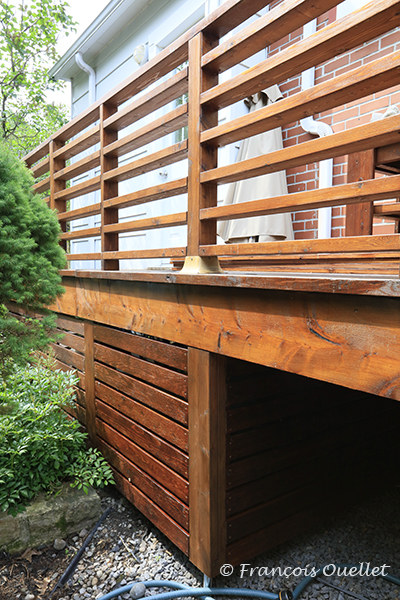
Close-up of the red cedar siding under the patio.

The photo above shows a close-up of the siding under the patio. We can see a metal pole near the watering can which seems to support the terrace: its practical function is null; it is only there for appearance (all the siding is firmly fixed from the top).
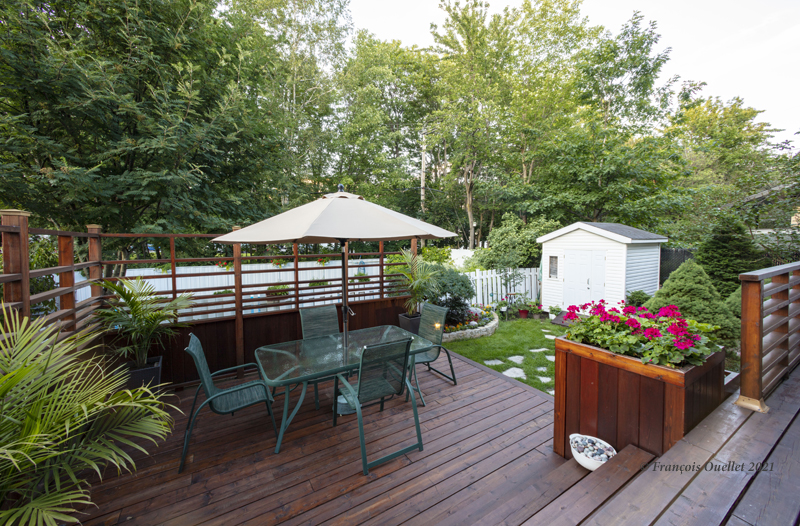
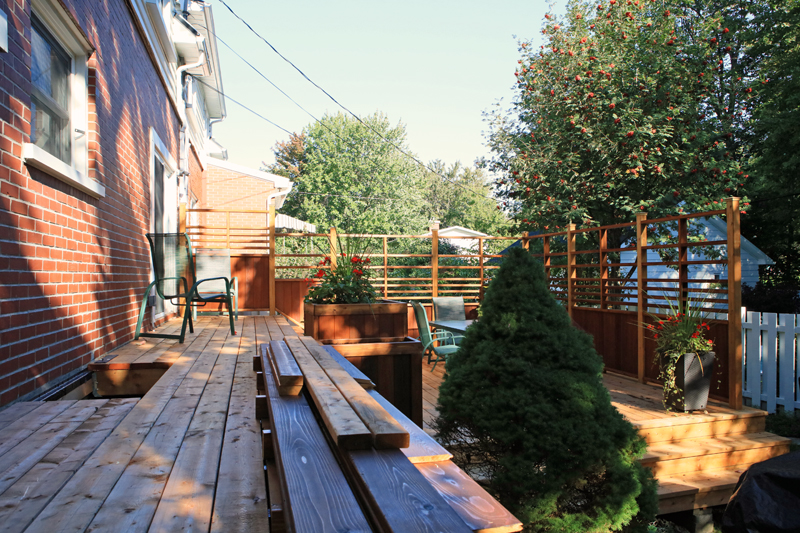
View of the completed terrace.

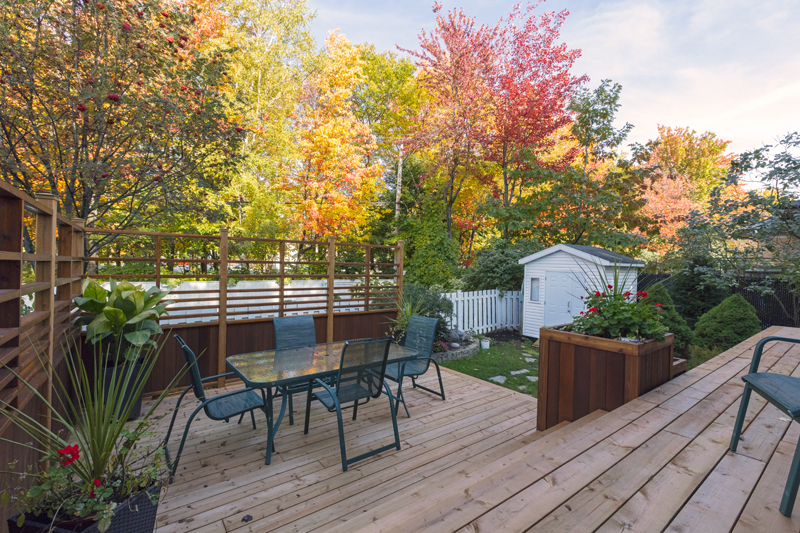
Overview of the terrace.

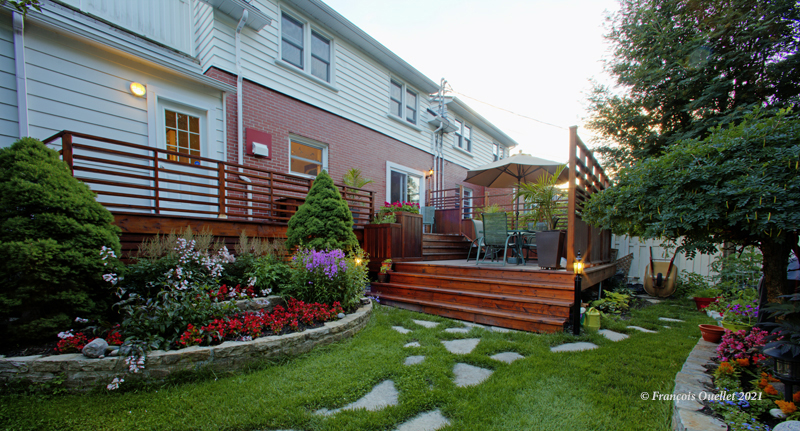
HDR Wide angle view of the wooden deck

Another overview of the patio. This time, I took the picture in HDR, meaning five pictures were taken with a different aperture and compiled on a computer to achieve a result that fights the highlights in the background. When you shoot westward with the sun going down, that’s what it looks like: you have to correct the photo in order to see something. The terrain looks larger than it actually is: this is due to the effect of the wide-angle lens.
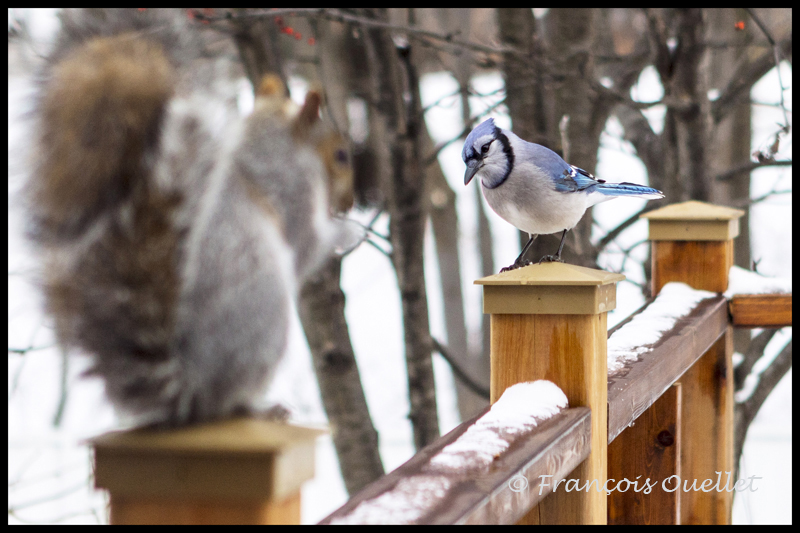
Squirrel and Blue Jay on the new patio.

The last photo is of a squirrel and a blue jay who regularly invite each other for a peanut meal on the patio. If you want to see some close-up photos of these blue jays, click on these pages of my site: Blue Jay in Autumn and Blue Jay and Russian Mountain Ash.

I hope this series on renovation and on building a patio has been helpful to you.
Categories
Renovation

Building a patio (5 of 7)

Cedar table and ramp construction.

The third staircase and the ramp are under construction. The vertical posts and steps are made of spruce and the rest will be red cedar.

Handrail and staircase.

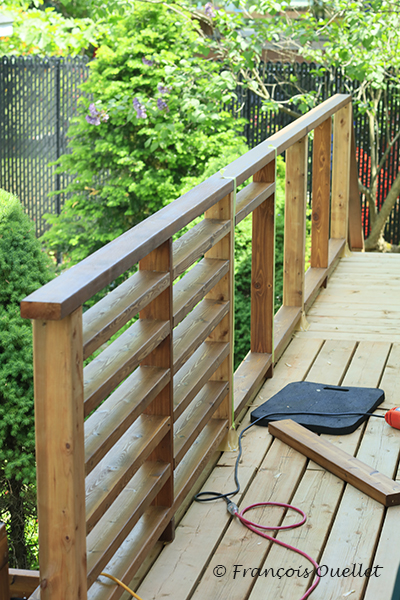
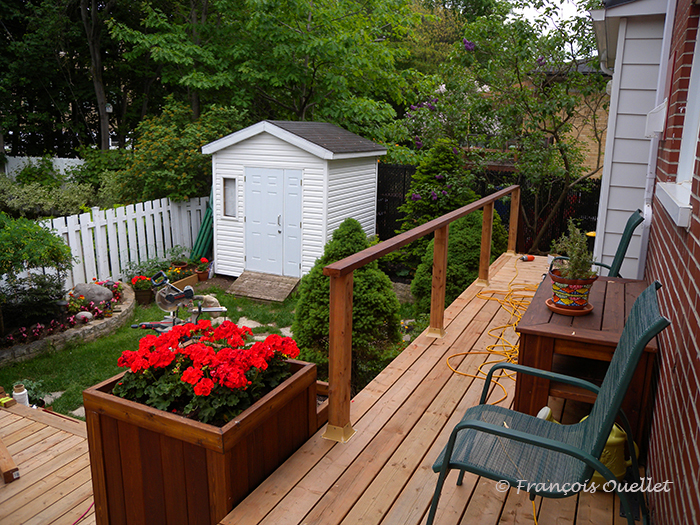
Construction of the railing has started. Initially, we thought of a metal railing with glass panels. We investigated the available models and it seemed to us that the appearance was a bit too modern for the age of the house. We thought that continuing with the same materials as the terrace would be a better idea. I drew up railing plans and had family members vote on which model to use.

Installation of horizontal red cedar posts.

One at a time, the horizontal bars of red cedar are installed between the vertical posts. Spirit level and measuring gallon ensure that the appearance will be as correct as possible. The flaws are easy to see when a railing of this length is built, with so many separate pieces inside.

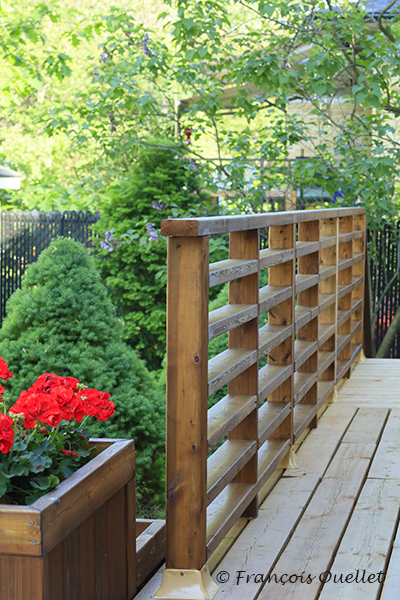
Completed red cedar ramp.

This is the final effect, when the thirty-six pieces of wood have been cut and laid.

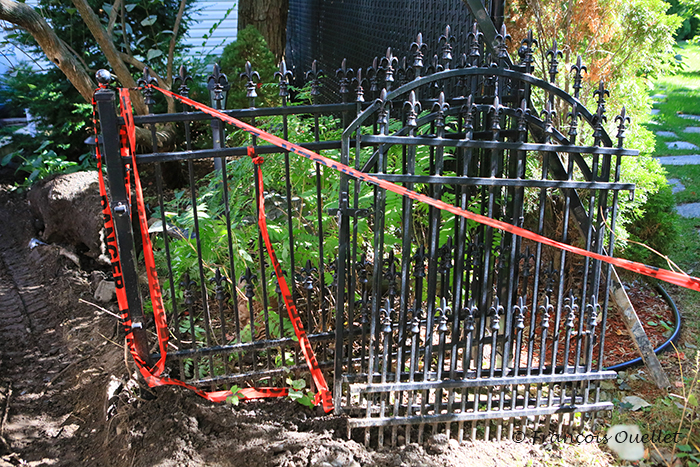
The sections of metal fence to cut and reinstall.

The black metal fence that stood right next to the patio was partially dismantled during the installation of the new French drain. The cement bases of the fence posts were damaged by machinery. It was now necessary to get this old cement out of the ground, regroove, cut off five centimeters from the fence, re-weld the parts of the fence together, recast cement and replant the metal posts.

I tried to have the work done by Clôture Provinciale, of St-Augustin, because the initial fence had been made by them, according to my drawing. After ten calls, months of waiting and no return calls, I tried to approach other companies to do the work. I was told I would have to wait until next year because all the companies had contracts for months to come. Finally, I found a company in Beauport that bid $ 2700.00 to do the work. But it was a bit expensive.

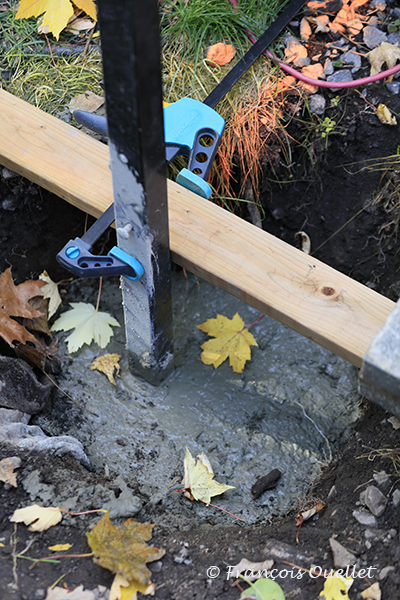
Cement is poured to secure the fence post.

So I decided to do a lot of the work myself, but still called on Clôture Nordik to pull the old cement bases out of the ground and dig two new holes at least 5 feet deep. I sawed off the metal fence and had the sections welded together. I then poured 700 pounds of cement into the two holes, laid the metal posts and reinstalled the fence. I then applied a coat of black Tremclad paint. Total expenses: $ 700 instead of the $ 2700 proposed by the Beauport company.

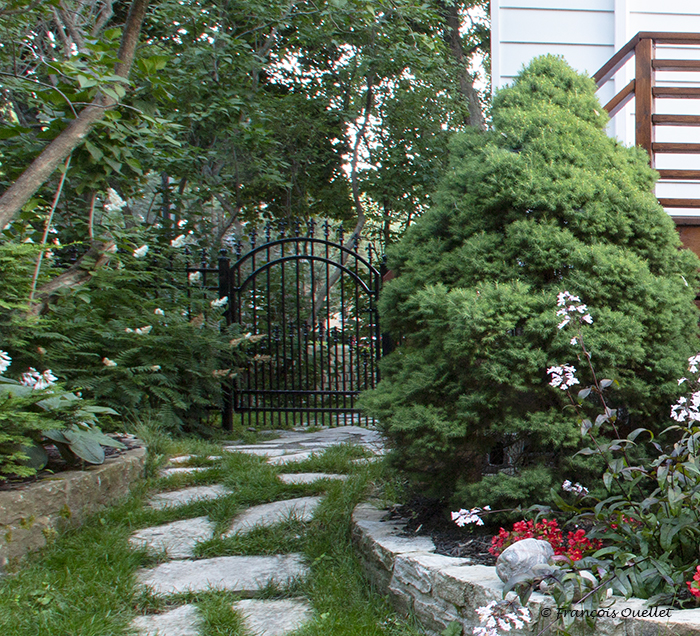
Reinstalled metal fence.

Here is the final result for the fence.

Continued in the next article: “Building a patio (6 of 7)”.

Categories
Renovation

Building a patio (4 of 7)

Building the last section of the patio

I had counted on the presence of a carpenter to make the connection between the beams under the white shed and the new terrace. Connecting a 1954 construction with a new, differently designed patio is not that easy, especially for me. What was also not easy was to hire experienced staff to do this part of the job. After multiple calls left and right to find an employee, I resolved to take on the job alone. Everything went well, however, with savings as a bonus.

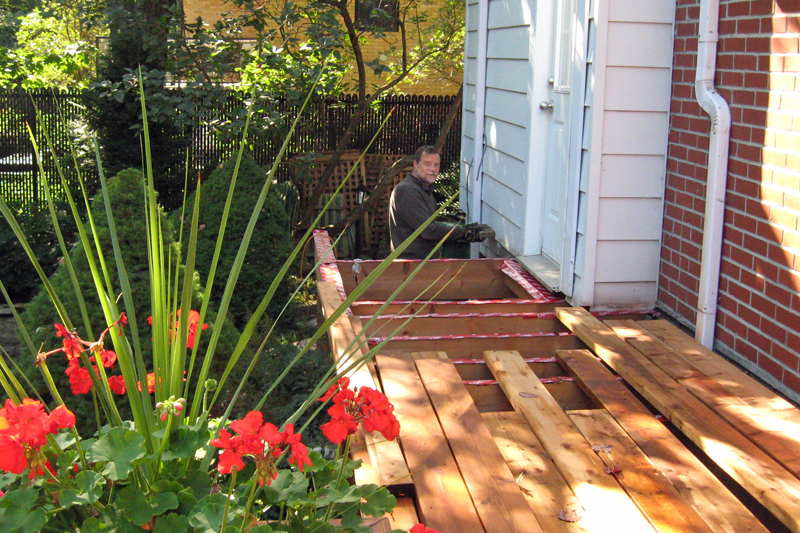
In the picture above, a red Resisto waterproof membrane is glued to each beam and joist to protect the wood from rot.

Opening in the floor of the deck.

The opening into the terrace is still clearly visible. It was closed, after a change of plan. Two joists were added in the middle of the hole for added strength and a few boards were cut and rearranged to complete the floor and close the opening.

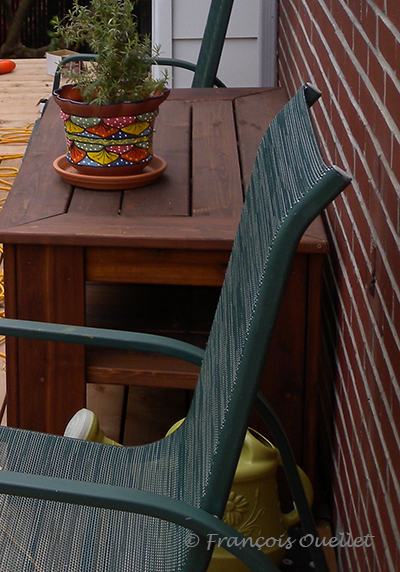
Red cedar table and patio.

A red cedar table (the first table I ever built) was placed where the old opening in the terrace floor was.

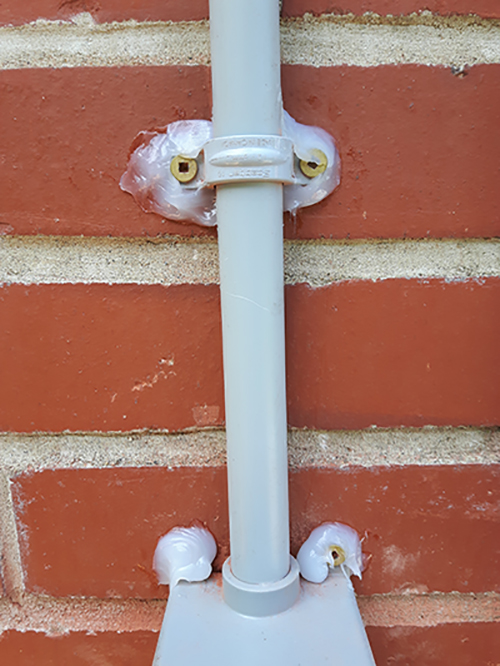
Picture of a shitty job

During the project, I made the mistake of not supervising the work after hiring an electrician to lay the exterior wiring. The photo above is the very definition of a job poorly done (a better term would be a shitty job). The guy made multiple holes in the brick, not even aligned, and buttered the wall with silicone, after installing a lamp that hangs crooked. That’s why you have to do the work yourself, when possible. But with electricity, we are forced to deal with professionals. In short, the company had to redo the work.

The patio flooring is completed.

The flooring is now completed on both levels, but I haven’t had time to stain it yet. It also lacks a railing on the second level, a third staircase at the end of the terrace, a ramp, and it is also necessary to resize and reinstall a metal fence that was taken out of the ground during the work of the new drain, in addition to reconnect the wiring of the lampposts that was cut by the mechanical shovel. But the renovations are moving forward …

Continued in the next article: “Building a patio (5 of 7)”.