Categories
Renovation

Building a patio (7 of 7).

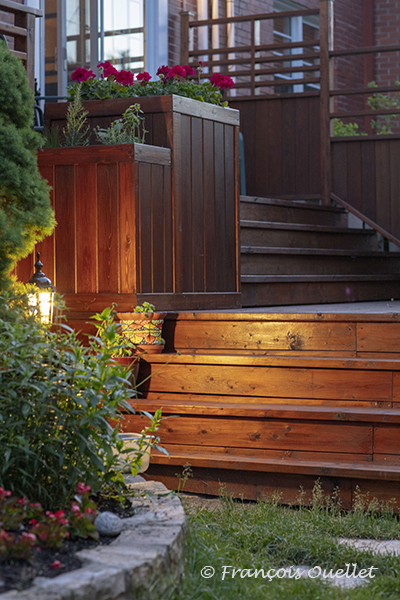
Red cedar flower box and light fixture.

We have arrived at the last article in the “ Building a patio ” series. The photo above shows the two-tiered flower box as well as the three-step staircase that has been completely redone. The last step must be cut at an angle to follow the pronounced drop in the ground at this point, under the patio.
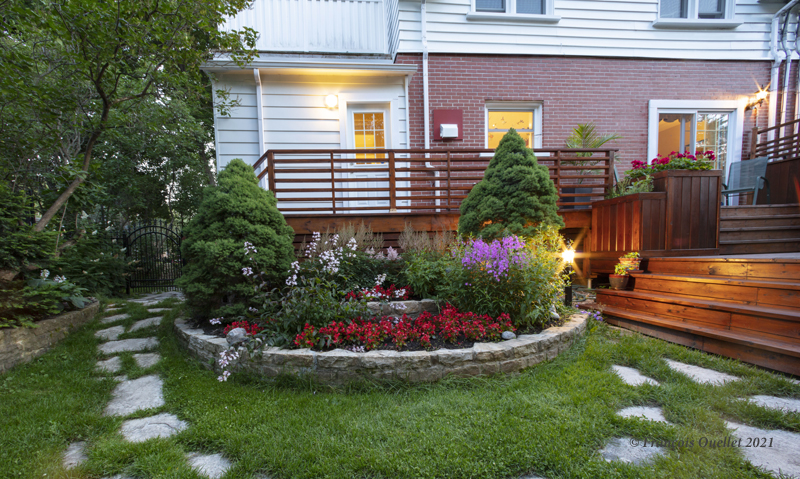
Black metal fence sawn and replanted.

A general view of the railing and of the black metal fence to the left of the photo which has been sawn and set back in cement.
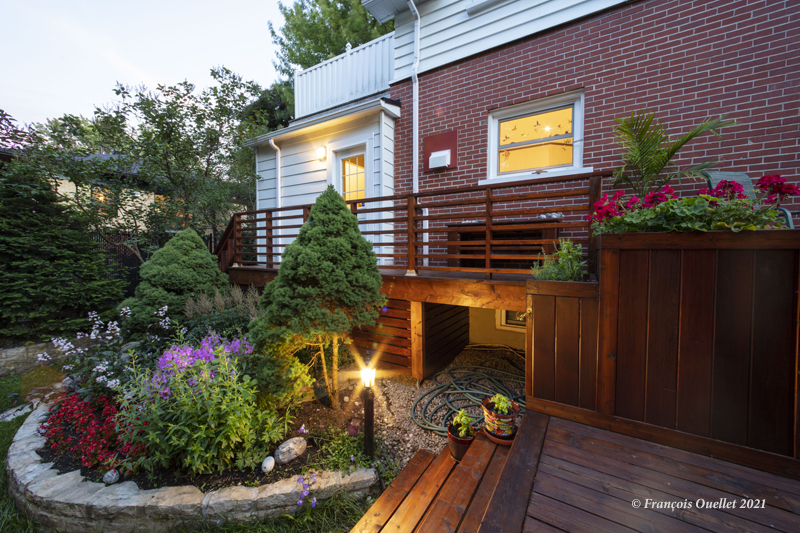
Red cedar siding under the patio and support post.

Above is a view of the red cedar siding built under the patio. I kept an access to the hose and didn’t block out all of the light entering in the basement window. Another fixture has also been reactivated.
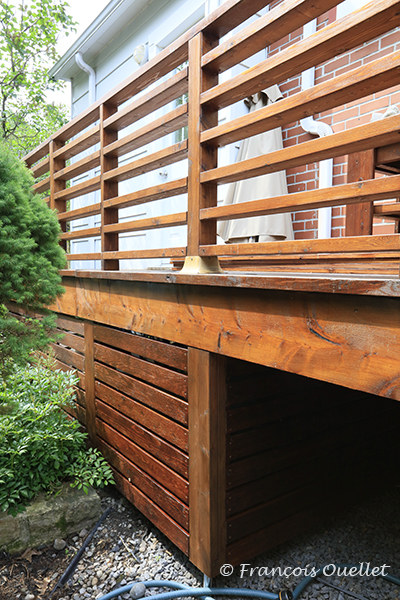
Close-up of the red cedar siding under the patio.

The photo above shows a close-up of the siding under the patio. We can see a metal pole near the watering can which seems to support the terrace: its practical function is null; it is only there for appearance (all the siding is firmly fixed from the top).
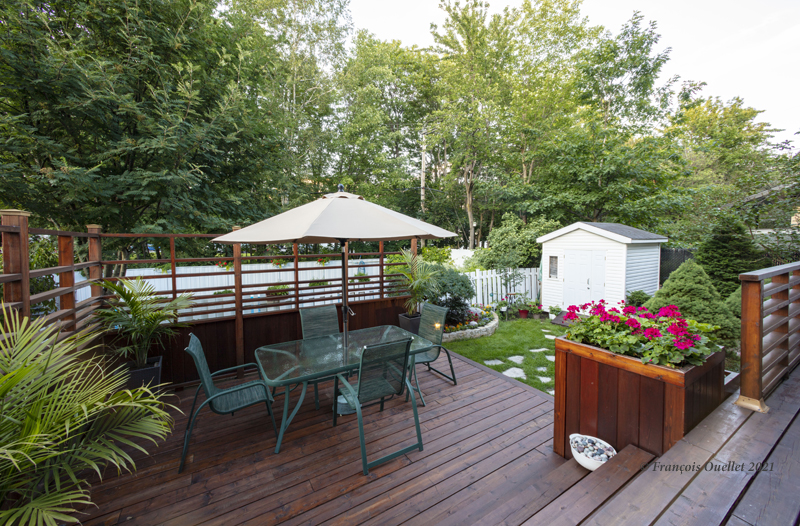
View of the completed terrace.

Overview of the terrace.

HDR Wide angle view of the wooden deck

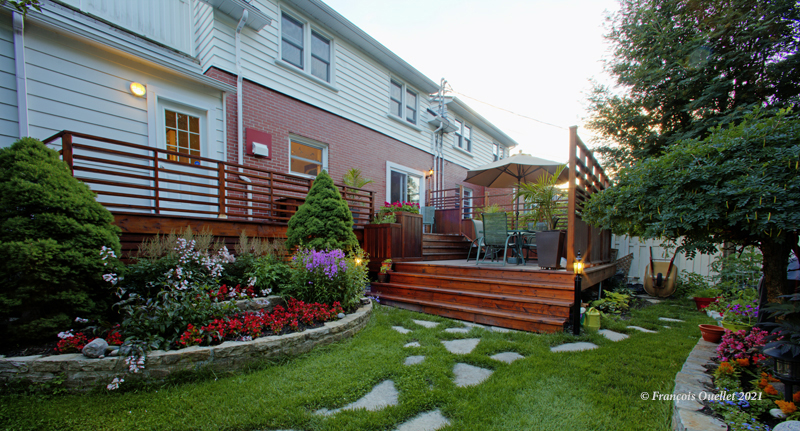
Another overview of the patio. This time, I took the picture in HDR, meaning five pictures were taken with a different aperture and compiled on a computer to achieve a result that fights the highlights in the background. When you shoot westward with the sun going down, that’s what it looks like: you have to correct the photo in order to see something. The terrain looks larger than it actually is: this is due to the effect of the wide-angle lens.
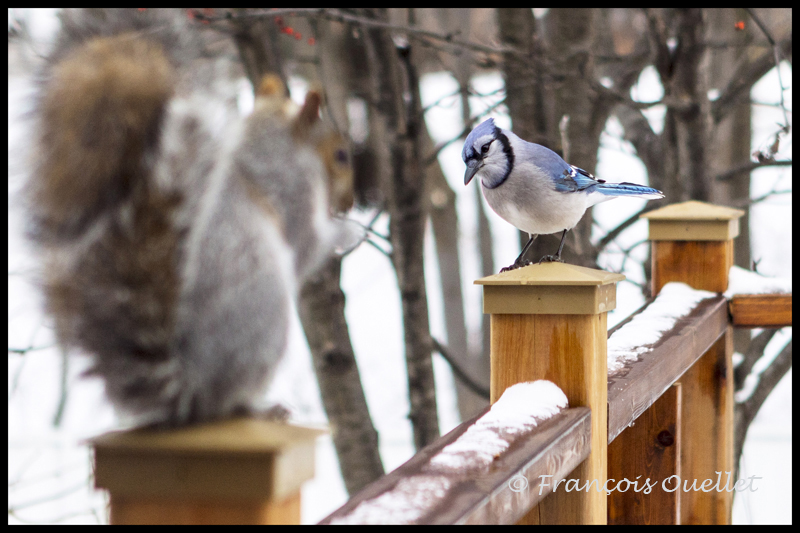
Squirrel and Blue Jay on the new patio.

The last photo is of a squirrel and a blue jay who regularly invite each other for a peanut meal on the patio. If you want to see some close-up photos of these blue jays, click on these pages of my site: Blue Jay in Autumn and Blue Jay and Russian Mountain Ash.

I hope this series on renovation and on building a patio has been helpful to you.
Categories
Renovation

Building a patio (3 of 7)

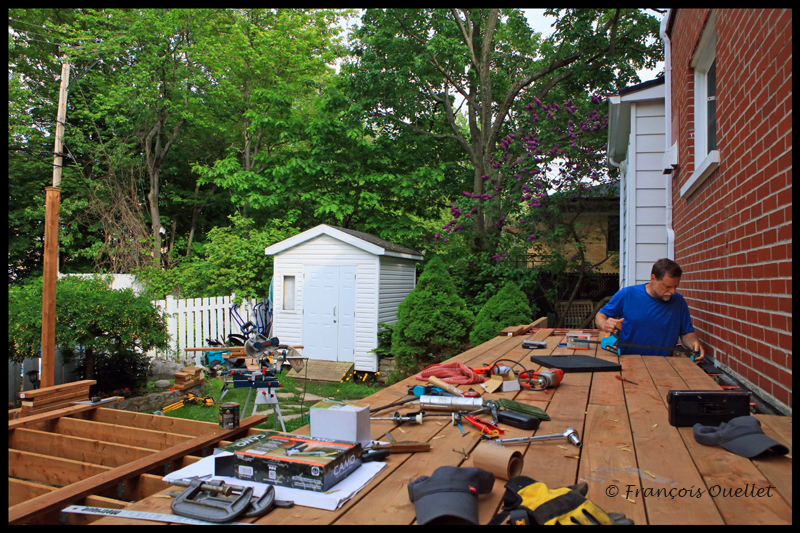
Building the deck along the house.

To screw the 2X6 boards I use the CAMO system with screws that do not show, being screwed obliquely to the side of the boards: this improves the overall appearance without compromising on strength. When it comes to tools, I belong to the dinosaurs: only wire equipment, nothing with a battery.

The original plans called for an opening in the patio floor on the first level to allow light to pass through to a basement window. It is also in this opening that I work in the photo above. The plan messed up, with the final aesthetic and positive family comments missing. Project management also involves unforeseen events… I had to apply plan B, that is to say improvise.

Two-layer stained red cedar planks.

The red cedar planks are used in the construction of the railing, the flower box, the handrail and the siding under the terrace. Some are knotless, for the more visible places, and others are with knots. There is naturally a good price difference between the two categories.

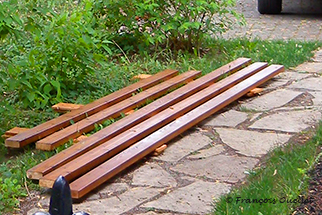
Each red cedar plank has a very pale beige color. To give it a darker tone, it must be sanded and stained with two coats of a special oil. It is important to wait a day between layers. In the photo above, six boards that have received the proper treatment are quietly drying outside. This is a process that requires time and proper weather if you don’t have a garage to let it dry out.

The second staircase from the patio.

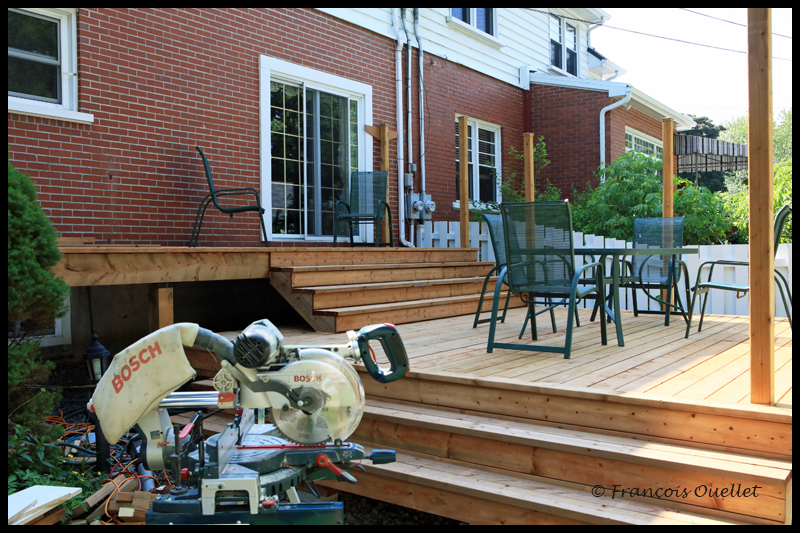
Above, the second staircase has just been completed. It has only two steps, because I wanted to rise the terrain a bit and I thought it would eventually reach the threshold of the stairs. Unfortunately, it was a step in the planning that was reviewed the following summer and this two-step staircase was eventually destroyed and redone to contain three steps. I miscalculated the optimal ground elevation and the wrong estimates have consequences. To add to the problem, the winter frost that followed the 2019 construction proved to me that the base of the stairs needed to be redesigned. I should have made a deeper hole in the ground to build a more stable base for the steps. Renovation also means learning and having to correct mistakes …

Building a two-tier flower box.

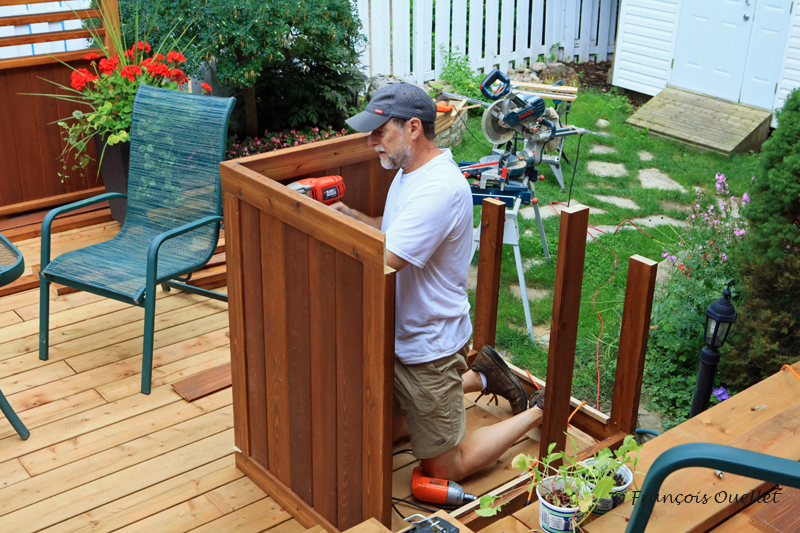
Above is the two-tiered flower box, made of knotless red cedar. You can see that the patio floor is not stained yet. Once dyed, it will never look exactly the same color as the flower box, as the floor is made of spruce (the good old regular 2X6) while the rest of the construction is usually red cedar. But the colors will be sufficiently alike.

Decorative patio walls.

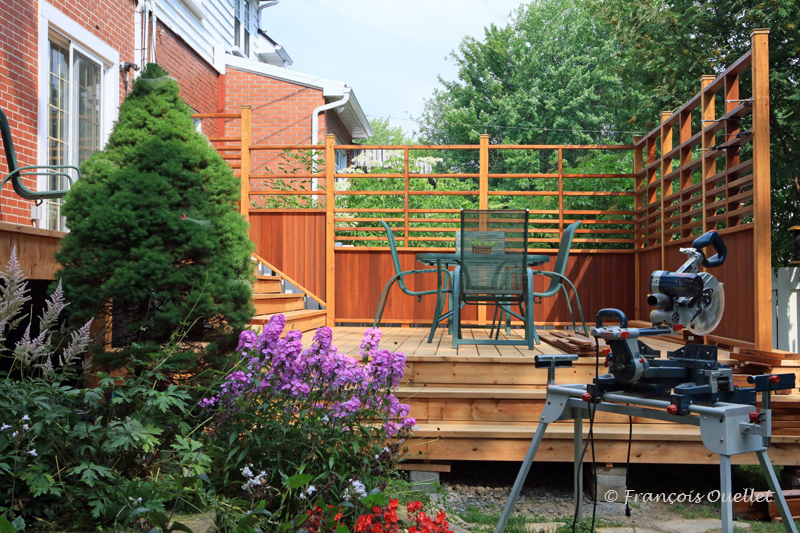
Above, a general view of the work in progress. Everything is still far from over.

Part of the new wooden deck

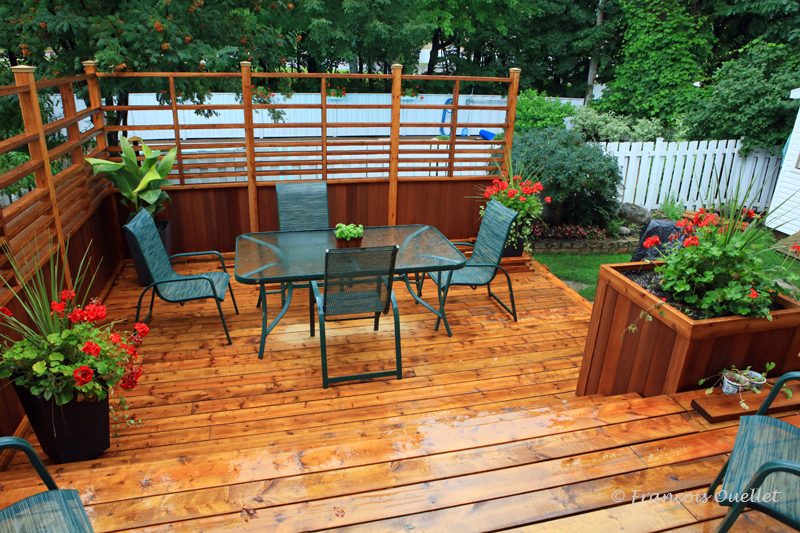
Another general view of the first part of the terrace. The floor looks darker than in the previous photo, but this is only due to the effect of the rain.

Continued in the next article: “Building a patio (4 of 7)”.