A Decision Has to be Taken
You must decide the ideal combination between the following: aperture, speed and ISO. All three are interrelated and choosing one has a direct influence on the other two.
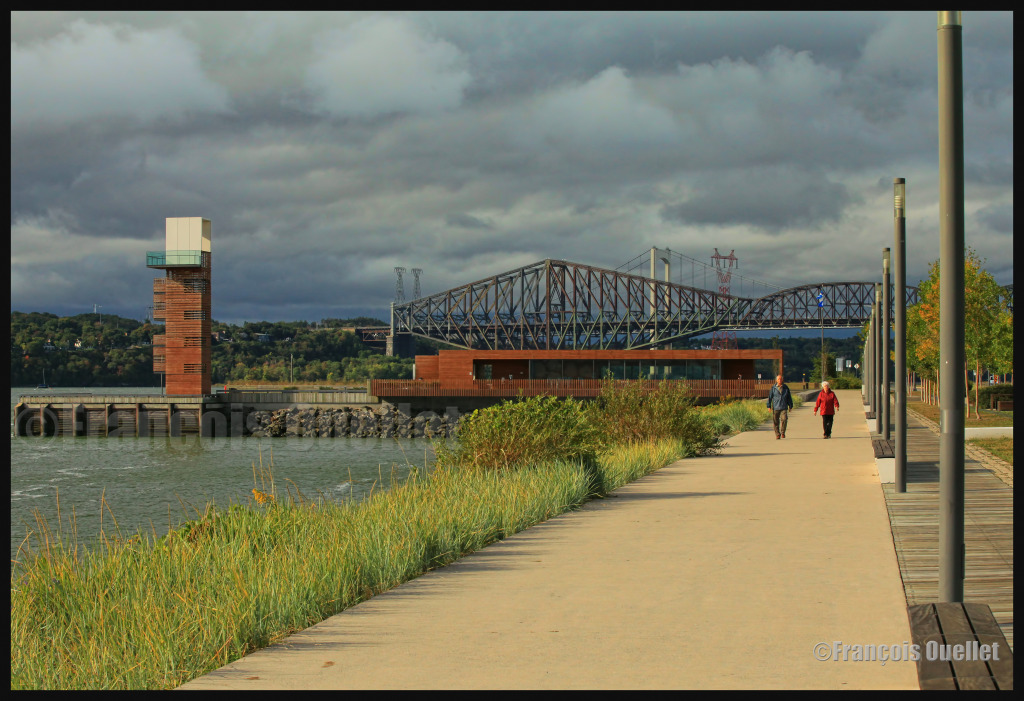
You are facing a beautiful landscape in which you want everything to be in focus: you decide that the aperture is what matters the most. Choosing aperture as the priority is a very popular choice. Let’s consider that you choose F16, which should give you a very interesting depth-of-field but will demand a lot of light. You have to compensate somewhere. If there is not much movement in the scene, and you have access to a tripod, you might decide to choose a slow speed, which allows more time for the light to enter the camera. Doing so, you won’t need to crank the ISO and you will avoid adding useless noise to your picture.
In the picture below, aperture is set at F16. The vegetation in the left corner draws the viewer’s eye toward the pedestrians, and then progressively to the quai des Cageux. We finally see the Quebec bridge, the longest cantilever bridge in the world.
If you decide that speed is a priority, you will have to compromise ISO or aperture. ISO will have to be increased to improve light sensibility, but doing so will increase the size of the grain in the picture. Depth-of-field will have to be adjusted as well since a higher speed does not let much light enter the camera. You won’t be able to pick F16 this time. So you will eventually find that there are some out of focus areas in your picture. With a bit of practice, you can be less demanding on the speed, providing you can follow the subject with your camera (it is like if you were slowing down the subject, so less speed is required).
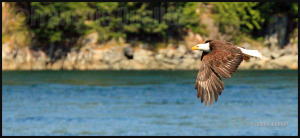
The picture below was a bit particular: it was taken when I was on a boat rocked by waves. The eagle was far away and was traveling in the opposite direction, thus increasing the relative speed of the subject. The camera was hand held and 400mm focal was necessary. Speed was crancked at 1/1600 and the ISO required was set at 5000. Naturally, the grain in the picture being larger, slightly diminishes the quality. This was a necessary compromise if the eagle was to be taken in flight.
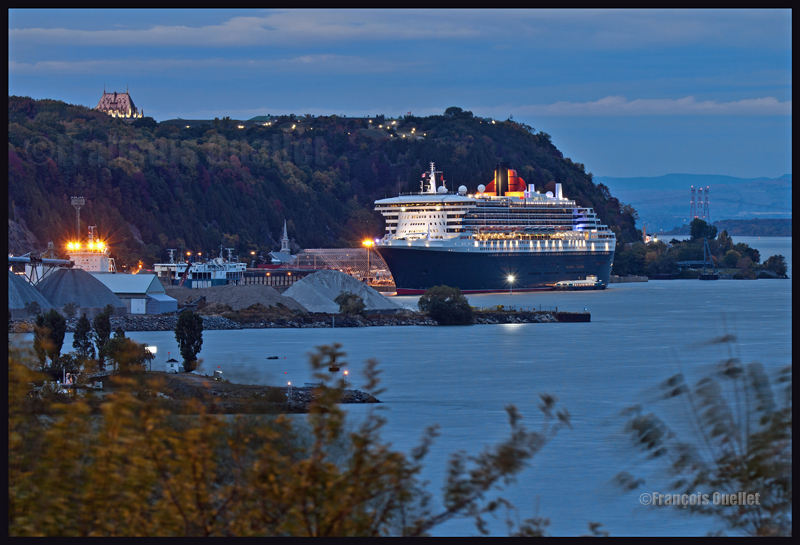
It is getting dark and you want a photo with absolutely no noise and you decide that the aperture is what matters the most. You make no compromise and choose ISO 50. This setting requires a lot of light, because the lower the ISO, the higher the demand for light. In order to make sure that your picture will not be blurred, a tripod will be necessary, since there will be an extended exposition time. In the picture below, the shutter has been opened for ten seconds, with a 9.0 aperture, 200mm focal and 50 ISO. Only the small branches in the foreground are blurred.
Note: in general, it is better to use a tripod as often as possible, even in daylight, in order to optimize quality. Choose a heavy enough tripod to prevent vibrations under windy conditions. A light tripod is easy to carry but does not allow for acceptable pictures in adverse weather. It’s obvious that this Queen Mary shot would not have been as precise if a light tripod had been used. In this case, it would have meant that continual vibrations would have been recorded during 10 seconds. The boat would have been totally blurred.


